
Getting your garden seeds going, and seedlings planned requires forethought. I’ll be the first to admit that I am ready to start planting early in January, when the snow is still flying and it’s freezing outside.
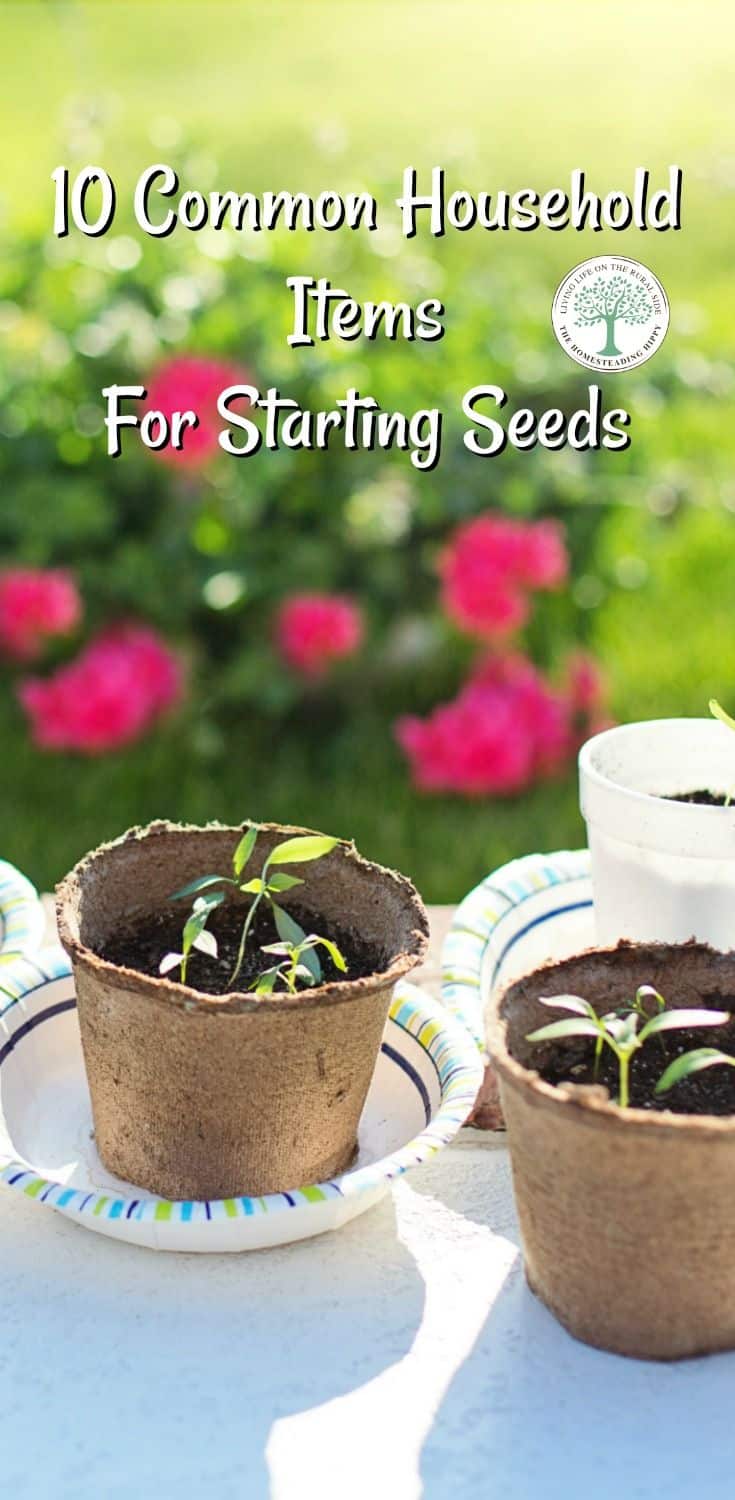
The best seed starter kit is what you have lying around the house already. Here are 10 items that most of us already have in use, just waiting to be used for your seed starters!
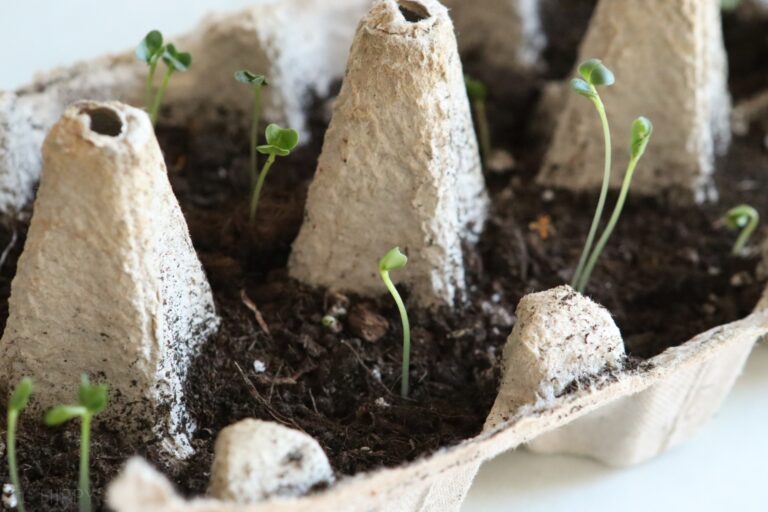
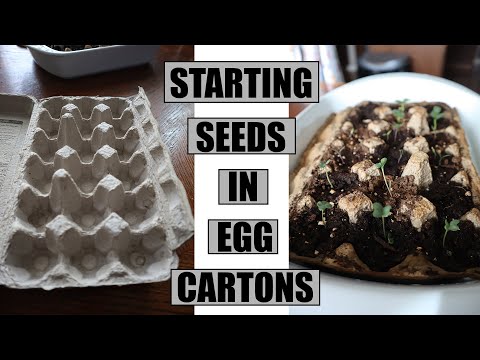
Eggshell Cartons
Simply add the potting soil, seeds and keep lightly watered. The cardboard will compost down, and provide nutrients back into the soil.
They are perfect for quick transplant seedlings, and getting tomatoes or peppers started before moving into a larger container.
When you are ready to plant, simply place the entire carton piece right into the ground, gently breaking apart to allow the roots to expand.
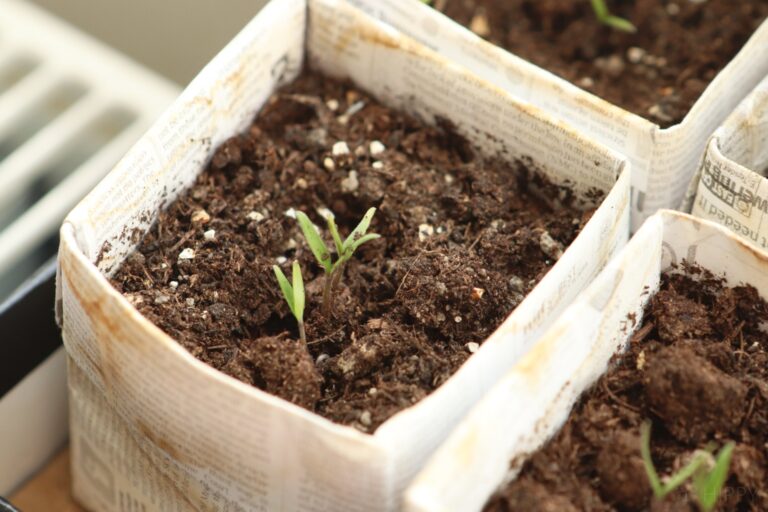
Newspaper Pots
Making newspaper pots for seed starters are pretty easy to do, and the newspaper is usually readily available. Fill with the potting soil, and keep the soil moist to allow the seeds to germinate.
Keeping the soil saturated with water isn’t a good idea with this method, as the newspaper will disintegrate quicker.
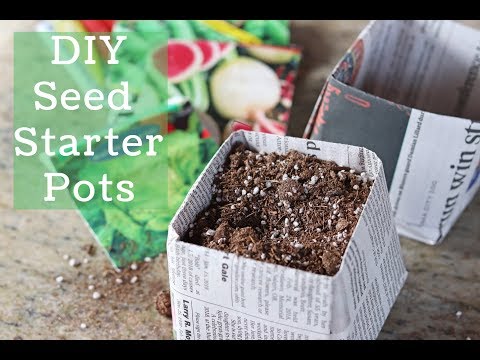
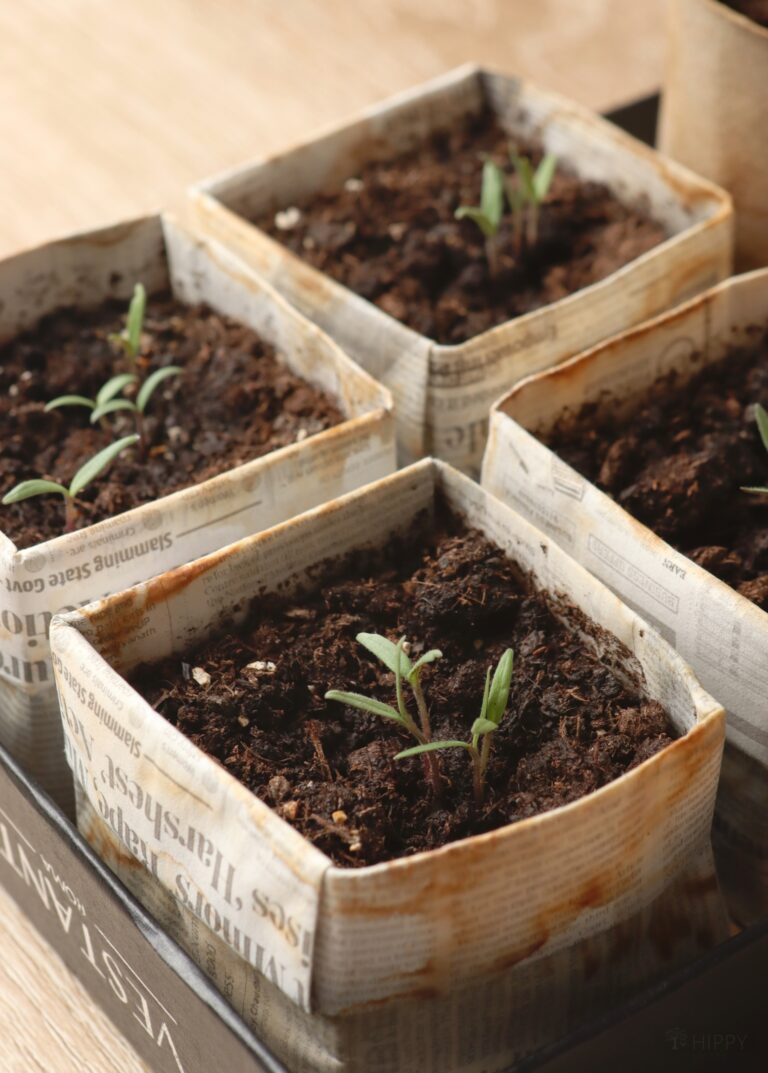
When planting, you can plant the entire thing right into the garden bed, as the newspaper will compost down rather quickly.
Another bonus is that the newspaper will help keep weeds at bay just a bit, until the seedlings get established. Make them at least 2-3 inches deep, and you will have a great pot for all seedlings.
Toilet Paper or Paper Towel Tubes
They are perfect for recycling into seed starters as they will compost down in the soil, and you can simply place them on a tray, fill with dirt and add seeds.
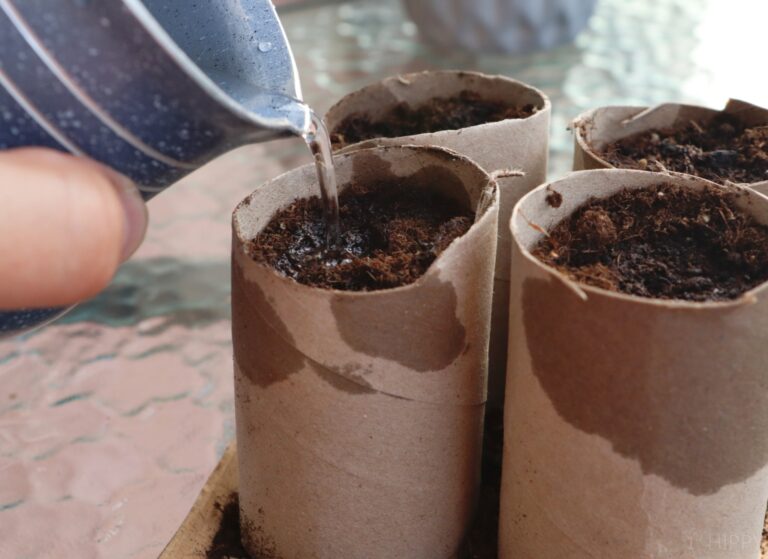
Just cut them down to 3 inches in height before you plant to allow the seed plenty of space to grow. When planting, just place the entire container directly into the bed.
Eggshells
Don’t toss or compost these seed starters just yet!
They are great for quick transplant seedlings, as they don’t have a lot of room for roots to grow, but they are cheap and readily available.
Simply wash the eggshell halves and poke a hole in the bottom with a pin for drainage. Fill with potting soil and add your seedling.

When you use eggshells, they are a great way to start tomatoes as the seedling will get some necessary calcium.
Just remember to transplant the tomato seedling into a larger container to allow more room for growth.
Simply plant the seedling in the eggshell directly into the ground, or larger container.
Ice Cream Cones
This is a fun way to get kids involved in your gardening, too. Simply fill the ice cream cones with potting soil and add your seeds.
Bonus, they are deep enough to allow room for root growth, and you can plant the entire thing directly into the ground. Use on the stale ones for seed starters, and save the fresh ones for homemade ice cream.
Citrus Rinds
When you juice an orange or lemon, save the rind 1/2 and use as a planter. Fill with potting mix, add the seedling and keep moist.
Plant directly into the ground and the rind will add nutrients into the soil as it composts down.
Yogurt, Sour Cream or Milk Containers
Recycling these materials is a great way to keep your seedlings growing and your costs down.
They are perfect for getting tomatoes or peppers going as they allow more room for the roots. Be sure to clean the container well, and add a few drainage holes at the bottom before filling with potting soil.
When you are ready to transplant your seedlings, carefully remove the plant and it’s entire root system, then plant into your bed. You can then reuse the containers for then next batch of seedlings.
Kcups From the Keruig Coffee Makers
I don’t use these myself anymore, but they DO make a great seedling starter if you are still using them. Just clean them out carefully, and poke a hole in the bottom for drainage.
They are great for starting all kinds of seeds as they are normally 2 inches deep. When planting the seedling, carefully remove from the kcup container and save to reuse.
Paper Take Out Containers
While they are not always easy to find, paper coffee cups and take out boxes are becoming more and more common.
They are great for seed starters, as they have plenty of room for root growth AND they will compost down into the soil. Just use caution when watering as you don’t want them saturated, or they will disintegrate quickly.
Plastic Seed Starting Kits
These are the little black containers, sometimes singular, or in a 6-9 “pack” that you would get from your local garden supply store or nursery.
If you are careful with them, you can easily reuse them for several years. They already have the drainage hole at the bottom, and the roots will have plenty of growth space.
They wont’ take up a lot of space on your windowsill or in your greenhouse, and you can have lots of seedlings going at the same time.
Key Thing To Remember When Planting Seeds
Keep these in mind:
- Seedlings do not have a lot of needs. They only need seed starter mix, or potting soil, light and water. You will want to keep them warm while they are growing as well.
- Your seed starting pot should have plenty of room for the roots to expand and grow, or plan on transplanting smaller seed starters into larger containers as they grow.
- You can grow seedlings on a kitchen windowsill with plenty of light, or in a greenhouse with plant lights. Make sure that the seedlings have at least 8-12 hours of light per day, with some “down time” to allow them to rest.
- When using indoor lights, be sure that the seedlings are started just a few inches from the light, and move the light away 1-2 inches at a time as the seedlings grow. This will keep the seedling strong and the stem sturdy. If the light is too far away, the seedling has to reach too high to get to it, and the stem can become spindly and thin.
What are your gardening dreams this year? What seed starters will you use?

Heather’s homesteading journey started in 2006, with baby steps: first, she got a few raised beds, some chickens, and rabbits. Over the years, she amassed a wealth of homesteading knowledge, knowledge that you can find in the articles of this blog.
Learn more about Heather and the rest of the writers on this page.