
Soil pathogens, garden pests, grass, and weeds can all cost you dearly in time, labor, and the almighty dollar to keep your plants, fruit, and vegetables healthy.
Using pesticides is not always the best choice as the chemicals can be harmful to the environment and can contaminate the food produced.
Organic gardening is always best as there are no negative side effects, and it is 100% environmentally friendly.
Soil solarization is a non-toxic, environmentally friendly way to control weeds, grass, insects, and bacteria. Solarization of beds is so easy, and it can make your soil quality much better too.
How I Came Across Solarization on My Own
In Secunda, South Africa, the temperature does not get very hot at any time of the year.
I thought I was an absolute genius because I thought “hmm, I wonder if leaving the tarp on and making holes for where the seeds are will keep the soil hot enough to encourage healthy veggies?”
I was also then given the option of, if I do this, I can plant in straight rows and be able to see where my seedlings are when tidying the beds.
Then, after a trip to the library for some research, I discovered I am not a genius, people have been doing this for years and years and years.
So, while this confirmed that I am not the genius I thought I was, I discovered that this really works well.
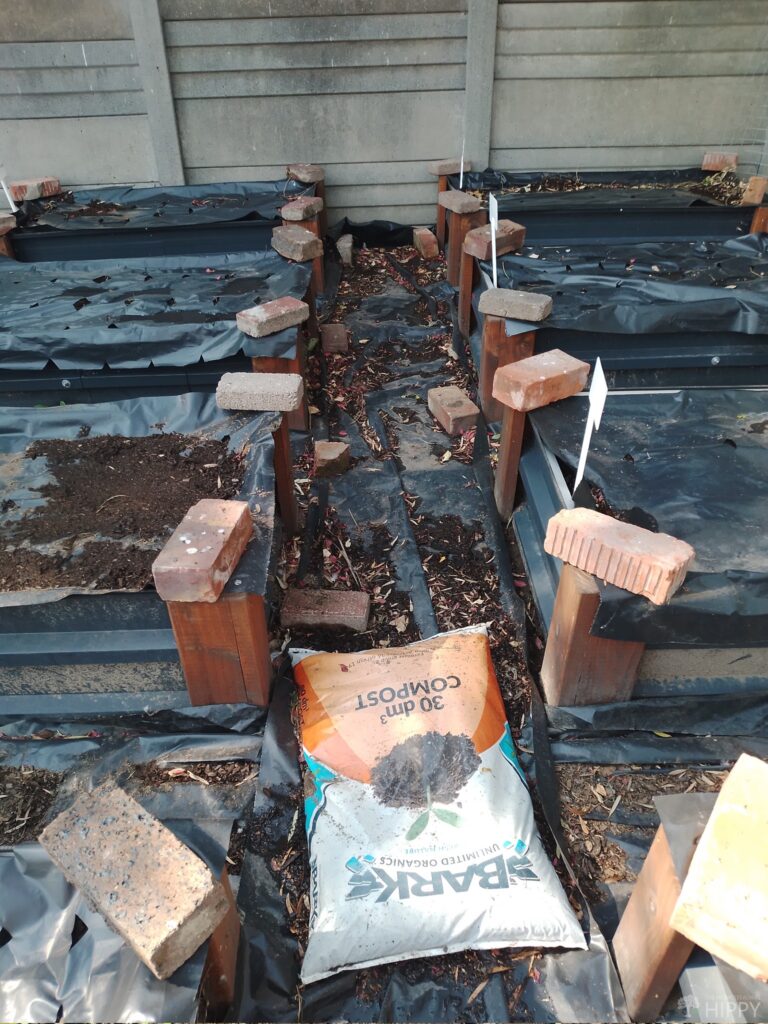
I do not need to weed much, grass does not take over my beds, the soil retains both heat and moisture very well – I do make holes for drainage all over the place, last year we had six major floods that left my beds a wreck; we did not have much to harvest.
Leaving the tarp on also means our cats don’t loosen the soil and dig up plants thinking mom made a bunch of toilets just for them.
What is Soil Solarization, Anyway?
Many pathogens develop in soil over time. These can lead to fusarium wilt, phytophthora root rot, verticillium wilt, damping-off, vascular wilt, tomato canker, southern blight, potato scab, crown gall disease, and more.
Solarization effectively sterilizes the soil by heating it to a point where most pathogens cannot survive.
Bad soil will be low in nutrients needed to grow strong, big roots and therefore a smaller plant yield.
A big plus to solarizing soil is that you can immediately plant in the beds when solarization is complete. Chemically treated soil generally requires a period to properly cool the soil and make it safe for plants.
Now… If you read into the title and are thinking about spending money on solar panels to harness the sun’s power to solarize your garden, do not panic!
Solarization does not require anything more than a plastic tarp, a spade, and sunlight to heat the soil.
Soil solarization means trapping the sun’s heat under a tarp depriving the plant life, insects, and harmful bacteria of the sunlight they need to grow and multiply.
Solarization basically deprives weeds, grass, and their seeds of the light necessary for germination and growth by blocking the sunlight while harnessing the heat generated by the sun to keep the soil moist and the soil temperature high.
Harmful insects and bacteria are also killed off by the heat produced by soil solarization.
By solarizing, you also trap healthy organic matter that is rich in beneficial microbes.
What this boils down to is bountiful plants and healthy veggies that are organically grown, without the use of harmful chemicals.
It turns the top 6 inches of soil into a healthy, organic layer full of all the nutrients your garden needs.
Why You Should Solarize Your Beds
Solarization controls fungi, bacteria, nematodes, weeds, invasive grass, and other undesirable insects.
It also helps preserve the density of the soil using root systems to keep the soil in place and reduce run off and erosion and preserving the density for the healthy growth of new crops.
Ideal Temperature
By watering a bed and covering it with a plastic sheet or tarp, the heat generated by the sun bakes the soil by raising the temperature to kill grass, weeds, and pests.
The ideal soil temperature for soil solarization is 99 to 140 degrees Fahrenheit (37 to 60 degrees Celsius). The higher the soil temperature the better.
The Benefits of Solarizing Garden Beds
Solarization reduces the cost and effort of using chemicals that could damage the soil to eliminate weeds and garden pests that would destroy your crops.
It is a cheap way to clear large beds and raised beds quickly, efficiently, and without much effort.
Gardening as a disabled person, I learned a lot of tricks to limit the time spent bending down and doing labor-intensive tasks.
My care worker helps me with the gardening, and shares in the bounty when it comes time to harvest. If she were to weed and control on her own, she would not have the time or energy to help with other needs.
Solarization reduces the amount of time needed to eliminate pests giving us time to do other things.
Solarizing your beds can:
- Kill off grass and grass seeds
- Kill off weeds and weed seeds
- Prevent root rot
- Kill off mites and mole crickets
- Kill off certain fungi
- Kill off harmful soil diseases
- Kill off nematodes
- Kill off a number of other pests that feed off your plants
- Speed up the decomposition of organic matter so that soluble nutrients like calcium, potassium, magnesium, and nitrogen are released into the soil
The Cons of Soil Solarization
There are really only a few cons to soil solarization:
- While solarization kills off harmful pests, it could also harm beneficial microbes
- If you pull up the roots of previous harvests, the soil can lose some of the density needed to prevent erosion
- Takes a long time to achieve
- Depends on climate as it relies on the sun’s energy
- Plastic is not biodegradable
Is it Not Counterintuitive to Solarize During Prime Growing Season?
Summer is, of course, the prime growing time for most vegetables. Lots of warm air, hot sun, and hot soil create the perfect environment for plants to thrive.
Sadly, it is also the prime time for grass and weeds to grow, and for harmful insects to invade.
The balance comes through crop rotation and planning for the bed to grow vegetables that are suited to late summer planting.
What You Need to Solarize Your Garden Beds
To solarize your beds, you need three things:
- Water
- A plastic tarp
- A spade (optional)
- A rake
- Either bricks, pebbles, or soil to hold the edges down
Black Plastic versus Clear Plastic
Many homesteaders use clear plastic tarps; there are several studies that have found that clear plastic is more efficient as the sun is able to pass through the clear plastic heating the ground below. However, that is not a 100% proven fact.
The truth is that a clear tarp still allows for photosynthesis. Plus, if the temperature is not hot enough, the moisture from the tarp then contributes to a longer period needed for solarization, and it can be ineffective in killing off resilient weeds and grass.
In my experience, clear plastic does not work as well as black plastic tarps. Even green and yellow are not as effective as black.
There have been many experiments done by homesteaders to see which color tarp is more effective.
I have spoken to many folks (I joined in with a little experiment of my own) where we have used different colors and clear tarps side by side on beds.
We used black, green, yellow, and clear tarps side by side…
Many tests done by scientists and homesteaders found that the black tarp was by far the best for use. It blocks out the sun’s light and is more effective in trapping heat.
If you have ever stepped out dressed all in black in summer or gotten into a black car that has been left in the sun, you will understand the dramatically high temperature inside because black absorbs more heat.
Black works well because it 100% blocks out all light. Anything else – especially a clear tarp – will let some of the sunlight through.
Mole crickets also despise the black tarp; therefore, it has the benefit of controlling those nasty pests too.
Black plastic also heats the ground better and retains moisture for longer. Remember that you need heat to kill off the grass and weeds.
How to Solarize Your Beds
When you harvest your vegetables, do not pull up the root system. Rather snap the plant off at the soil level or cut it off at the soil level preserving the soil density.
To solarize your beds:
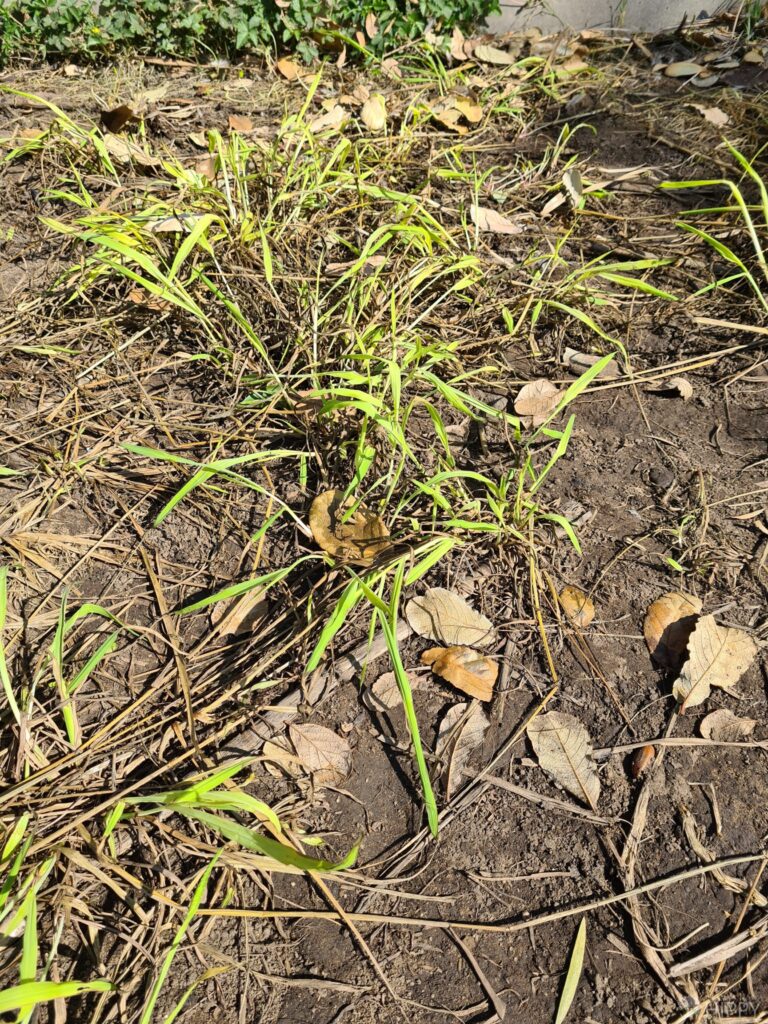
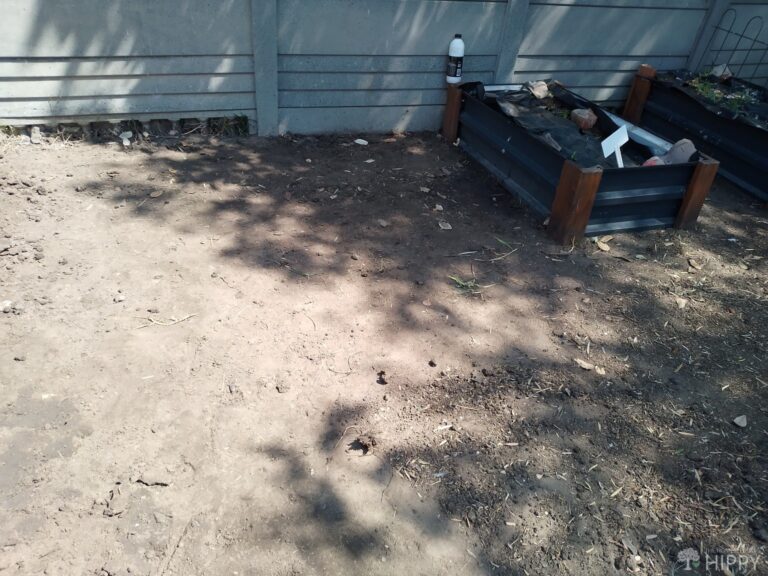
Step 1. Remove As Much Vegetation As Possible From The Last Crop
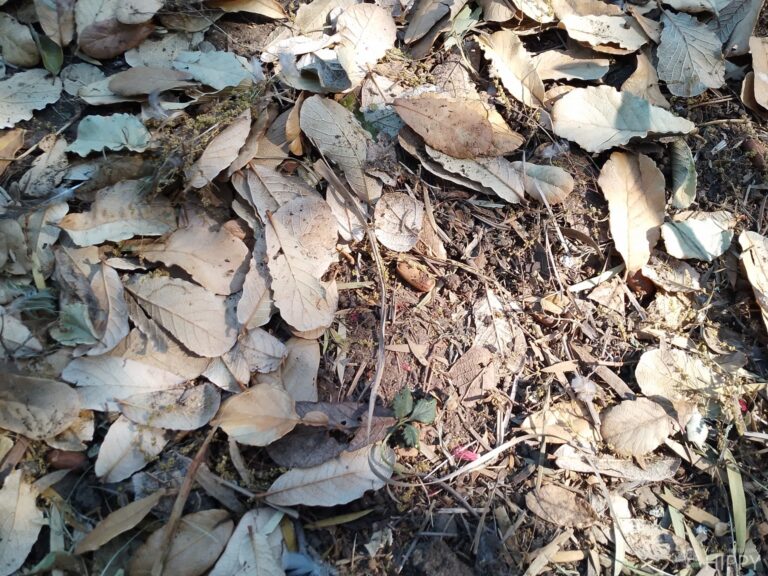
Break off stems at ground level. Do not fuss too much about the grass and weeds as the solarization will kill them off anyway. But try to level off the surface vegetation as much as possible to create a flat bed.
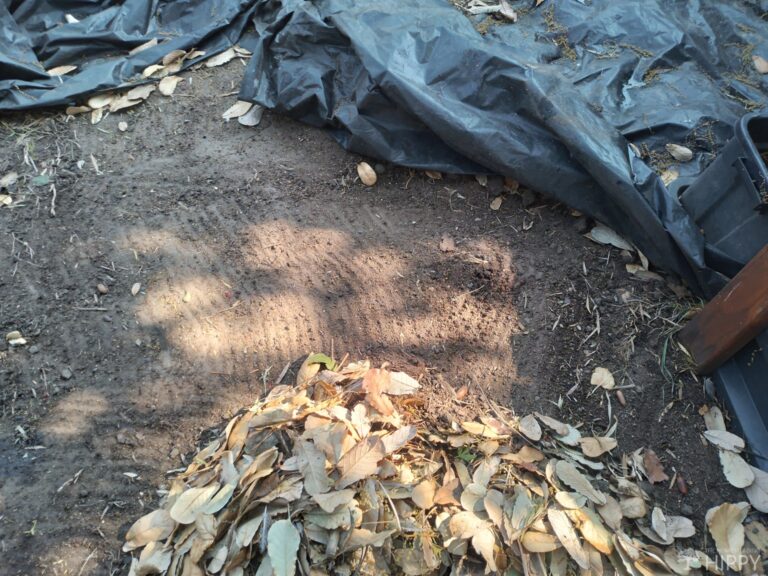
If you are inclined, rake up as much of the dead vegetation as possible. I leave leaves from the trees on the soil to act as a mulch to retain moisture.
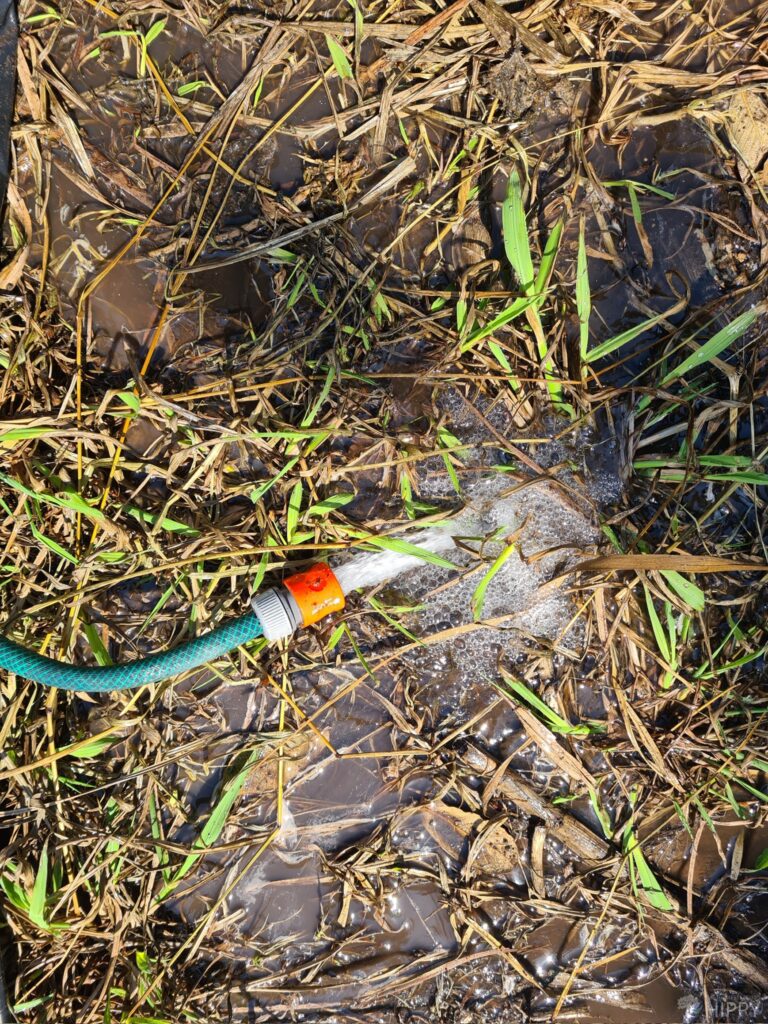
Step 2. Water the Ground Thoroughly
You want to really get the soil nice and moist; this will help make the ground easy to flatten.
Step 3. Work the ground
Even out all the bumps and divots, flatten the beds really evenly without digging roots lose. Remove any sticks or stones that may tear the tarp.
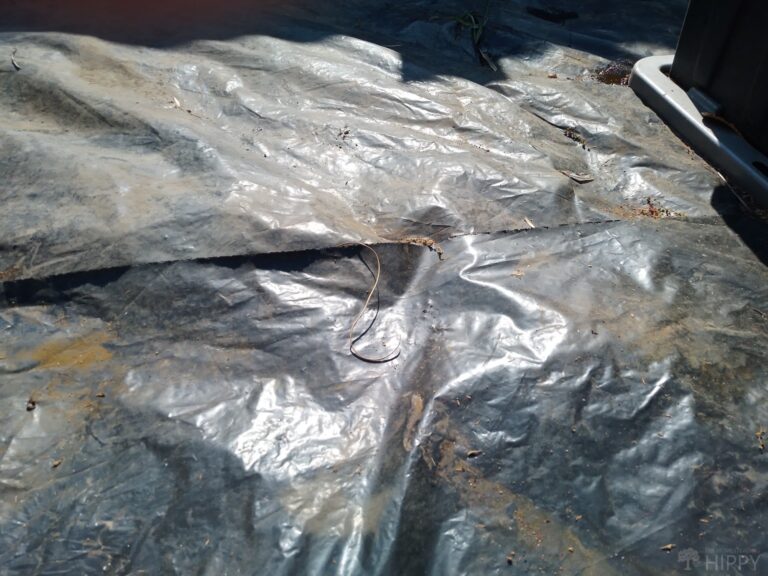
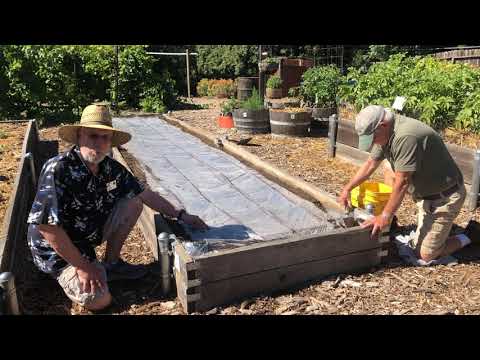
Step 4. Cover the Beds With Your Tarp
Flatten it as close to the ground as possible.
Step 5. Weigh Down the Edges With Bricks, Stones, Pebbles, or Sandbags
This is to ensure that the tarp does not blow up when the wind blows. If the wind blows under the tarp, you will lose some of the valuable heat.
Step 6. Remove the Dead Grass and Weeds
When you remove the tarp in four to six weeks, you will find all the dead grass and weeds. You can just rake them up without disturbing the top layer of soil and dispose of them or feed them to your vermiculture worms.
Now your beds are ready for planting:
How Long Should You Solarize Your Beds For?
The whole process of solarization is dependent on the soil temperature. It is not worth doing when the temperature is colder as the cold will not kill off many soil diseases.
It is best to solarize your beds about six weeks before late spring and into summer for the best results when you plant again.
Your problem plants will start to die off around the third week, but your soil needs longer to kill off soil-borne diseases and harmful bugs.
How Long Will Your Beds Stay Weed and Pest Free?
After you remove the plastic tarp, you will have fewer soil issues, fewer weeds, and fewer harmful bugs in your beds for three to four months.
When You Should Solarize Your Beds
Solarize your beds for six weeks in late spring to early summer. If needed, you can solarize again in late summer when it is still hot.
Solarizing in fall or winter will not be effective as the temperatures needed to effectively solarize will not be met.
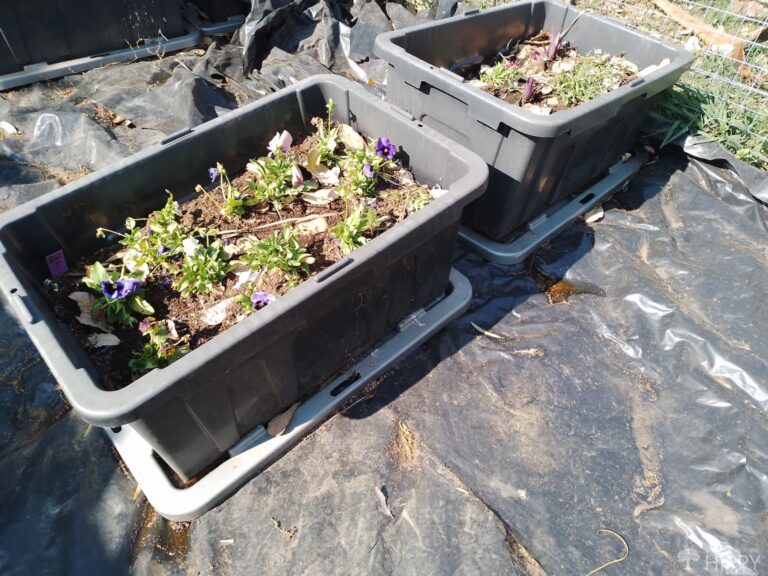
Now You Are Ready to Plant
Once you remove the tarp, rake the soil gently to get rid of dead plant matter that is on the surface – do not rake too hard or too deep.
Plant your seeds or seedlings shallowly without digging the soil loose.
You do not need to use much fertilizer or compost. I normally lay a layer of compost that is roughly 5 millimeters deep on the surface in my vegetable garden when I plant my seedlings.
Make sure the seedling trays or pots are not contaminated and that the tools you use are properly disinfected. You do not want to transfer any unhealthy bacteria in the cleaned-out beds.
Tips and Tricks
- Do not drown the ground. Just give enough water to move the ground around to flatten the bed.
- Till and rake the beds before placing your tarps to allow the tarps to sit as close to the soil as possible.
- Take advantage of the moisture to flatten the beds.
- Consider leaving the tarps on your beds to keep them weed-free all season long.
- Leaving the tarp on in fall and winter does not have any major effect because the weather does not get hot enough to heat the soil.
Conclusion
Getting rid of grass and weeds is traditionally done by getting down on your hands and knees and pulling up one weed at a time and following a complicated root system to prevent the grass from continuing to regrow.
The problem with manual removal is that while removing unwanted plants, we inevitably release their seeds allowing them to come back and, worse still, spread on the breeze to parts of your garden that they had not yet reached.
Controlling pests can also be problematic. Killing bugs as you see them is not going to change the situation as you cannot control the growing population from the invisible eggs.
Most people turn to pesticides to control insect populations when solarization is so much more environmentally safe.
Your soil will retain all the nutrients while eliminating all the pathogens that would destroy your plants if left untreated.
The benefits of solarization are amazing. It is so quick and easy, and the results will be bountiful crops.
Try the different colored tarps in your yard and let us know what works best for you in the comments below.
FAQs
Solarization will kill nematodes, mole crickets, worms and their cocoons, and red mites.
Summer is best because the heat is needed to be successful.
Solarization is an easy, environmentally friendly way to kill weeds, grass, microbes, disease, and pests.
The environmental climate will determine the success of solarization. Ideally, the soil should reach 108 degrees Fahrenheit to 140 degrees Fahrenheit at a depth of 2 inches, and 90 degrees Fahrenheit to 98 degrees Fahrenheit at 18 inches deep.

Di-Anne Devenish Seebregts was raised in an environment where daily life consisted of hiking, environmental conservation, growing fruit and vegetables, and raising poultry for meat and eggs.
She combined her passion for the writing word with her love of the pride that comes with not relying on others. She raised three children (who are now adults) to value the environment, and understand the value of being self-sufficient.
Find out more about Di-Anne on our About Us page.
This is truly one of the best (natural) ways to prepare your garden and keep weeds and pests away. Even though it takes time to prepare, but what’s 4-6 weeks compared to a bountiful harvest.
I want to use this method on grass to create a new bed around a tree in my yard. Will this damage the tree roots?
the roots are deep enough on most trees that it shouldn’t hurt them. However, since I am not seeing the tree or how deep the roots go, I would use extreme caution and only leave the plastic in place for a short time and remove within a week.
If your tree is healthy and well established it will not damage the tree. A trees roots are very deep, by solarizing enough water will be trapped for the roots and the leaves are the energy source. I really recommend using this method to establish new beds.
I have used plastic to kill weed beds, but your idea is great I will do this to a few beds. signed on also and passed it on too!
Thank you for your support.
I used this method to kill the weeds and weed seeds in the new beds. I could still garden in the older beds. I stapled the plastic over the raised beds and left it. I also tried old pieces of plywood on top of the new beds to kill the grass underneath them because I didn’t have time to scrape the sod. I really like this all natural idea!