
When you look at all the different foods out there that are home-cannable, it’s easy to forget about juices. Take tomato juice, for instance: you can use it as the foundation of a great soup, marinades, and recipes, or even use it as the base of a wicked Bloody Mary.
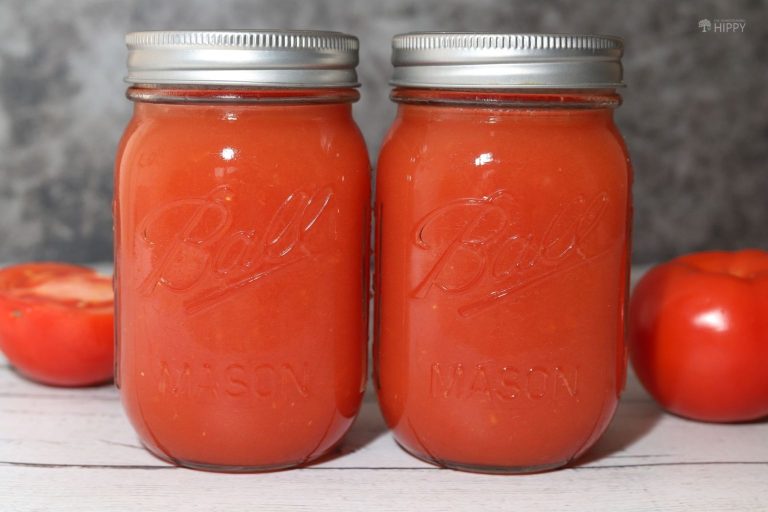
You don’t have to resort to store-bought stuff if you’ve got a big haul of tomatoes from your garden or the local farmer’s market. Trust me, the home-canned version tastes way, way better than the factory stuff – and it doesn’t have any strange added ingredients.
Best of all, it’s easy to make using nothing more than a standard water bath canner. Keep reading, and I’ll walk you through it step by step.
Ingredients and Tools
Assuming you have the canner, the only other things you’ll need are tools and ingredients you likely have in your kitchen right now.
Tomatoes: You’ve got to have lots of tomatoes on hand if you want to make a canner load of tomato juice. You can use any kind of tomato you want, but juicier varieties work best. Count on needing about 14 lb of tomatoes to make a load of nine pint jars, or 23 lb for a load of seven quart jars.
Lemon Juice: It’s easy to forget, but tomatoes require acidification for safe processing in a water bath canner. You can use fresh or bottled juice, as per your preference. Pint jars require one tablespoon, and quart jars need two tablespoons.
Citric Acid (optional): You may use citric acid instead of lemon juice for acidification.
Sugar (optional): Tomatoes and lemon juice together can be pretty tangy. If you desire, you can add a pinch of sugar to each jar to cut the tart flavor a little.
Salt (optional): Salt is also optional. Add half a teaspoon to each jar or a little less, as desired.
Water-Bath Canner: A water bath canning setup is what you’ll need for the procedures below. You can use an electric canner, stovetop canner, or a large stockpot and canning rack depending on your preference.
Large Stockpot (optional): Depending on the configuration of your canner, it might be more convenient to preheat your jars in a separate stockpot. If it’s easy to load and unload individual jars from your canner, you won’t need this.
Large Saucepan x2: You’ll need a pair of large saucepans that can hold all of your tomatoes during the juice-making process. You’ll be transferring from one to the other during the juicing, and having the extra saucepan makes things easier and less messy.
Canning Jars: Use whatever canning jars you prefer for this recipe—pint or quart jars. Inspect them to make sure they don’t have any chips, cracks, or other defects that could cause them to break or cause the process to fail.
Two-Piece Lids: Assuming your jars don’t have attached, reusable lids, you’ll need enough two-piece lids for each batch. Just a reminder: you should never, ever reuse these disposable lids. You can, however, reuse the bands as long as they aren’t cracked, split, warped, or rusty.
Jar Lifter (AKA Jar Tongs): These large tongs are used for safely lifting jars in and out of boiling hot water. Make sure they have insulated handles and cushioned jaws.
Slotted Spoon: Useful for stirring the tomatoes while boiling the juice. Wood, plastic, or metal is fine.
Canning Funnel: This little gadget helps prevent spills and messes while filling the jars, and just as importantly, keeps you from getting tomato juice on the rims. A contaminated rim can cause seal failure, so make sure you use one of these.
Ladle: Really handy for pouring the boiling juice into the jars without getting burned.
Sieve or Food Mill: You’ll need one or the other for processing the boiled tomatoes and juice to separate the solids.
Timer: This procedure requires precise timing at several steps, so you’ll need a timer. Use an app on your phone, your stovetop clock, an egg timer—anything accurate.
Crusher: A crusher, potato masher, or similar tool will help squeeze as much juice as possible out of your sliced tomatoes during the first phase of boiling.
Knife: A paring knife or kitchen knife is needed to process your tomatoes.
Cutting Board: Any sturdy cutting board will work. This can also come in handy, if clean and dry, for protecting your countertops from hot canning jars. If you don’t have a spare, make sure you’ve got some folded kitchen towels handy for the job.
And that’s it. I’ll walk you through the process step by step in the next section.
Step-by-Step Instructions
Seasoned home canners will be familiar with this process, but read over it thoroughly before you begin anyway. The timing of several steps can be a little tricky, and it’s good to know what’s coming up before you get there if you’re reading along…
Step 1: Wash equipment.
The first thing you need to do is wash all of your kitchen tools, jars, and canner. Follow the instructions for cleaning the canner, and send everything else through the hottest dishwasher cycle possible. If you don’t have a dishwasher, give everything a good scrub with hot, soapy water.
Step 2: Prepare workspace.
This recipe has a fair bit going on, and slicing this many tomatoes can easily make a huge mess on your countertop and floor. Get set up for success: lay out all of your tools, get everything in position, and make sure you’ve got enough room to work.
Step 3: Wash and prep tomatoes.
Give each tomato a thorough rinse under running water or with your sink sprayer. Then, take your knife and cut away all the stems and vines, and cut off any green patches.
Step 4: Add water to canner, turn on heat.
Add water to your canner to the required level, making sure to account for the displacement of the jars you’ll be putting in shortly. Turn on the heat and get it going towards a boil.
Step 5: Preheat jars.
Using your jar lifter, carefully place each of your open jars in the canner so they start to warm up. Leave them be for now.
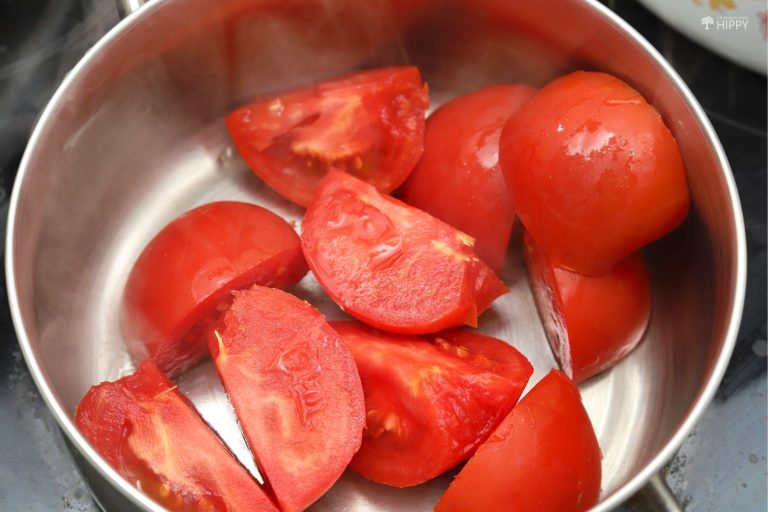
Step 6: Quarter batch of tomatoes, add to saucepan.
Gather about 1 lb of tomatoes, then quickly cut them into quarters and drop them into your saucepan.
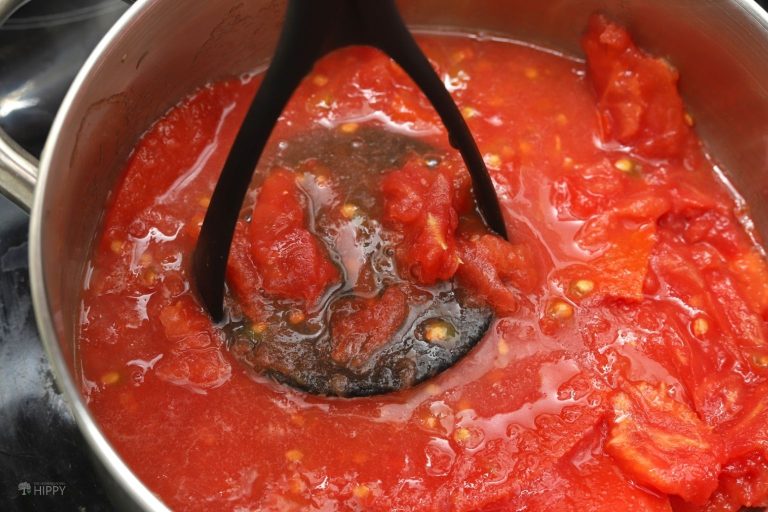
Step 7: Crush and boil tomatoes vigorously.
Turn the heat up on the saucepan to high. Get it going towards a hard boil. Use your crusher to crush all the tomato pieces you just added.
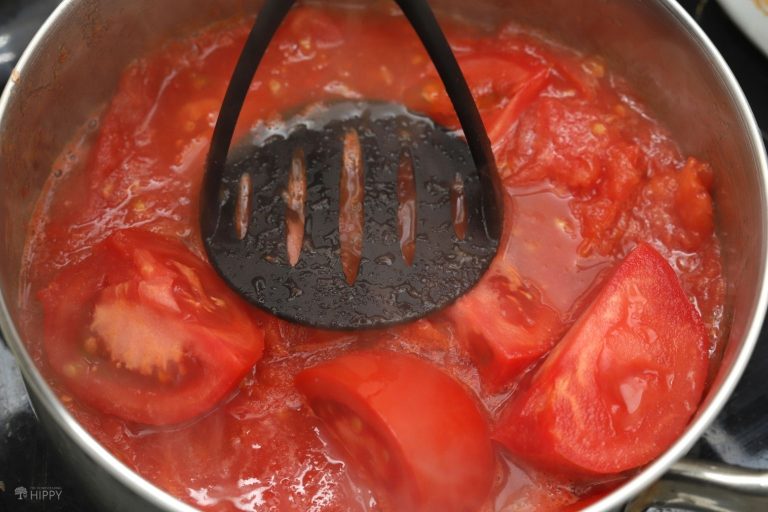
Step 8: Add more tomatoes, keep mixture at a boil.
Now go back to the rest of the produce. Working with just a couple at a time so they don’t lose most of their juice, slice them into quarters, slowly add them to the saucepan, and crush them.
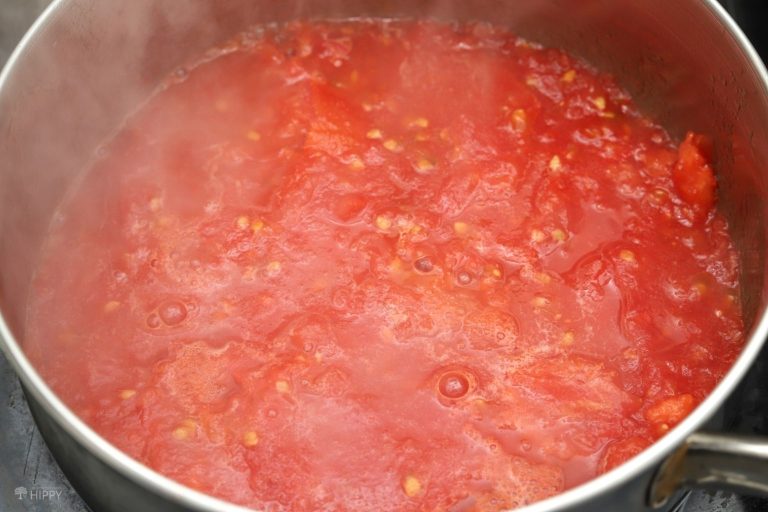
Important: Take care to keep the juice and tomato mixture at a boil the entire time. If you add too many pieces at once, you can drop the temperature and it will stop boiling.
Keep slicing, adding, and crushing at a steady pace until all of the tomatoes are in the saucepan.
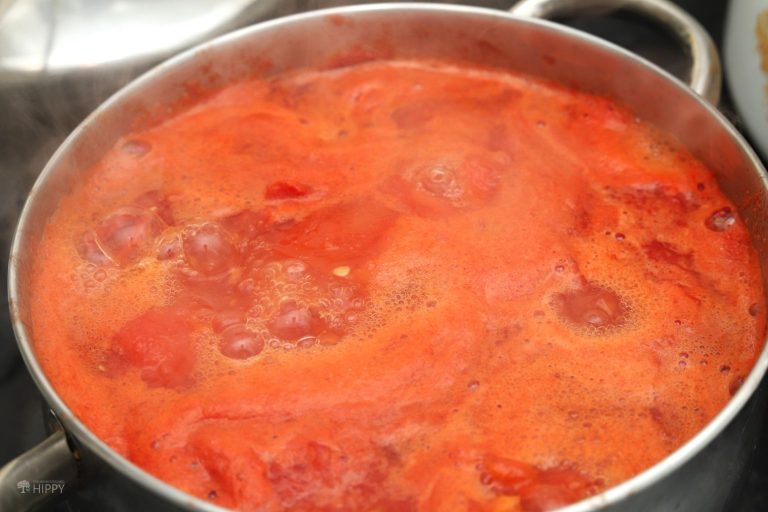
Step 9: Once all tomatoes are added, simmer for 5 minutes.
Make sure all of the tomato pieces are thoroughly crushed, then set a timer for 5 minutes. Let them boil, stirring periodically with your spoon. Keep an eye on them so they don’t overflow.
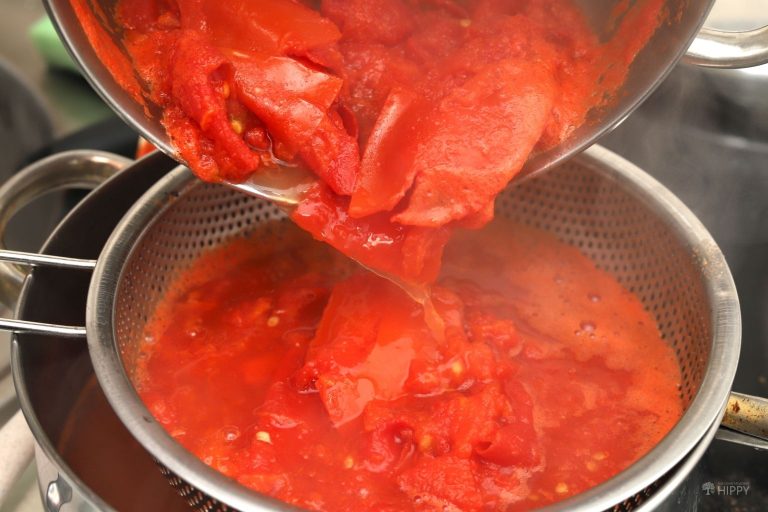
Step 10: Process tomatoes and juice through sieve or mill.
Once the timer goes off, carefully process the tomatoes and juice through your sieve or food mill. You might need to let them cool slightly to accomplish this, and it will probably be easier to process them directly into your extra saucepan.
Once you’ve extracted all the juice and separated the seeds, skins, and other solids, move on to the next step.
Step 11: Remove jars, set aside.
Using your jar lifter, carefully remove the preheated jars from your canner and transfer them to a clean, dry cutting board or folded kitchen towels. Set them down with the mouths facing up.
Step 12: Bring tomato juice back to a hard boil.
Put your tomato juice back on the stovetop at high heat and bring it to a boil. As soon as you turn the heat on, move on to the next step but be ready to come back to it quickly.
Step 13: Add acid to jars, salt, and sugar (if using).
Add your acid (lemon juice or citric acid) to each of the jars: one tablespoon for each pint jar or two tablespoons for each quart jar.
If you’re using sugar or salt, now’s the time to add a pinch of sugar to each and the salt: 1/2 teaspoon for pint jars and a full teaspoon for quart jars.
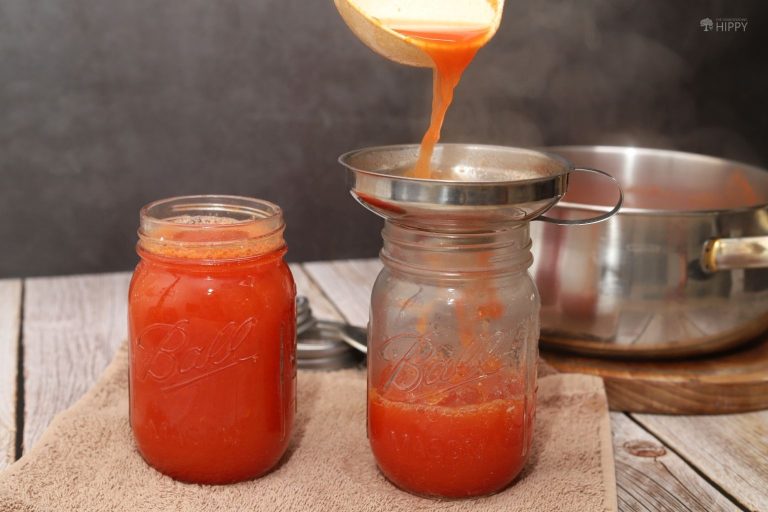
Step 14: Fill jars with hot tomato juice.
As soon as you are done adding the acid and other ingredients, go back to your tomato juice. Once it starts to boil hard, grab your canning funnel and ladle. Fill each jar carefully, leaving a half-inch of headspace. Take care not to dribble any juice on the rims of the jars.
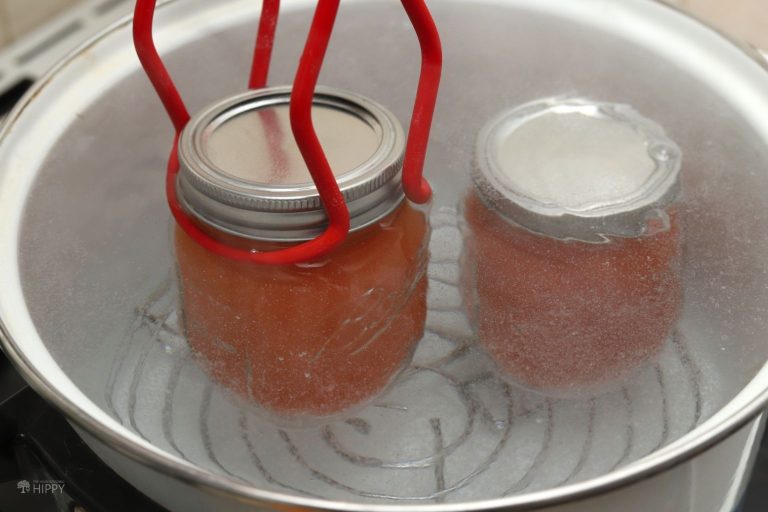
Step 15: Cap jars, load into canner.
Carefully set a fresh, new lid on each jar and secure it with a band. Only twist the band down finger-tight. Do not overtighten it!
Using your jar lifter, and taking great care to keep each jar level and upright, load the jars one by one into your canner.
Take pains to avoid sloshing the juice around; if the contents press against the lid now, it might cause seal failure later.
Step 16: Process jars.
Once the water in the canner comes up to a hard boil, set your timer for processing according to the guidelines below:
For pint jars: process for 35 minutes if at sea level to 1,000 ft elevation, 40 minutes if between 1,001 and 3,000 ft, 45 minutes if between 3,001 and 6,000 ft, and 50 minutes if above 6,000 ft.
For quart jars: add 5 minutes to each of the above intervals depending on elevation.
Step 17: Cut heat, rest jars.
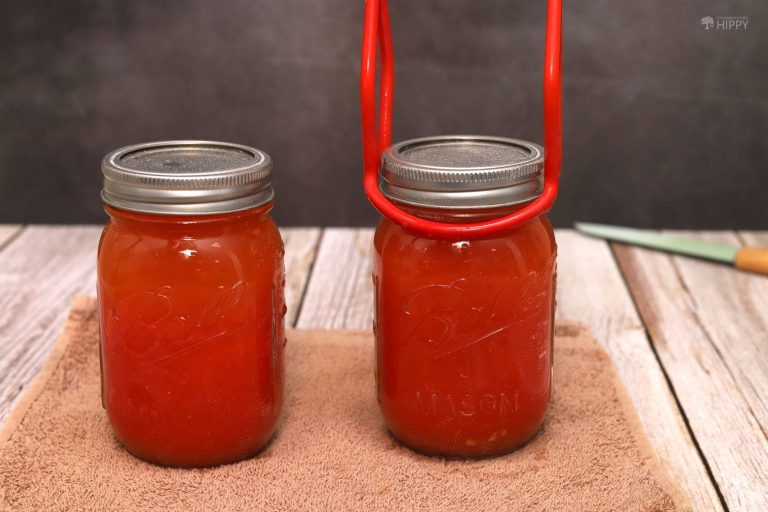
Ensure that the water stays at a hard boil for the entire process. Once the timer goes off, cut the heat but don’t remove the jars. Leave them to rest for about 10 minutes.
Step 18: Remove jars carefully, set aside to cool.
Once the jars have rested, use your jar lifter to pull them out one by one, or pull out the canning rack with all of the jars on it. Again, be very careful to keep the jars perfectly upright and level to avoid sloshing the juice around.
Set the jars aside on a clean wood or plastic cutting board or on folded kitchen towels to cool. Do not set them on a stone or metal surface or expose them to drafts, as this could cause them to crack or burst due to temperature shock.
Step 19: Check lids for a good seal.
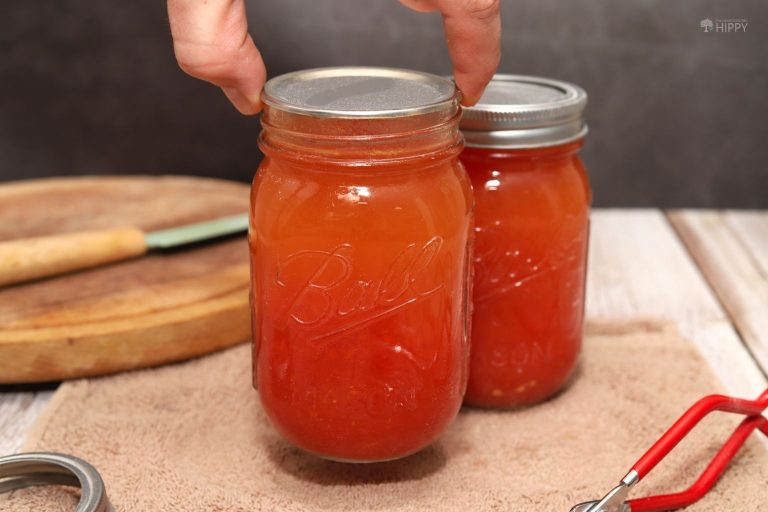
After the jars have completely cooled down—something that will likely take between 8 and 12 hours—it’s time to check the lids.
First, press on the lid with a fingertip. It should not move at all. Next, carefully remove the band and then gently lift the jar straight up off the countertop about an inch, holding it just by the edges of the lid. You should not hear a hiss, pop, or bubbling, and the lid should not move at all. Set aside any jars that fail either test.
Step 20: Store jars.
Using clean paper towels or a clean, dry kitchen rag, wipe down the jars and store them in a cool, dark environment. Don’t store them anywhere that experiences high or low-temperature swings.
Step 21: Finished!
And with that, you’re all done. Your home-canned tomato juice will stay fresh and taste amazing for at least a year.
If Jars Failed the Lid Test…
If any of your jars failed the lid check above in step 19, that doesn’t mean your juice is unsafe or bad. It does mean, though, that you can’t store it long term.
You have a couple of options now. If you want to drink it or use it in a recipe, you can do so immediately or store it in the fridge for 5 days to a week at the most.
Alternatively, if you’ve got more juice to can, you can pour the contents into a fresh jar, cap it with a fresh lid, and reprocess it.
If it passes the next lid check, it is good to go, and you can store it as normal. Whatever you do, never, ever store a jar of tomato juice or anything else that has a questionable seal! That’s a great way to get food poisoning.


Tim is a farm boy with vast experience on homesteads, and with survival and prepping. He lives a self-reliant lifestyle along with his aging mother in a quiet and very conservative little town in Ohio. He teaches folks about security, prepping and self-sufficiency not just through his witty writing, but also in person.
Find out more about Tim and the rest of the crew here.