
at’s better than a perfectly salty, crunchy dill pickle? Nothing, I say! Whether you’re having it as a side or right on a sandwich, homemade dill pickles are one of life’s great pleasures… but they can also be downright revolting if they don’t come out crisp and crunchy. Sadly, that’s something that is all too likely to occur if you don’t know the right way to can them yourself at home. Today, I’ll tell you what you need to know to stop that from happening…
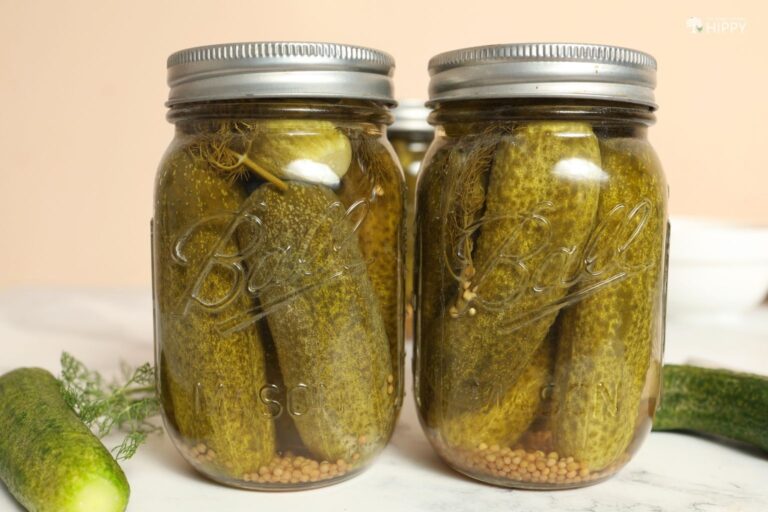
Below you’ll find my time-tested tips and step-by-step instructions for canning the crunchiest and tastiest dill pickles – and to do so safely. The reason I’m confident to say that is because this is the recipe recommended by the NCHFP (which you can consult here). Time to haul out your canning gear!
Want the Crunchiest Pickles Possible? Do This
I love pickles, and I’ve canned a whole lot of them over the years. In my travels, talking to friends and family who ended up with nothing but limp pickles after all their hard work, I noticed some trends emerging.
Do the following, and you’re all but guaranteed a big batch of perfectly crispy, crunchy pickles that will put all of the store-bought brands to shame.
Always Choose Pickling Cukes
This one sounds elementary, and in truth it is, but you’d be surprised how many folks either forget or simply skip it. If you want a perfect pickle, you need to pick a cucumber cultivar designed for pickling, and preferably a smaller variety. More on that in a minute…
Those huge salad cucumbers you get at the grocery store simply will not do, and no matter what you try or what you add, you’ll always end up with a soggy, mushy pickle. Instead, choose Boston Pickling, National Pickling, or Kirby cukes to make exemplary dill pickles.
Harvest and Can Them At Once!
This isn’t always achievable, especially if friends or family are bringing you some of their harvest or if you buy at a farmer’s market or grocery store, but the single best thing you can do to ensure a super crunchy pickle is to can them the same day that they are picked.
The longer you wait, the worse the results are going to be. One or two days won’t make a huge difference, but a week or more? Forget about it!
Get The Youngest Cucumbers for Best Results
Here’s another super secret tip that pays off big when making pickles. Harvest your cucumbers, whatever variety, when they are small and young; anywhere from 5 to 7 weeks for most types. That’s a generalization, mind you! Small varieties may need a bit more time to be worth picking at all!
Don’t be deterred if they are still covered in those prickly bumps on the outside. That’s actually an indicator of quality for our purposes! Thin, small, anywhere from 3 to 5 inches, and dark green is ideal.
Always Trim the Blossom End
When harvesting cucumbers or picking up a batch for the purpose, don’t remove the stems entirely. Leave a quarter inch of the stem in place so you can easily tell the stem end from the blossom end at a glance.
The blossom end should be trimmed away, or rather 1/16 inch of the cucumber should be trimmed off of that end.
This has nothing to do with appearance: the blossom end of the cucumber contains volatile compounds that will dramatically soften the fruit during the pickling process if you don’t cut it off.
Process Pickles Just Long Enough
Last thing, and another basic tip that I’ve seen at-home canners screw up again and again. Only process your pickles for the minimum amount of time necessary to ensure safety and good results. If the instructions call for 10 minutes at your altitude, make it 10 minutes on the dot. If it is 15 minutes make it 15 sharp!
The longer you process them in the boiling water, the softer they get. Turn your back, get distracted, or don’t pay attention to the processing chart, and you’ll end up with soggy dills.
These are the tips you need to know, now it’s time to get down to it…
Ingredients
Cucumbers, Pickling, 8 pounds: This is sufficient to make a batch of 7 to 9 pint jars worth of dill pickles. Remember what we talked about above. You want super fresh, thin, small, and dark green pickles.
Vinegar, 1 ½ quarts: Use any kind of canning vinegar you want here, though 5% vinegar is recommended. This is for the brine.
Water, 2 gallons (plus more for canner): You’ll need lots of water for this recipe, for making the brine, for preparing the salt water soak, and also for operating the canner. Use filtered water if you have it.
Pickling Salt, 1 ¼ cups: No surprise, you’ll need plenty of pickling salt to make a big batch of salty pickles. Canning salt is fine to substitute as an alternative, one to one.
Sugar, white, ¼ cup: Just what it says.
Pickling Spice, 2 tablespoons: Don’t even dream of making pickles if you don’t have pickling spices. There are lots of different varieties out there, and everyone has a favorite. Whatever your preference, make sure you have two tablespoons’ worth. That should be enough to make a big pot of brine.
Dill, Fresh, 14 heads: Nothing beats fresh dill for making dill pickles. If you’re going to splurge on fresh herbs, this is the time to do it. Or just grow your own; it’s really easy.
Dill Seed, 4 ½ tablespoons (optional): If you don’t have, can’t find, or just don’t want to mess with fresh dill, you don’t have to. Dried dill seed will work just fine.
Mustard Seed, Whole, 3 tablespoons: Mustard seed gives pickle brine that distinctive bite. It’s a must-have.
Equipment
Aside from the canner itself, you don’t need much special equipment for this recipe. You probably have everything required in your kitchen right now.
Water Bath Canner: Any kind of water bath canner will work, as long as it works! Make sure everything is functional and you know how to operate it before you get started.
Pint Canning Jars with Bands and Lids: As mentioned above, the instructions for this recipe will produce a good-sized batch of pickles, anywhere from 7 to 9 pints, so you’ll need that many pint jars.
Make sure you have bands that are in good shape and always use brand-new lids if your jars don’t use a reusable lid system. Inspect all jars for cracks, chips, and defects before you start.
Canning Funnel: A canning funnel helps a bunch when filling the individual jars with the scalding hot brine.
Jar Tongs: Used for lifting and moving piping hot jars safely. If you don’t have a pair, now is the time to get one.
Large Pot, x2: You’ll need two large pots for this recipe, capable of holding at least 2 gallons of water each comfortably.
Large Saucepan: A large saucepan for preparing and pouring the brine is a necessity. If yours doesn’t have an easy-pour spout, get yourself a good canning ladle.
Spice Bag: A spice bag is needed to infuse the brine with pickling spice. If you don’t have one of these, you can fashion one from cheesecloth and food-grade twine.
Cutting Board: Self-explanatory.
Paring Knife: Also self-explanatory. Make sure it’s sharp, and it should do everything you need it to do with small cucumbers like these.
Paper Towels: Helpful for cleaning up messes that always occur and wiping off jar rims prior to capping.
Kitchen Towels: Same thing, and also handy for protecting your countertops from hot jars.
And that’s it. I’ll tell you what to do, step by step, in the following section.
Instructions
Step 1: Wash cucumbers thoroughly. Give them a good scrub under cold running water or in a big bowl.
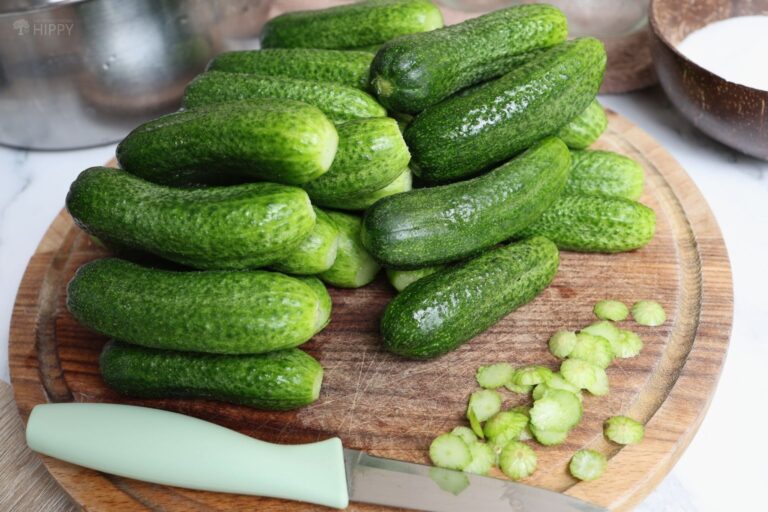
Step 2: Trim off blossom end. Cut off just 1/16 of an inch from the blossom end of each cucumber and throw it away. Note that you should leave about a quarter inch of the stem attached for best results. Don’t trim that away!
Step 3: Boil water in large pot. Bring 2 gallons of water to a boil and dissolve 3/4 cup of the pickling salt in the water.
Step 4: Pour water over cucumbers. In the second large pot, add all of your cucumbers and pour the hot water over them. Cover and let stand for 12 hours.
Step 5: Sterilize and prepare canner. Shortly before the pickles are ready, get out your canning equipment and make sure everything, jars included, looks good. Sterilize it all with hot, soapy water.
Step 6: Preheat jars. Once they are cleaned, get the jars preheating in the canner according to the instructions that came with your unit.
Step 7: Drain pickles. Set them aside for now.
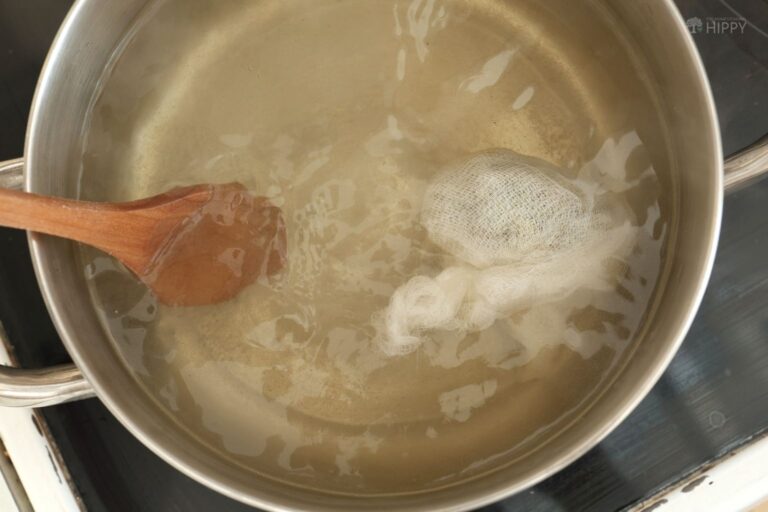
Step 8: Prepare brine. In a large saucepan, turn up the heat on 2 quarts (2 liters) of water and mix the vinegar, 1/2 cup of the pickling salt, and the sugar. Then place the pickling spices in the bag, tie it securely shut, and add that to the mixture. Bring everything to a boil.
Step 9: Remove jars, set on counter. Protect your countertop with a clean cutting board or folded kitchen towels and set the hot jars nearby using the jar tongs.
Step 10: Fill jars with pickles, add spices. Fill each jar with pickles nearly all the way to the top. Fit as many as you can, but don’t cram them in there.
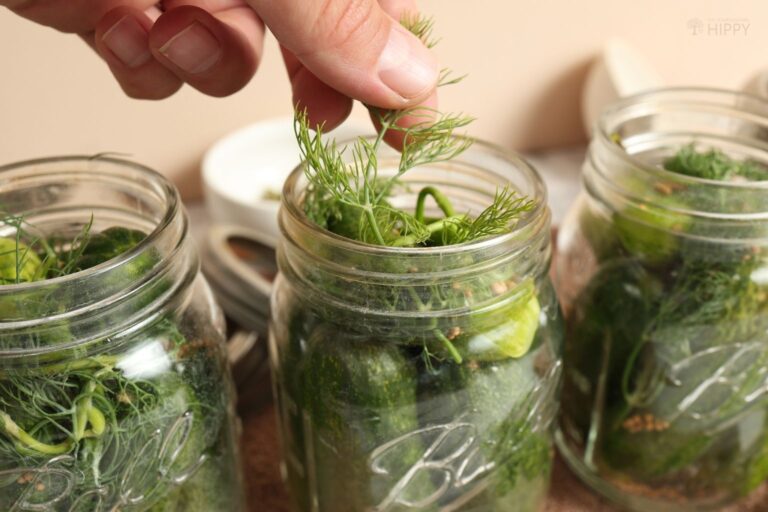
To each jar, add 1 tsp of mustard seed and one and a half heads of fresh dill. If you’re using dill seed instead of fresh dill, add a half teaspoon to each jar.
Step 11: Cover pickles with brine. Using the canning funnel, carefully pour brine into each pickle jar, leaving one half inch headspace.
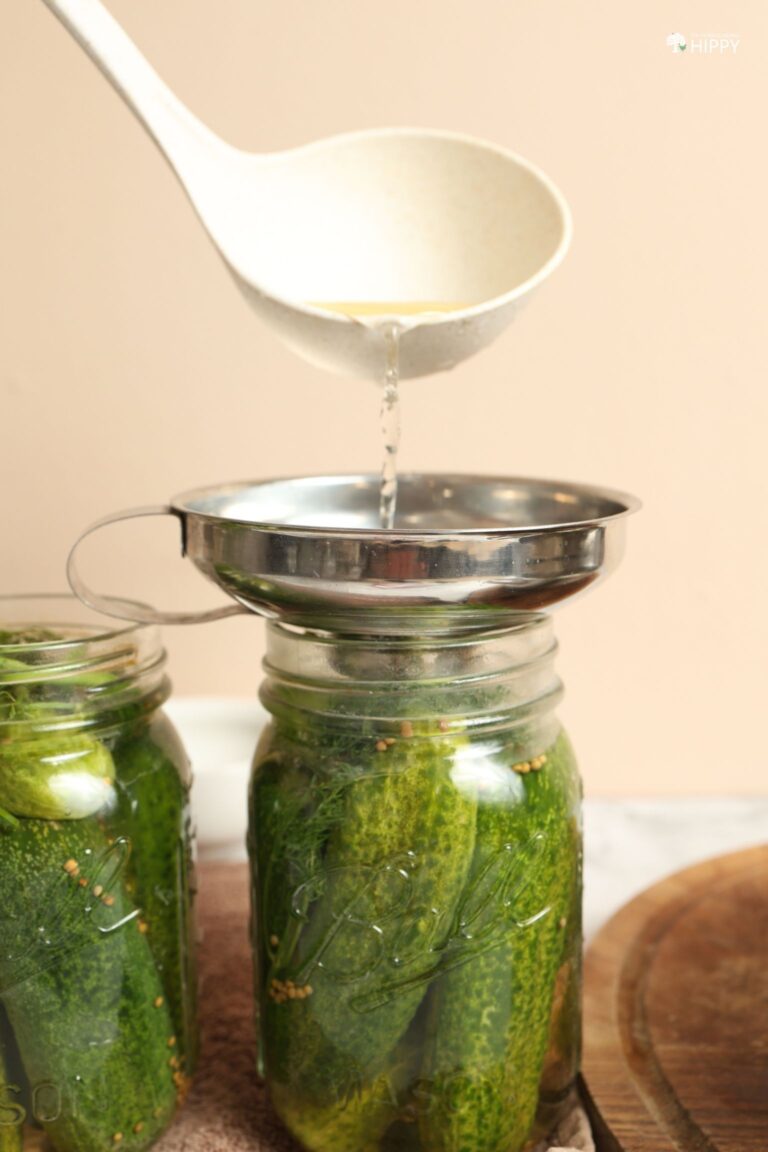
Step 12: Cap jars, secure with bands. Place a brand new lid on each jar and secure it with a band. Only tighten the bands down finger tight. Don’t overdo it!
Step 13: Load canner. Using your jar tongs if needed, carefully place each jar into the canner. Take great care to keep the jars perfectly upright. If you allow the contents to slosh against the lid, it might result in a lid failing after processing.
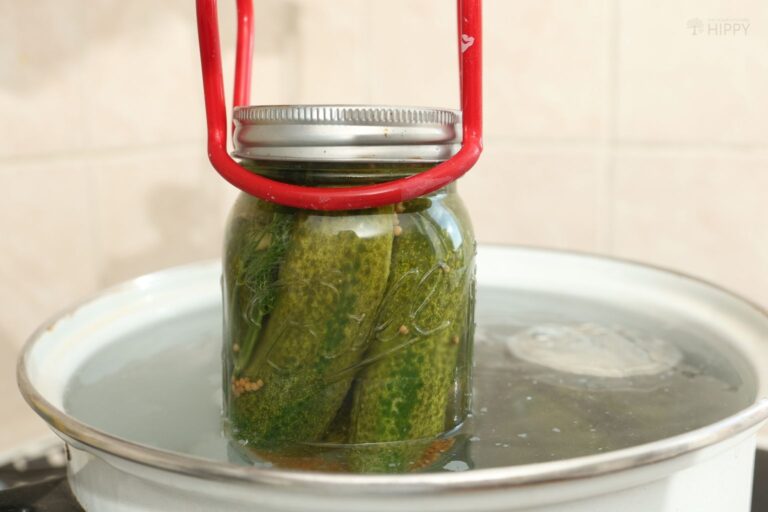
Step 14: Turn up heat on canner, process. Once the jars are loaded, turn up the heat and bring your canner to a boil. Once the water starts boiling, start a timer and process the batch of jars according to the instructions below based on your elevation above sea level:
- If you are between sea level and 1,000 ft in elevation, process the pickles for 10 minutes.
- If you’re between 1,001 and 6,000 ft in elevation, process for 15 minutes.
- If you’re above 6,000 ft, process for 20 minutes.
Step 15: Watch the time. Don’t go anywhere. Make sure the canner stays at a boil the entire time and cut the heat as soon as the time has elapsed.
Step 16: Rest jars, remove. Leave the pickles to rest inside the canner for about 15 minutes before you take them out. Then, using the tongs and taking care to keep them perfectly upright as before, set each jar aside on a clean cutting board or folded kitchen towels.
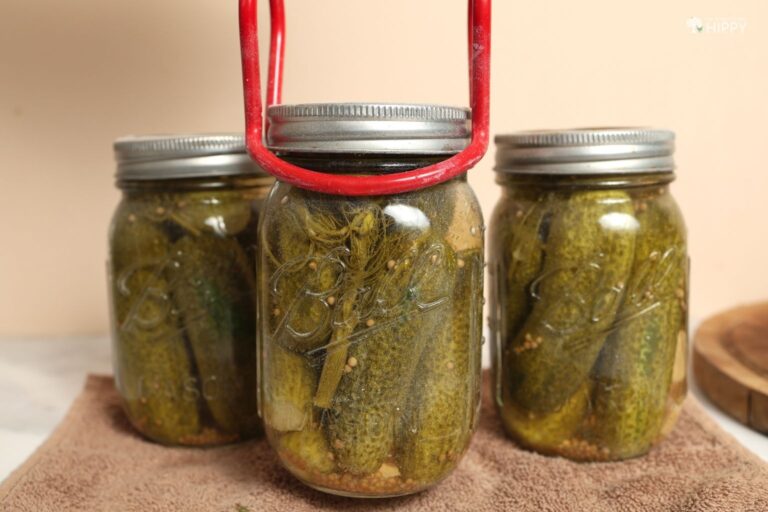
Step 17: Allow jars to cool. Protect the jars from drafts, as that may cause cracking. Give them 12 to 24 hours to cool down to room temperature.
Step 18: Test lids. To verify the seal integrity of each jar, remove the band and then press on the middle of the lid with a fingertip. It shouldn’t pop or move. After that, gripping the lid just by the edges with your fingers, lift it straight up an inch off the counter. It should not make any noise, hiss, or move. Jars that pass both tests are good. Any jars that fail, set them aside.
Step 19: Store and done! Your pickles are ready to store in a cool, dry spot that is protected from sunlight. Keep them at around 50°F / 10ºC and in the dark, and they should last at least a year in storage if unopened.
Are The Pickles Okay if a Lid Fails?
Yes, with a caveat. They aren’t spoiled just because the lid failed. In fact, they are perfectly safe and ready to eat if you want to enjoy them now, although their full flavor won’t develop for a few weeks more.
So here’s what you can do…
Either stick them in the fridge and enjoy them over the next couple of weeks or, using a brand new lid, reprocess them immediately. If they pass the test the next time around, they are good to go for storage, but as expected, this will soften them up more than you might like. That’s a choice you’ll have to make!

Tim is a farm boy with vast experience on homesteads, and with survival and prepping. He lives a self-reliant lifestyle along with his aging mother in a quiet and very conservative little town in Ohio. He teaches folks about security, prepping and self-sufficiency not just through his witty writing, but also in person.
Find out more about Tim and the rest of the crew here.