
Making kefir at home is really easy to do. But if you go overboard on making a batch, or you just want to take a break from drinking it for a little while, you don’t have to lose your grains and start over from scratch on the next batch… It turns out that kefir grains actually freeze really well, and they will keep for at least 6 months and often longer.
In this guide I’m bringing you a couple of options for doing so depending on your preferences. It’s really easy and you won’t need anything more than what you have in your kitchen and pantry right now. I’ll tell you everything just below.
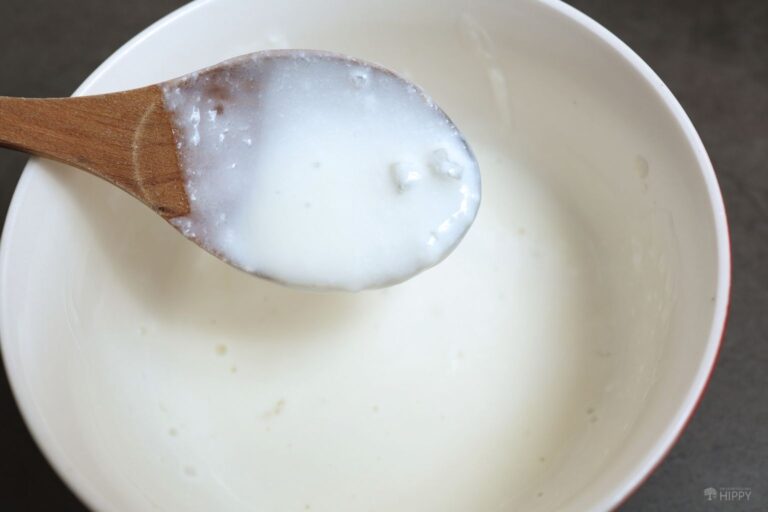
Method #1 – Rinsed and in a Container
This method is a little more work up front, but it makes reconstituting the grains when you’re ready to use them again easier and more reliable.
What You’ll Need
- Live Kefir Grains: you’ll only want to try this with live grains that you know are good. If you’ve got old or exhausted grains, freezing them isn’t going to bring them back to life.
- Water: tap or distilled water is all you need for rinsing the grains.
- Airtight Glass Storage Container or Freezer Bags: for storing your kefir grains in the freezer.
- Paper Towels: helpful for patting the grains dry after rinsing.
- Powdered Milk: adding powdered milk to the container you’re storing your grains in will help keep them from sticking together, and it will also give them a little bit of instant nourishment once you reconstitute them.
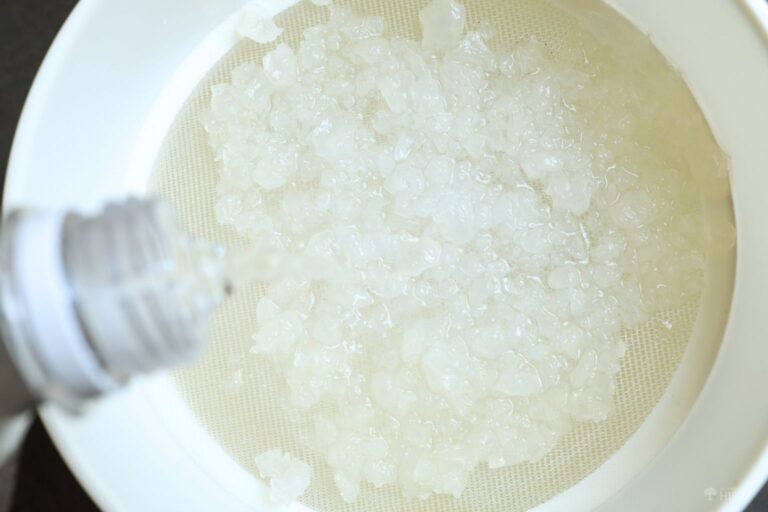
Step 1: Rinse grains in water. Place your grains in a small colander or sieve and rinse them under room temperature water. Tap water is fine, but they will be a little better off if you can use distilled:
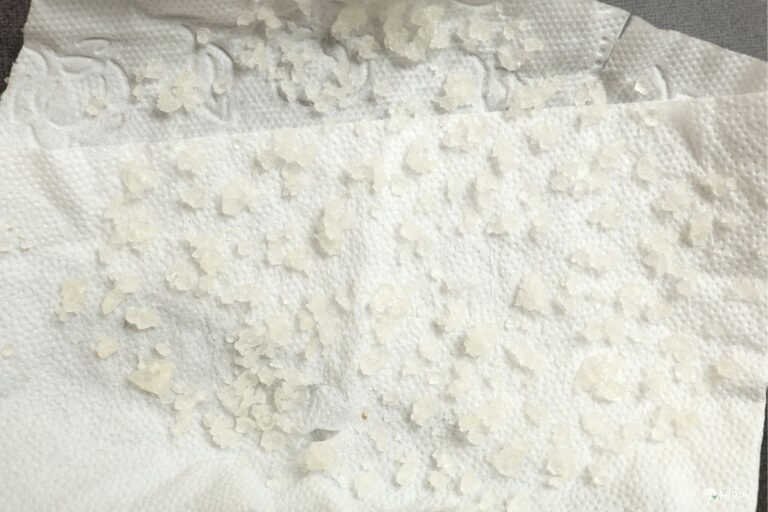
Step 2: Pat dry. Lay the rinsed grains on a paper towel, separate them into a uniform layer, and use another paper towel to carefully pat them dry.
Step 3: Leave grains to dry completely. Set your grains aside on a dry paper towel and leave them at room temperature to dry out completely. This should only take a couple of days.
Step 4: Place dried grains in container. Glass or plastic works just fine, or you can place them in a plastic freezer bag. The main thing is that the container is fully airtight.
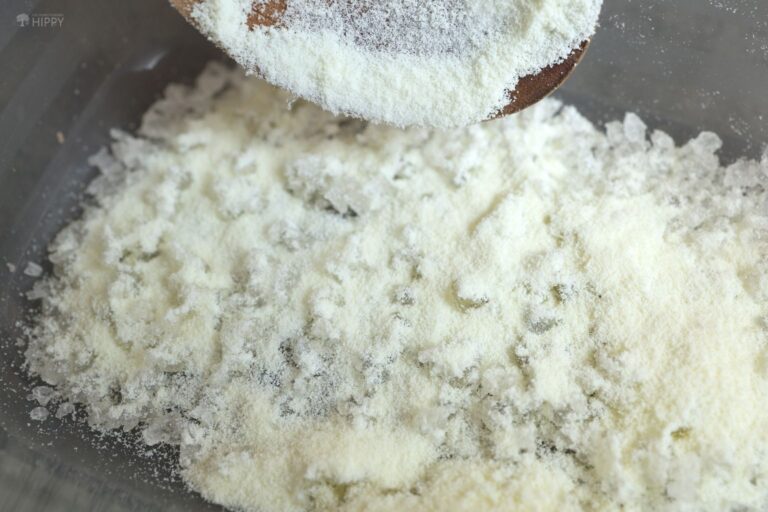
Step 5: Sprinkle milk powder over grains inside container. This will help protect the grains, keep them separate, and a few extra nutrients for you when you reconstitute. Toss the container gently or, if the grains are in a single layer, add just enough milk powder to completely cover them.
Step 6: Place container in freezer. Stick them in the freezer, put a date on the container, and you are pretty much finished.
Step 7: Check for freezer burn regularly. Your grains might perish if they get freezer burned. I recommend checking them every 3 months. If significant freezer burning is occurring, you need to pull the grains out and use them before it’s too late. In ideal conditions they should last for up to a year and at least 6 months.
Step 8: Reconstitute. Thaw your frozen grains in the fridge for at least 24 hours, rinse off the milk powder, then move them to a jar or bowl. Cover them with milk and a paper towel or piece of cheesecloth.
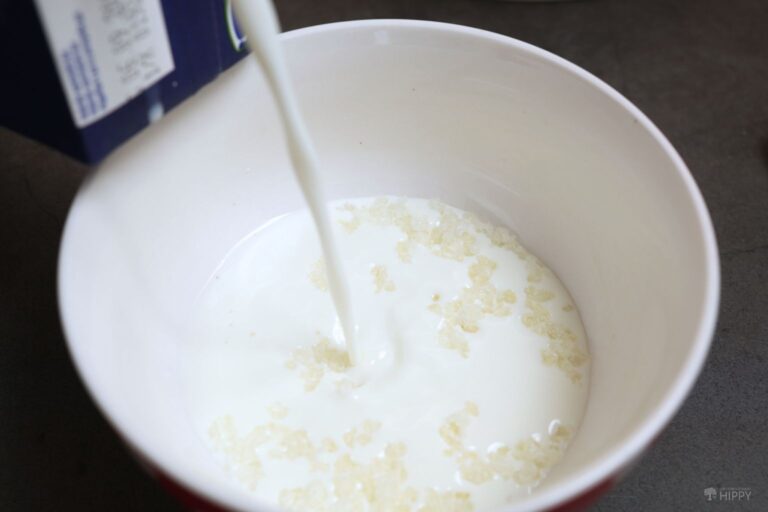
Check them after another 24 hours to see if the milk has thickened. If it has, they are ready to go! If not, repeat the process with a fresh batch of milk until it does thicken.
Method #2 – Ice Cube Trays
This one is best for easy storage if you don’t want to mess with preparation. It goes really quick! The downside is that you’ll have to work a little harder on the back end to revive your kefir grains.
What You’ll Need
- Live Kefir Grains: again, it’s only worth preserving live and healthy grains. Don’t waste your time with old or exhausted ones.
- Ice Cube Trays: plastic ice cube trays, any kind you like.
- Freezer Storage Container or Freezer Bags: again, they all work fine.
Step 1: Separate grains. Use a sieve or a coffee filter and a spatula to get as much excess liquid off of the grains as you can. You don’t have to rinse them:
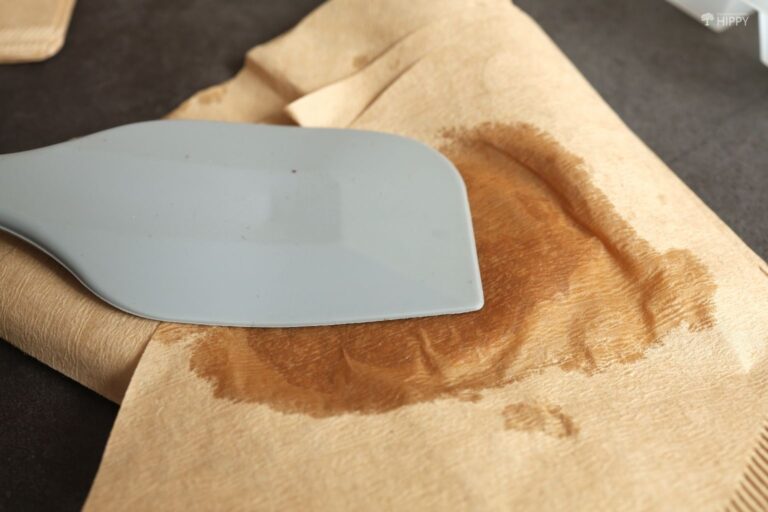
Step 2: Place grains in ice cube trays. Place anywhere from 1 to 1 1/2 tablespoons of the grains in each cell of the ice cube tray.

Step 3: Freeze for 24 hours. Your grains should be frozen completely solid within this time. If for whatever reason they aren’t, give them a little longer.
Step 4: Transfer kefir cubes to storage container. Pop the frozen cubes into the storage container of your choice and put them back in the freezer.
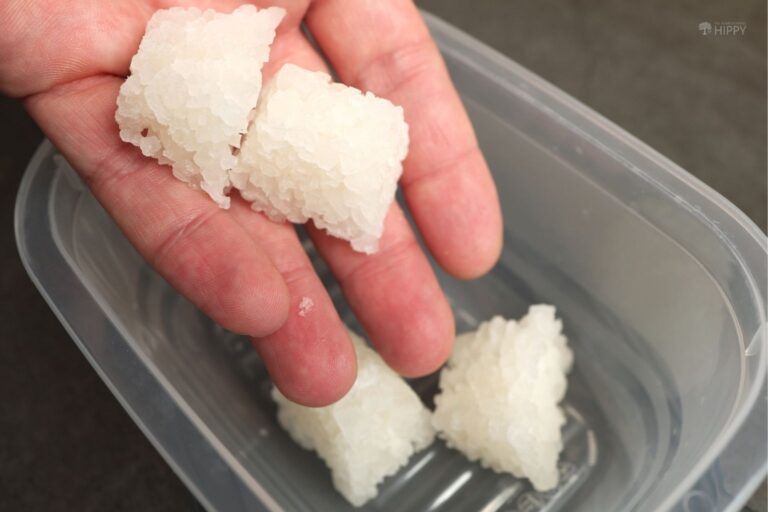
Step 5: Check for freezer burn. Freezing your grains in this manner is a little more susceptible to freezer burn. Check on them every 1 to 2 months, and be prepared to pull them out and use them if it starts to accumulate.
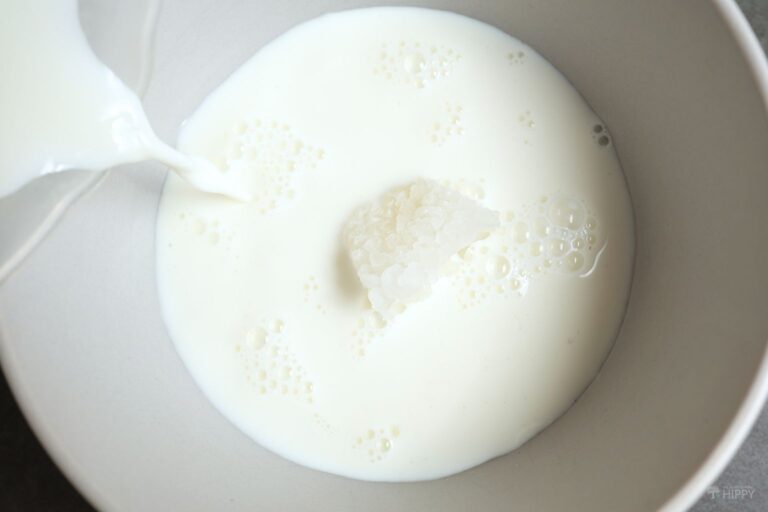
Step 6: Reconstitute. Place your cubes in small cups and cover each with about one cup of milk. Set them on the counter, at room temperature, for 3 to 4 days. Watch for the liquid to start separating into distinct layers. When this happens, drain the kefir, add another cup of milk, and repeat the process. If the liquid starts separating quicker this time, your grains are good to go!


Tim is a farm boy with vast experience on homesteads, and with survival and prepping. He lives a self-reliant lifestyle along with his aging mother in a quiet and very conservative little town in Ohio. He teaches folks about security, prepping and self-sufficiency not just through his witty writing, but also in person.
Find out more about Tim and the rest of the crew here.