
Fermented and pickled foods are some of the best things you can eat to help support gut health. This, in turn, should improve your energy and digestion, and make your trips to the bathroom a little easier.
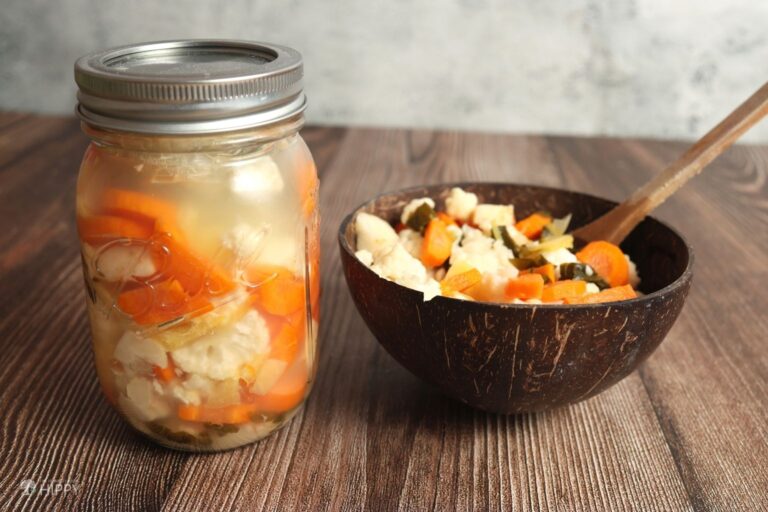
Among them, one of the very best, and very tastiest, is giardiniera, a classic Italian condiment and side dish consisting of tangy, sometimes sour, sometimes spicy, veggies. It’s so easy to make and the perfect solution for leftover veggies, a small harvest or folks looking for something a little different to make during the harvest season.
Best of all, you can make it with a wide variety of veggies, herbs and spices that you like! I’ll show you how to make a classic variety yourself at home in this article. And I’m not using just any recipe, but one that was actually tested (which you can find here on the University of California’s website). Roll up your sleeves and we’ll get into it!
Ingredients
Note that when it comes to ingredients traditional Italian recipes use carrots, cauliflower and celery, but you can add more or less of any or all veggies according to your taste or what you have. Everyone has their own spin on it!
Carrots: peel them prior to getting started.
Cauliflower: cut off the stalk.
Celery: cut off the woody end and the thin ends that terminate in leaves. You can include the leaves as an herb or discard them.
Bell Peppers, Bell: cut off the stem. I like to remove the white pith and the seeds from the inside. You also don’t need to peel them.
Peppers, Spicy (optional): if you like spice or just want extra flavor, include some spicy peppers. The UCANR recipe calls for jalapenos, but you can use other varieties as well. Remove the seeds for less spice, or leave them in for more kick.
Garlic: of course garlic has to be in there! Peel it and cut off the woody end.
Herbs: oregano, basil and marjoram are classic inclusions, but you can use any sorts of herbs you want.
Pickling Salt: critical for making the brine. We’re aiming for a 5% brine solution, so we’ll need 1.6 ounces (45 grams) of salt per quart of water. This would amount to 3 tbsp, but keep in mind that different salts have different densities, so the best thing you can do is weight it.
Water: you’ll need at least one quart for each batch, enough to fill four pint jars packed with veggies. This varies, though, with how finely chopped the veggies are, and how tightly you pack them, so be sure to have more water on hand than you think you need.
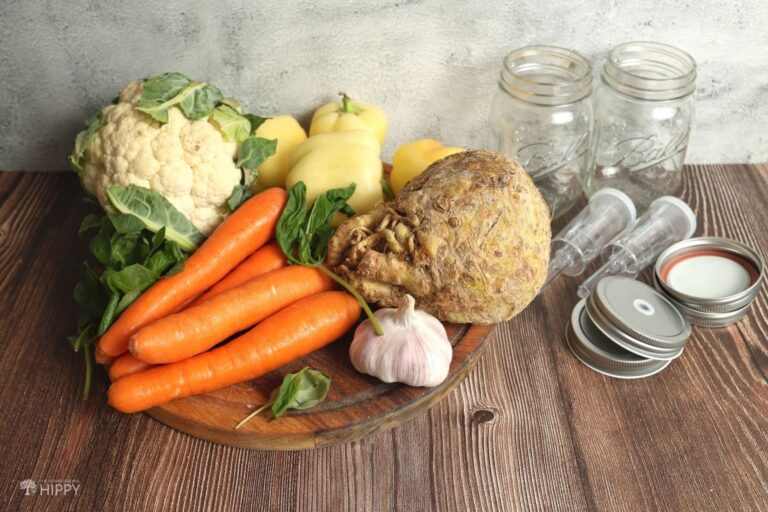
Special Equipment
Mason Jars or Fermentation Vessel: make sure you only use jars that are marketed as food-safe, and that they are squeaky clean before you start. You’ll need several depending on how large a batch you want.
Mason Jar Lids and Bands
Fermentation Lids: these specialty elastic lids allow carbon dioxide buildup to vent out of your jars as the fermentation process is underway. You can do without these and just use standard lids as I explain below. You’ll need standard lids regardless for storage once the process is done.
Fermentation Weight: a critical and often overlooked item for making this recipe. A fermentation weight will ensure that all of your veggies stay beneath the level of the brine. Any pieces that are allowed to float to the top, and be exposed to air, can sometimes mold – you don’t want that!
Veggie Tamper: AKA canning tamper. A special, bell- or plunger-shaped tool that will help you uniformly press the contents of your jars into a more compact form. If you don’t have one of these a broad spoon can work, but it isn’t as easy.
Step-by-Step Instructions
Step 1: Wash, prepare and chop veggies and herbs. Start by washing and then prepping your veggies as detailed above in the ingredients list. You can chop them into larger chunks to enjoy as a side dish, or small bits around the size of a pea to use it as a condiment. I strongly recommend you keep everything a consistent size whichever way you go. Dice or slice your garlic and dice the herbs.
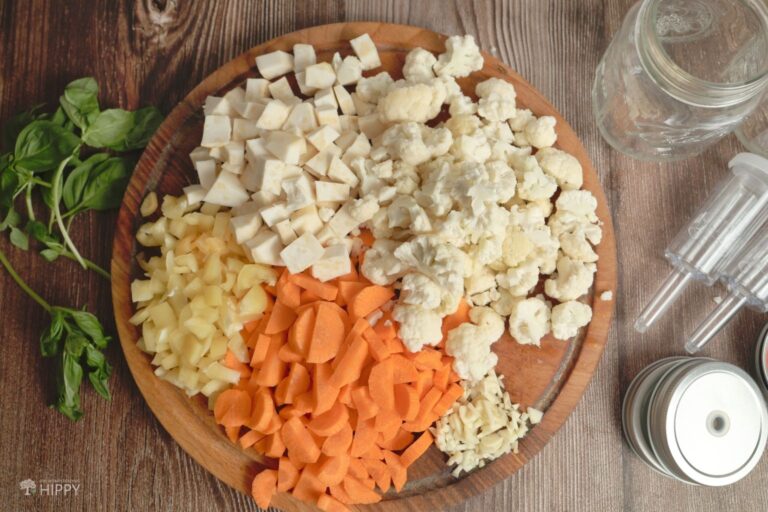
This is also a good time to thoroughly clean your fermentation weight. The canning authority suggests doing it in hot water, then rinsing it in “very hot water”.
Step 2: Prepare brine. Prepare the brine by pouring your water into a saucepan, by adding your pickling salt. Optionally, if you are unsure about the quality of your water, you can boil it first, but be sure to bring it to room temperature before adding it to the jars.
As for quantities, as I said in the ingredients list, you’ll need at least a quart of water to fill four pint jars, and 45 grams for each quart of water. If you need more water after you start to pack the jars, always make sure you dissolve the right amount of salt for the extra liquid.
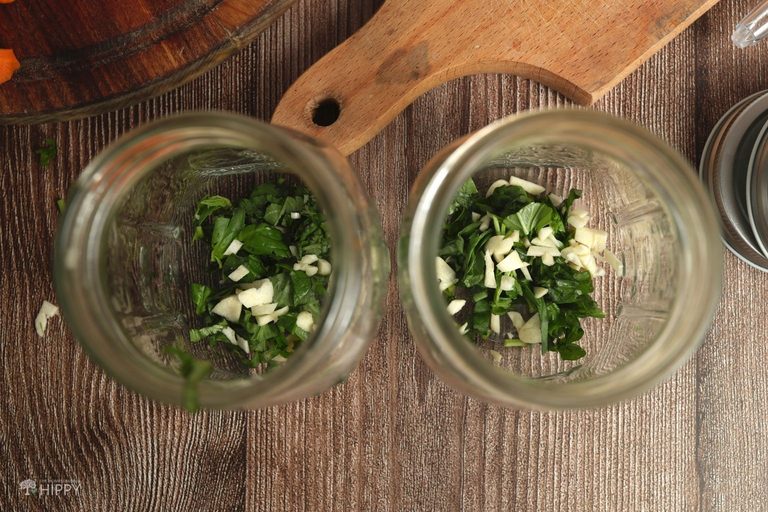
Step 3: Add herbs and garlic to jars. Add equal amounts of your herbs and garlic to the jars first. This is so the veggies will help hold them down.
Step 4: Add veggies to jar. Leave 2 inches of headspace. Now add equal amounts of all of your veggies, mixed, to the jars. Be sure that you leave some headspace at the top of the jar. Most recipes tell you to leave about 2 inches, while the one we’re following doesn’t say anything. So two inches it is!
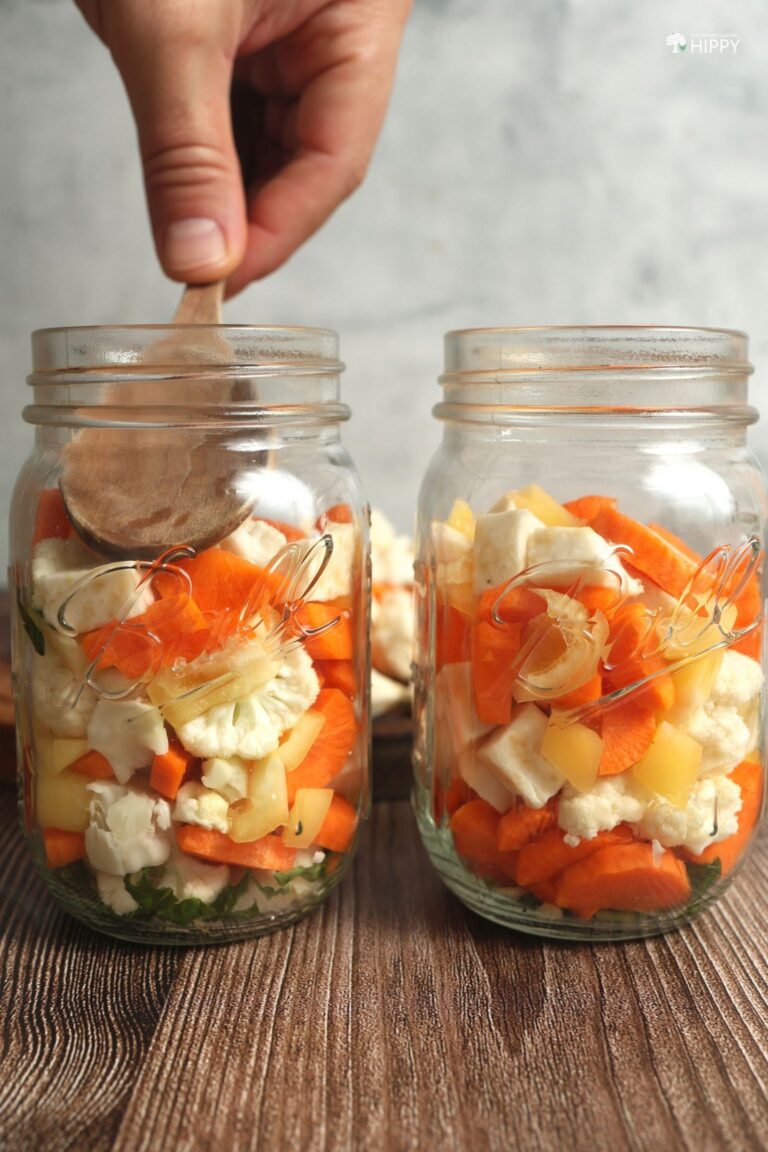
Step 5: Tamp jar contents. Grab your veggie tamper or large spoon and gently press the contents of the jars down. Don’t press so hard that you start crushing the individual pieces. If you gain a lot of room back in the jar, you can add veggies again until it’s full, being cautious to leave 2 inches of headspace as before.
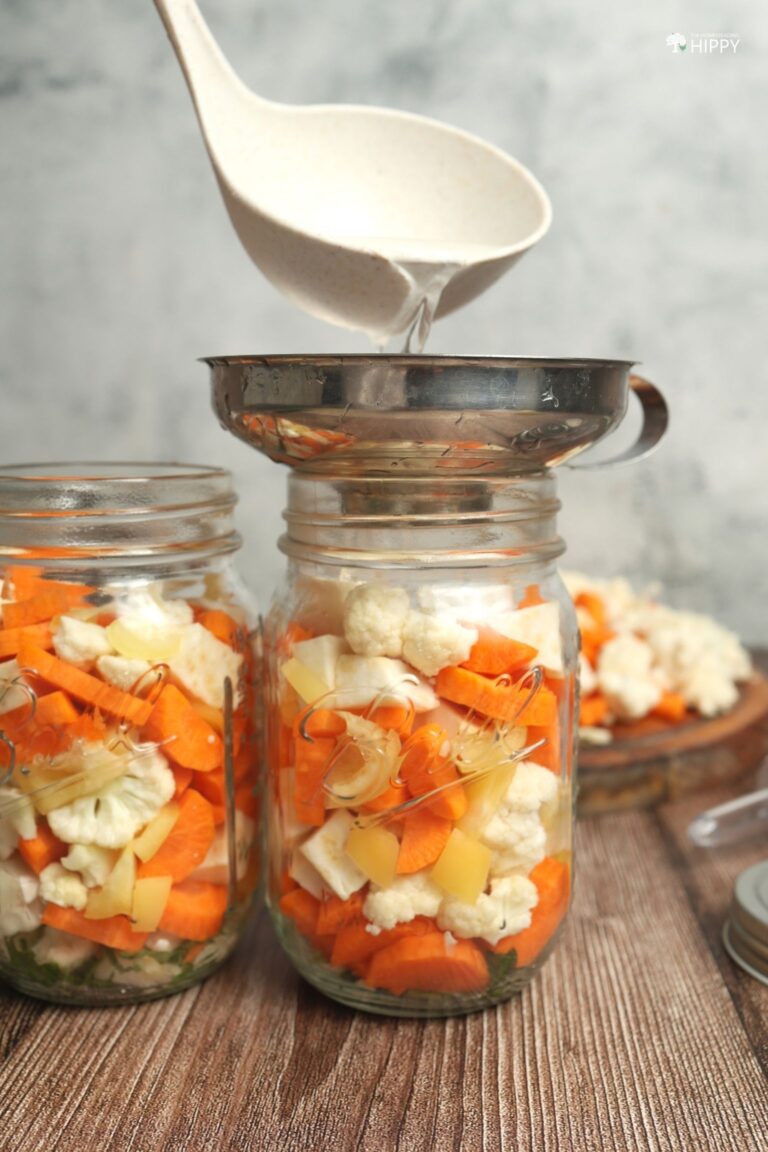
Step 6: Pour brine into jars, add weight. Once your jars are packed, pour the brine over the contents, leaving about an inch of headspace. Note that this is different from the two inches you had to leave ablove. That was for veggies, this is for the brine.
Also, if you previously boiled the water (not needed), you need to let it cool off to room temperature before doing this.
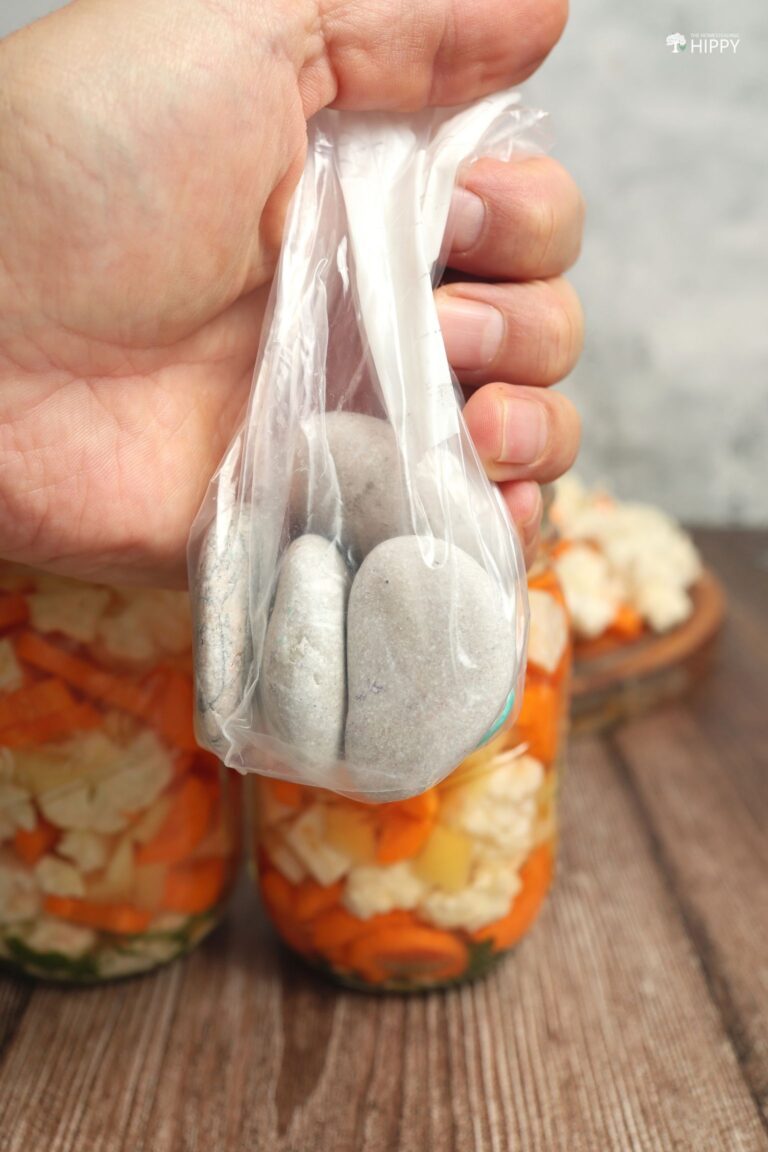
Once this is done, add your fermentation weight to each jar. As you can see, we’ve used a few small rocks inside a plastic bag to achieve the same result. Note that you shouldn’t place the rocks on top of the veggies directly, put them in a food-grade plastic bag first. You can also use:
- fermentation weights
- food-grade bags filled with brine
- or even whiskey stones!
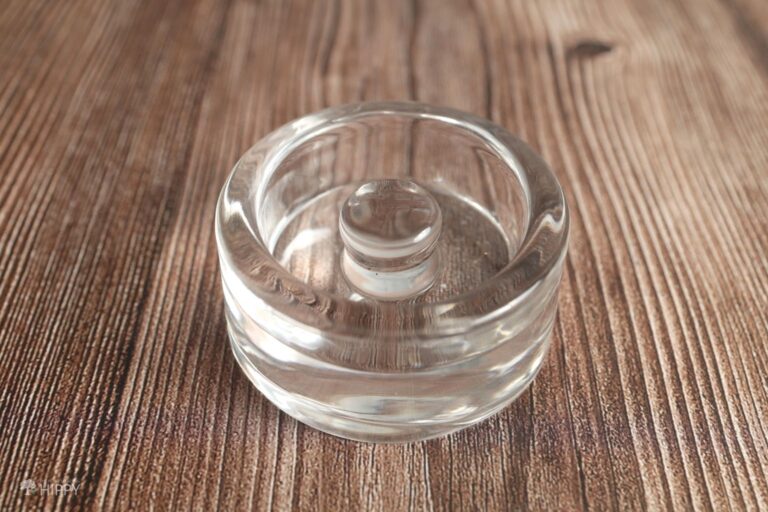
This is what a fermentation weight looks like, it’s pretty basic:
Step 7: Cap jars with fermentation lids and Airlocks. Place the fermentation lids on each jar and secure them with a jar band, then attach the airlocks at the top of the lids.
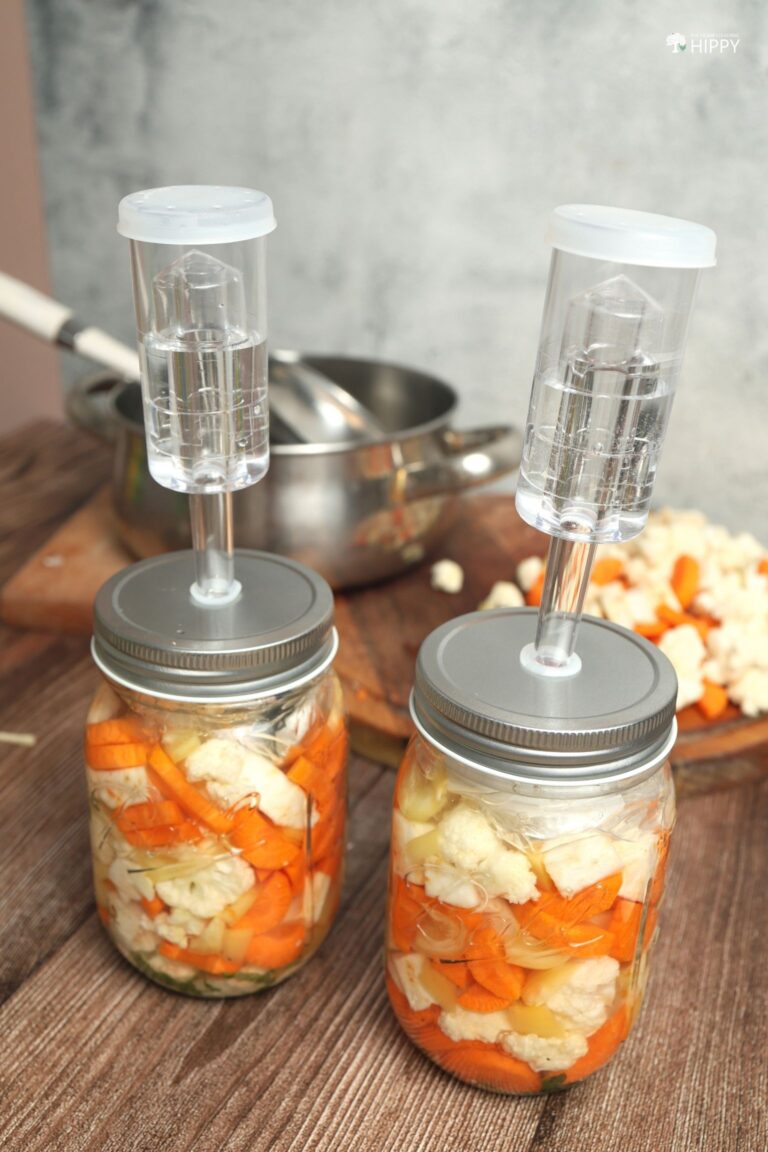
The original recipe just says to not seal the lid to allow fermentation gases to escape, but also recommends airlocks. So you can use regular Mason jar lids if you don’t have fermentation lids and airlocks, but the specialized equipment allows for a more controlled way for the CO2 to escape. If using regular lids, you want to avoid screwing the lid too tightly.
Step 8: Allow jars to ferment. Keep your jars out of direct sunlight and at room temperature, ideally at 70–75°F (21–24°C). Allow them to ferment for at least four days, keeping in mind that the longer you leave them, the tangier they will taste. So the duration is a personal preference so long as it’s between 4 days and two weeks.
Step 9: Taste test. Open one jar and taste the contents. If it is a little tangy and a little sour, that’s normal the longer you let it ferment. Otherwise you can give them a few extra days of fermentation time, but NO MORE THAN TWO WEEKS in total.
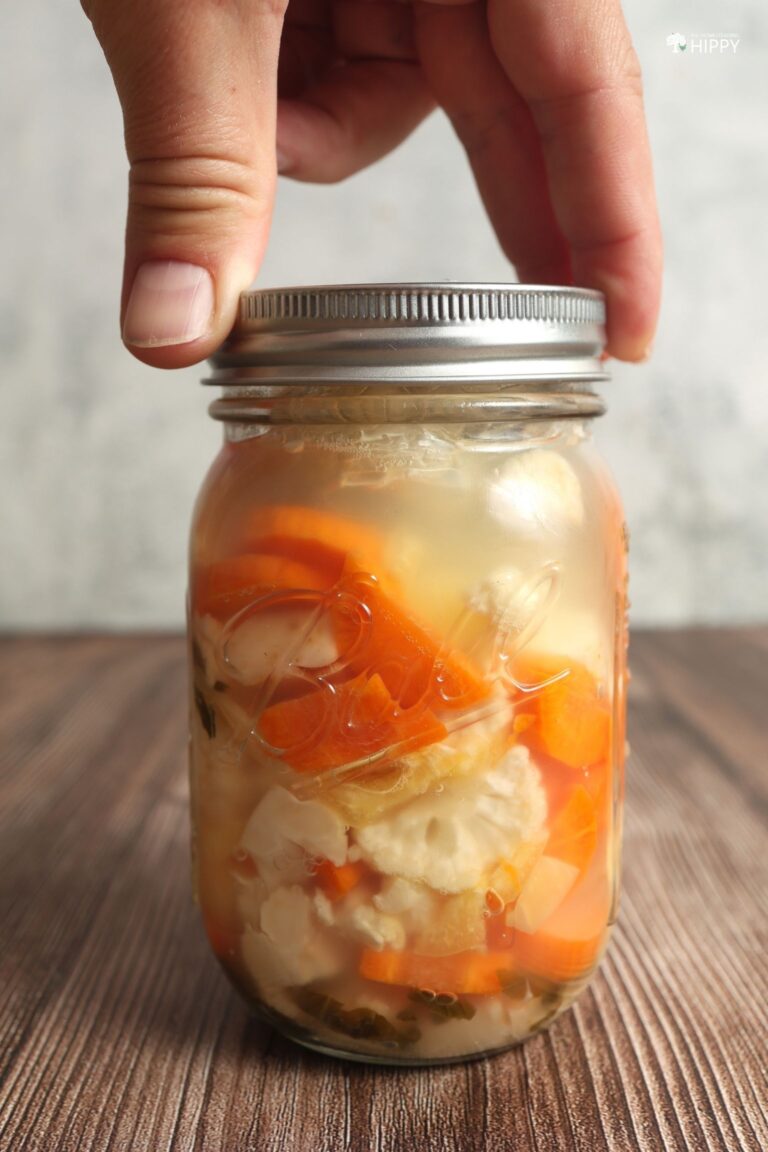
Step 10: Replace fermentation lid with standard lid. Once you are happy with the flavor, remove the fermentation lid and replace it with a standard canning lid, clamping it with the band as usual.
Step 11: Store finished giardiniera in fridge. Place your finished jars in the refrigerator and consume within a few months for the best flavor. Keeping it chilled is needed for longer term preservation.
Step 12: Done! Congratulations on making your own batch of tasty giardiniera!


Tim is a farm boy with vast experience on homesteads, and with survival and prepping. He lives a self-reliant lifestyle along with his aging mother in a quiet and very conservative little town in Ohio. He teaches folks about security, prepping and self-sufficiency not just through his witty writing, but also in person.
Find out more about Tim and the rest of the crew here.