
Drying meat is a great way to preserve it for long-term storage without the benefit of any refrigeration.
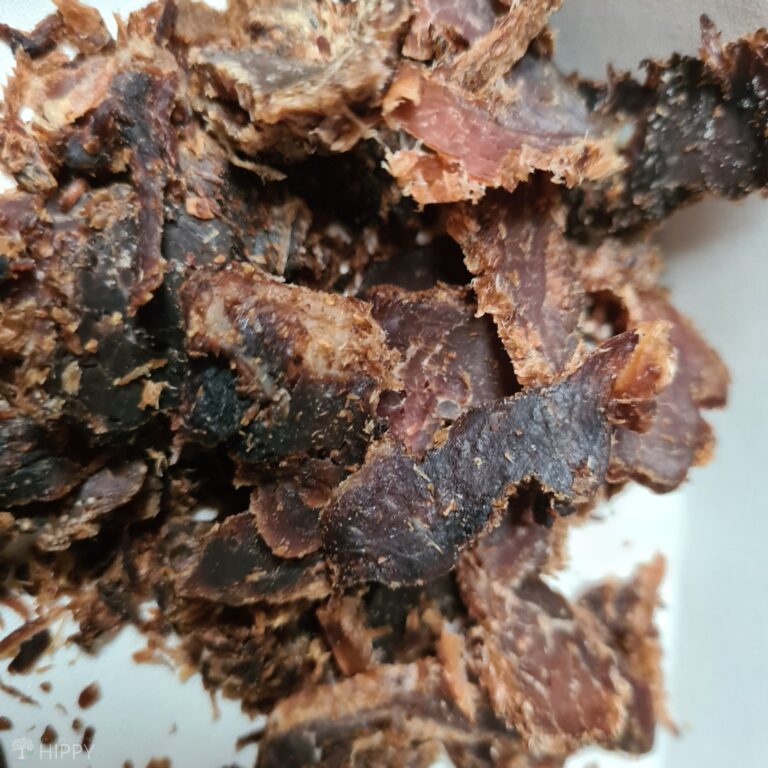
And don’t take my word for it, as it is a technique that has been practiced for millennia. And not for nothing, if you want delicious, nutritious jerky to snack on then you’ll have to dry it!
But there is just one problem… dried meat is very expensive! Naturally, this has led plenty of savvy homesteaders, your author here included, to start drying meat at home DIY style. I know lots of people think that this is a process that’s totally beyond them, but I promise it isn’t.
Drying meat yourself at home is a lot easier than you might think, and I’ll tell you about five of the best methods for how to dry meat below…
Any Kind of Meat Can be Dried!
Before you go any further, you need to know that any kind of meat can be dried! And I mean any kind of meat.
You can dry beef, of course, if you want that classic beef jerky, but you can also dry chicken and turkey, venison, lamb, fish, and even goat if you really want to! And I’m sure someone out there has dried alligator tail before…
As long as you know what you’re doing and understand the process, any kind of meat can be successfully dried. And learning is the first step of drying meat yourself at home.
I’ll tell you all about the basics and various rules of thumb in the next section and then we’ll get on to the methodology!
Tips for Choosing and Prepping Your Meat
The good news is that there are a few basic ground rules that really don’t change when it comes to drying meat. The type of meat doesn’t really matter, and even the cut of meat doesn’t matter as much as getting the following factors right.
As long as you can do that, you’ll be halfway to delicious and long-lasting dried meat with very little effort.
Go Lean!
One of the most important considerations when choosing, cutting or prepping meat specifically for the purposes of dehydration is that it needs to be as lean as possible. Lean cuts of meat are the only ones that you can depend on to last for a long time.
That’s because, no matter the species that the meat comes from, fattiness leads to rancidity and rancidity means spoilage. I know, I know: no one likes a totally bland and flavorless steak or other cuts of meat, but we aren’t going that route with our dried meat.
Even if you follow all of the other rules to the letter, if you start with a fatty cut of meat, your jerky is going to spoil in no time. Make it a point to trim off absolutely all the fat that you can, and pick a leaner cut of meat for even better results.
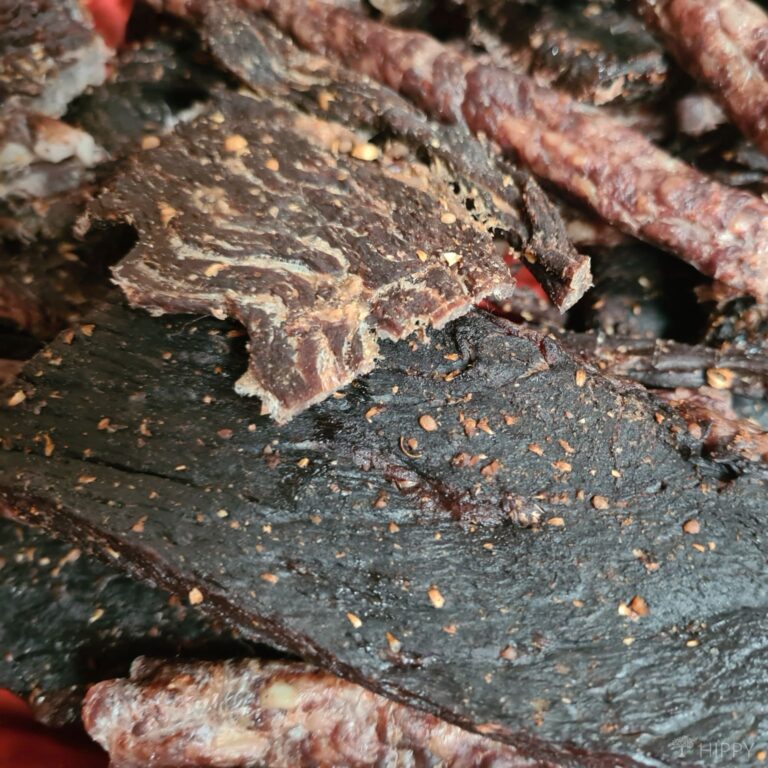
Marinate for Flavor
When it comes to making jerky or drying meat for use as an ingredient in dehydrated meals and things like that, it’s critical that you marinate it ahead of time unless you want a flavorless piece of leather!
Marinating is the only way to ensure that your meat will have that delicious taste that you want. Salt, seasonings, herbs, spices and more can all be locked inside the fibers of the meat and will survive the drying process. This is what makes beef jerky so intensely flavorful!
Just understand upfront that depending on the type of meat you are marinating, it might marinate for a little longer or a little shorter, depending.
Generally speaking, beef, chicken, lamb, and goat will do better if marinated longer, while fish and turkey should only be marinated for a shorter period of time.
Small, Thin Pieces for Good Results
Any cut of meat that you’re going to dehydrate properly must be small and thin. This is the only way that you can guarantee that it will completely dry out, including in the center.
The single biggest mistake I see people make when drying meat is using pieces that are too thick.
This means the ends and edges will dry out, but the center will still be moist and that means spoilage and possibly danger! Bacteria breeds in moisture, so that is why we have to get rid of it all!
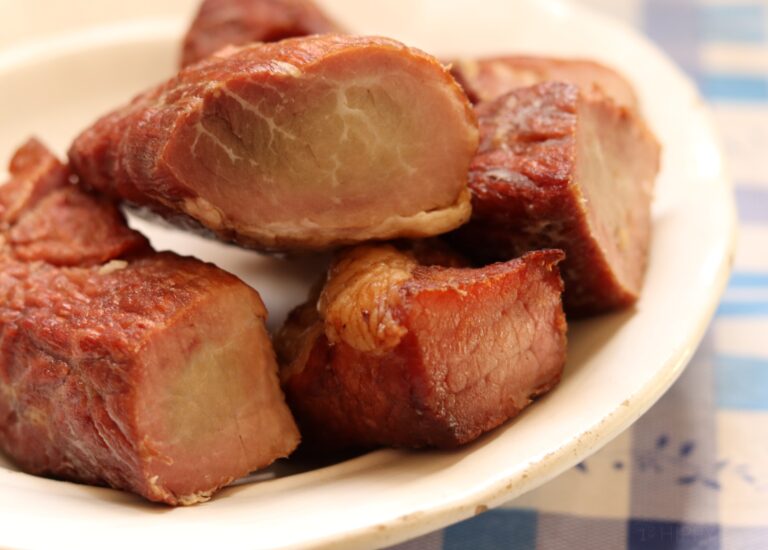
Simmer for Safety
It’s possible to cool or cold dry your meat without pre-simmering it, but this can increase the danger of foodborne illness and spoilage.
A better way, I think, is to give your marinated pieces a quick simmer for about 5 minutes once it has reached a boil. You can use the same marinade that you had them in for the purpose.
Doing this ensures that the microorganisms that might cause spoilage are gone before you ever start the drying process, and it generally results in less loss and greater safety.
Like I said, pretty simple stuff! Now you know what you need to know about getting your meat ready so it’s time to move on to actually drying it. It won’t be long, and then you’ll have delicious jerky or ingredients ready to use.
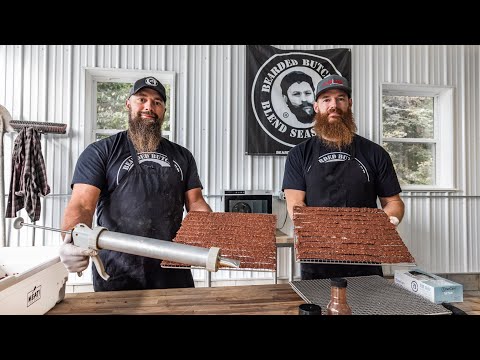
The Best Ways to Dry Meat at Home
The following are my favorite time-tested, effective, and delicious methods for drying out meat at home with a minimum of aggravation and fuss.
Dehydrator
Pros
- ✓ Easy to set up and use.
- ✓ Requires minimal user intervention.
- ✓ Can make a large batch of jerky at once.
Cons:
- ✘ Often large and bulky, eats up counter space.
- ✘ A one-trick pony. Good for dehydration and nothing else.
When you just want dehydrated meat with an absolute minimum of engagement, go to the one, right tool and that is a food dehydrator.
Food dehydrators have been around for a long time now, and they can definitely handle drying out your meat and make the process as easy as it can be.
Load the trays, set the temperature or the food selector according to your instruction manual, and then come and check on your meat after the prescribed amount of time.
Food dehydrators excel at low, slow drying as you expect, but they do take a very long time to work even in ideal conditions. At best, you’ll likely be able to get two or maybe three batches of jerky in a 24-hour period, assuming you are awake to change them out.
But, if you hate experimentation and don’t mind one of these monstrosities eating up your counter space, they are still a great option…
Oven
Pros
- ✓ Highly versatile, can do baking, broiling, and more in an oven.
- ✓ Ubiquitous. You’ve almost certainly got one already and if you don’t you probably need one!
Cons:
- ✘ Has difficulty maintaining low temperature. Most household ovens cannot be set low enough to reliably produce dried meat without overcooking it.
- ✘ So fiddly, chances are you’ll need to turn the heat on and then back off at times or crack the door to ensure adequate ventilation and correct temp.
- ✘ Overkill. Compared to appliances designed to work at much lower temperatures, you’ll be wasting electricity trying to drive meat with your oven and running it for a long time.
There’s no reason why you can’t dry out meat in your own oven at home, and do so today. It’s a highly attractive option, because you won’t have to run out and get anything or learn how to do appliance works. You already know how your oven works, so why not use it for this?
The only real downsides to using an oven for drying meat is that, unless you have a very high-end or specialized oven, is that your oven probably cannot be set to the low temperature of approximately 165 °F / 73 °C needed for drying out meat.
This means you’ll have to experiment with opening the door enough to let enough heat out to maintain the approximate temperature, and it’ll be hard to say what the temperature is with certainty.
Also, your oven will use a lot more power than something like a dehydrator or other appliances on this list. Nonetheless, they do work and legions of people use their oven for making jerky at home. There’s no reason you can’t do the same with success!
Air Fryer
Pros
- ✓ Highly versatile. Can be used for drying or cooking all sorts of foods quickly and easily.
- ✓ Good dehydrator alternative. Some air fryer models are designed with dehydration settings built in.
Cons:
- ✘ Expensive. Compared to other appliances on this list, you’ll drop a pretty penny on a good air fryer.
- ✘ Bulky. Air fryers are another appliance that gobble up precious counter space.
- ✘ Feature sets vary. Check the specifications, not all air fryers can maintain a very low temperature for dehydration.
Although air fryer mania has cooled somewhat, pardon the pun, from a couple of years ago, these machines still remain the darlings of many households, including mine.
Air fryers are basically miniature convection ovens, using a combination of intense heat and rapidly circulated air to produce perfectly cooked and often crispy food quickly.
They also benefit from the best in modern technology, and many of them are designed with dehydration settings in mind. This makes them a wonderful all-in-one appliance that you can use to cook or dry at turns at the flip of a switch.
But there are drawbacks, too: The problem with using an air fryer specifically for drying meat is that there is a ton of variability in the different models on the market.
Some have dehydrator settings, some don’t, and the ones that don’t might be able to simply maintain a low enough temperature. Then again, they might not! Make sure you read that specification sheet before you purchase.
Smoker
Pros
- ✓ Time tested. This is a more traditional way of drying meat.
- ✓ Safety. Properly set up, smoking can further preserve your meat and eliminate germs.
- ✓ Taste. Let’s get real: nothing tastes better than a delicious, smoked piece of meat!
Cons:
- ✘ Outdoor only. Unless you’re a lunatic, you can only safely smoke outdoors.
- ✘ Time. Smoking can take longer than other methods due to setup time and the necessity of replenishing wood chips.
- ✘ Engagement. You’ll be putting in a lot more effort than other methods on this list if you want to use your smoker for drying meat.
Since time immemorial, smoking has been the primary method of drying meat. The combination of relatively low heat from the smoke along with the compounds in the smoke itself provides a wonderful one-two punch of preservation and infusing a delectable flavor to any meat.
You can reap the same benefits today with a common and affordable smoker or go really old school and use a primitive fire pit method. But smoking meat is a method of drying with some big trade-offs…
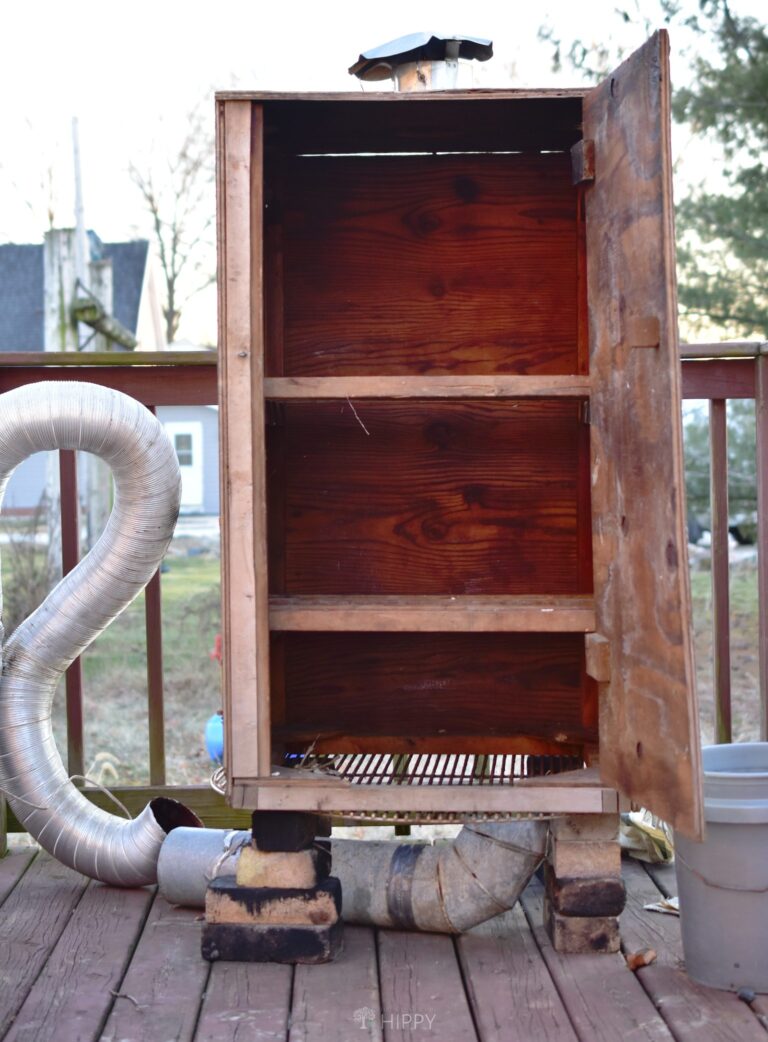
The first is that smoking may only be performed safely outdoors. Filling your house up with smoke is certainly going to upset your family but more importantly, it can hurt people due to carbon monoxide buildup. Don’t risk it!
Plus smoking is more art than science, and getting your wood chips going at the right temperature and then adjusting the heat and airflow, and positioning the meat, to evenly dry out your meat will take a lot of experimentation and engagement from you.
Is it worth it compared to other methods on this list? That is for you to decide, but I can tell you with certainty that nothing tastes better than smoked jerky!
Solar Oven
Pros
- ✓ Extremely low cost. The energy of the sun is free, and you can make or buy a solar oven cheaply.
- ✓ Eco-friendly. You aren’t using any electricity or other consumable fuel to dry your meat.
- ✓ Off-grid capable. This is one of the best ways to dry meat if you don’t have access to electricity or other resources.
Cons:
- ✘ Daylight dependent. For obvious reasons.
- ✘ Difficult to control. You’ll have to constantly manage many variables in order to maintain a consistent internal temperature and also ensure adequate airflow.
- ✘ Only good for small batches. The larger you make a solar oven, the more variability there is and the cooking chamber and that is not what we want for drying meat. Smaller ovens are more consistent but reduce your capacity.
Solar ovens are an interesting, if contentious, way to dry meat yourself. Using nothing more than the unlimited power of UV radiation from the sun, the mirrored box that is a solar oven can easily heat up enough to dry meat throughout the course of a day. What can be better, no electricity needed?
Solar ovens are great, but they come with some major trade-offs. The first is that they are extremely fiddly and chances are you will constantly be messing with it.
You’ve got to turn the oven to track the sun across the sky, its performance is dependent upon weather.
Plus, maintaining a consistent internal temperature, neither too cool nor too hot, will be challenging and require lots of minute changes until you get it just right. And then it could all be different tomorrow!
Definitely a viable option, and a great one for any sort of off-grid living situation or as a backup to your usual methods, but be prepared to invest a lot of effort and attention to get it right.
How Can You Tell Your Meat is Done?
There’s a trick to telling when your meat is dry enough and safe to store and eat no matter what…
What you definitely don’t want to do is dry the meat out so much that it turns brittle and snaps. You also don’t want it moist and tender, because moisture, as we learned, means bacteria and that will mean spoilage in very short order.
Instead, you want a happy medium. Your dried meat should be completely dry to the touch, but it should be flexible like a piece of old, cracked leather. It should flex, bend, and then tear or rip, not snap. If you tear it in half in the middle, the center should be dry but pliable, not moist!
And when in doubt, remember this: it is better to be too dry when drying meat rather than not dry enough! Safety first.
There’s definitely an art to it, but once you’ve done it a couple of times, you’ll have it down- just like riding a bike.

Tom has built and remodeled homes, generated his own electricity, grown his own food and more, all in quest of remaining as independent of society as possible. Now he shares his experiences and hard-earned lessons with readers around the country.
Find out more about the team here.