
Dehydrated foods aren’t just for last-chance survival rations and astronaut meals. Dehydrated foods of all kinds maintain an excellent nutritional profile, have extraordinary shelf lives, and are easy to reconstitute for preparation as normal.

These characteristics are what have made my own food dehydrator one of my most used appliances in the kitchen! And my very favorite veggies to dehydrate with it are onions…
Onions might just be the easiest things to dehydrate: they’re super quick and easy to prepare, they dehydrate fast, and they keep their excellent flavor however you prepare them later.
Speaking of flavor, your kitchen will smell like onion the entire time, I’m talking about the whole day – so keep that in mind.
Keep reading to learn how to dehydrate your own onions easily in just a few steps…
What You’ll Need
I will all but guarantee that everything you’ll need to dehydrate onions is in your kitchen right now…

- Food Dehydrator: you’ll need a food dehydrator to make dehydrated onions properly. Unfortunately, pretty much every home oven is incapable of staying at a low enough temperature, consistently, to properly dehydrate onions without cooking them. Whatever kind of food dehydrator you have, make sure you’re familiar with how it works.
- Kitchen Knife: you can use a kitchen knife, santoku, or cleaver at your preference. Smaller onions can be handled with a paring knife. Whichever knife you use for precise slicing and chopping, pick that one.
- Cutting Board: any kind of cutting board you like will work fine. Just make sure it’s totally clean and dry.
- Towel or Paper Towels: This is to quickly dry the onions after washing them.
That’s it, nothing else needed! Now it’s time to get down to business and prepare these onions.
Step to Dehydrating Onions
Follow these steps, and you’ll have perfectly dry and crispy dehydrated onions in no time. Make sure you read over all the steps before you begin so you know what you’ll be doing ahead of time.
Step 1: wash onions. Yes, wash the onions before you peel them to remove any traces of germs and keep your cutting board sanitary. Dry them off with a towel.
Step 2: peel onions. Remove the papery skin from each of the onions. Make sure you get it all, because of any is left on the actual flesh of the onion it will impact the flavor and quality of the finished product.
Step 3: cut off tops and roots. Just what it says, cut off the stem on the top and the fuzzy root end.
Step 4: slice onions. Now carefully, and being as precise and as consistent as you can, cut each onion into ¼” (6 millimeters) thick slices. Take your time and get this part right, because the more consistent each piece of onion is, the better the results will be in the dehydrator.
Step 5: separate rings. Now pop the layers of the onion apart so you have a large quantity of individual onion rings from each layer of the onion.
Step 6: chop. Now, chop the rings into individual pieces. Ideally, you’ll keep the pieces about a ¼” square (6 millimeters). Again, take your time and be as consistent as you can. A rough, ugly chop means you’ll have some pieces done a whole lot sooner than others.
You can also place whole rings, but these will take longer to make. It will save some chopping time, though. I filled one of the trays with whole rings just to see how they’d turn out…

dehydrator-tray-with-onion-rings.jpg
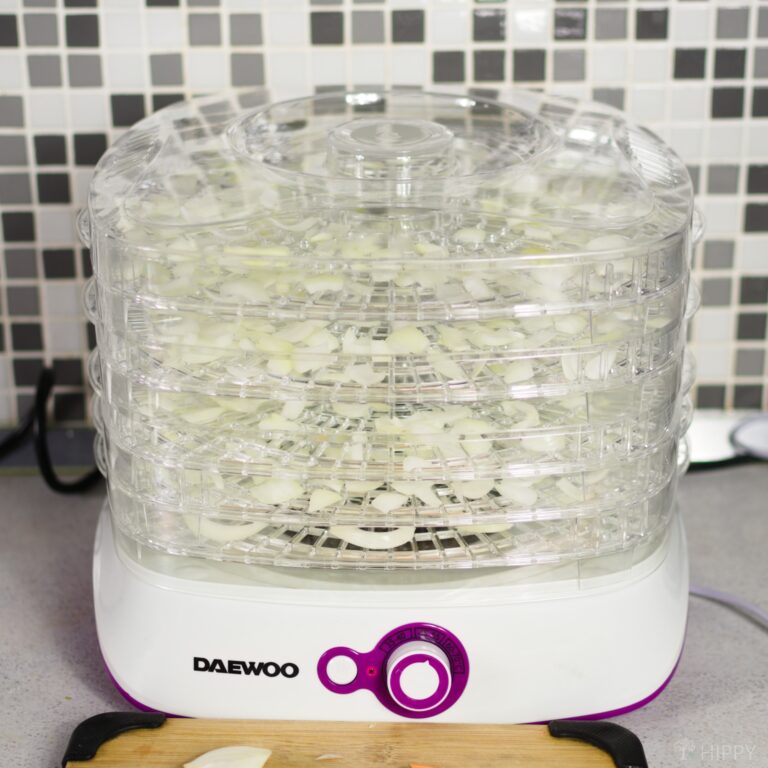
Step 7: place onion pieces on trays. Load your dehydrator trays with the onion pieces. You roughly want them to be in a single layer, but the pieces can be touching each other or somewhat overlapping. They will shrink as they dry out, anyway. Do not pack the trays full!

Step 8: set dehydrator to 125 °F (52 °C). This is the ideal temperature for dehydrating smaller onion pieces like this. If your dehydrator doesn’t have a rheostat, check the manual for the right setting.
Step 9: set timer. Depending on how small your individual pieces are, your onions will take anywhere from 7 to 10 hours to fully dehydrate.
Step 10: check. After 6 hours or so, pick out one of the larger pieces from your trays. Press it to see if it is still squishy. If it isn’t, see if you can break it cleanly in half.
This is what mine looked like after 2 hours…

And these are the onion rings at the same 2-hour mark:

Be sure to switch the trays with each other for a more uniform drying. I just noticed before typing this that the pieces on my top tray are softer than those on the bottom tray, so I went ahead and reversed the order of the trays. The top tray went to the bottom, bottom tray went to the top, etc.
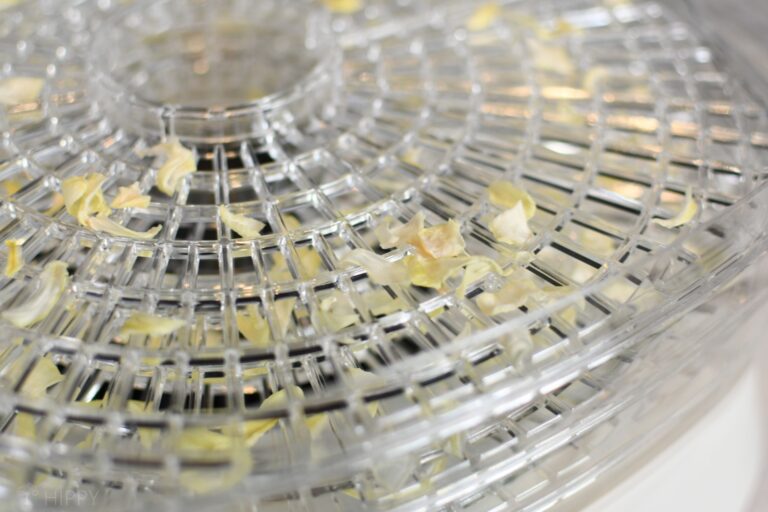
This is what they looked like after 4.5 hours…

And after 6 hours:

After the 6-hour mark, you should keep checking on them every hour or so. When the pieces have no “give” whatsoever and break cleanly in two with a snap, they are done.
Step 11: remove trays and allow to cool. Never deposit your onion pieces directly into your container at this point. This will cause an accumulation of humidity that will invariably result in mold and spoilage.
Leave them at room temperature for several hours until they’re completely cool.
Step 12: fill containers. Place your onion pieces in whatever container you’re using for storage. Glass mason jars are great, but you can also use Mylar bags or even Ziploc bags.

Step 13: condition. Once your onions are in storage, you aren’t done. You want to condition them by inspecting them for signs of moisture daily.
Do this by shaking the container once a day and looking for any signs of condensation or moisture for a week. If you notice any moisture, you’ll want to put your onions back in the dehydrator.
Step 14: finished! Your dehydrated onions are ready to go. Store them in a cool, dry dark place and they will last for at least 9 months!
I wasn’t exaggerating when I said this is one of the easiest and best foods for at-home dehydration. Your dehydrated onions are highly versatile, long-lasting, and most importantly tasty.
How to Rehydrate Onions
All you need to do is cover a quantity of your dehydrated onions with piping hot water and then give them at least 20 minutes to absorb it. Larger pieces will require more time, and you’ll also need more time if you want softer onions.
Nibble a small piece occasionally to check them for doneness, and then use in the same way that you’d use freshly cut onions.
Alternatively, if you’re making a soup, stew, or sauce you can just add the dried onions directly to the liquid and let them simmer with the other ingredients.
Recipe Notes
- Your dehydrated onions can last for a decade or longer if frozen or if you put an oxygen absorber in the container with them.
- You can turn those dehydrated onion pieces into delicious, homemade onion powder by running them through a coffee grinder or spice mill, then sifting them before repeating the process.
Tim is a farm boy with vast experience on homesteads, and with survival and prepping. He lives a self-reliant lifestyle along with his aging mother in a quiet and very conservative little town in Ohio. He teaches folks about security, prepping and self-sufficiency not just through his witty writing, but also in person.
Find out more about Tim and the rest of the crew here.