
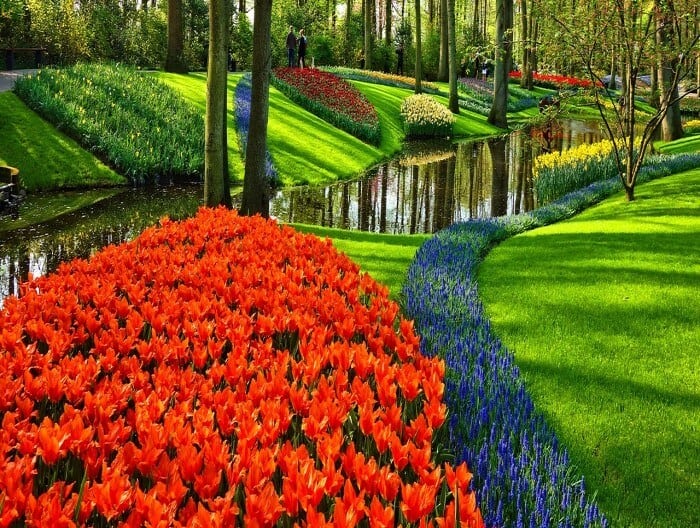
The weather is starting to warm up, and while you may be focusing all your efforts on preparing your vegetable gardens and animal pastures for spring, make sure you don’t overlook your flower beds.
Everybody wants a touch of color on the homestead, and flower beds are also beneficial in that they attract pollinators and other crucial members of the ecosystem to your lawn.
Here are some easy steps to help you prepare your flower beds for spring.
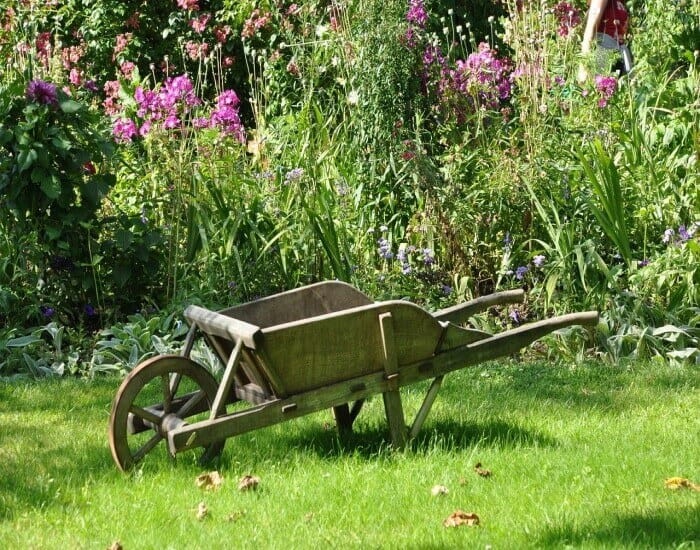
1. Organize your storage spaces and prepare your tools
This first tip might not seem like it matters much in getting your flower beds prepared for spring, but it’s one of the most important things you can do. In addition, it’s an easy task to cross off your to-do list when the weather is still chilly so that you can dedicate all of your attention to your flower beds once things warm up.
It’s important that you take the time to go over your tools to make sure everything is in top order. Sharpen any blades, apply oil or lubricant, and consider replacing or repairing damaged or aged equipment.
Make sure you have everything you need to get started, from mulch to fertilizer, so that you can start working in the garden as soon as the snow is gone.
2. Clear out old mulch, debris, and weeds
Spring cleaning isn’t just for your house – it’s for your garden, too! Now is a great time to thoroughly clean your beds. You don’t have to remove everything down to the bare soil, but it’s a good idea to clean out any weeds in particular.
Some weeds don’t die off over the winter, so you will need to make a special effort to remove them or burn them in a compost pile. Remember, any living weeds will come back to compete with your plants.
When you weed, you can remove them by hand or use a trowel or garden claw to loosen the soil. Be very thorough with the weeding, as this will reduce the amount of work that you have to do later in the season.
If you have any diseased or dead plants (particularly perennials that didn’t make it through the harsh winter), take the time to remove these, too. You should also remove any broken twigs, sticks, garbage, or other debris that has blown into your garden over the winter. Remember that any organic waste can be added to your compost pile, but you shouldn’t’ add any plants with signs of disease to a compost. This can be spread through the compost back into your garden.
3. Prune your flowers
Some trees, shrubs, and other perennials don’t need to be pruned, but if you have any that do, early spring is the best time to do this. You will be able to easily see the branch structure and you can shape the plant back into a desirable shape before the buds exit dormancy.
You won’t need to prune all of your plants, but some to consider pruning include:
- dogwood
- redbud
- honeysuckle
- rose
- wisteria
- and crepe myrtle.
If you know how to prune rhododendrons, you know that while it can be done at any time of year, it is a good idea to avoid pruning in the spring because they may bloom later. This is also true of plants like camellia, hydrangeas, lilacs, and azaleas.
When you’re ready to prune, start by gathering your tools. You will need sterile pruners (remember how we said late winter was a great time to prepare your tools? This is why!) so that you don’t have to worry about spreading plant diseases.
After pruning, make sure you add a bit of fertilizer do the plant can receive a jump start of nutrients to accelerate its growth.
4. Prepare the soil for planting
As soon as the snow is gone and you don’t have to worry about frost, you need to start working in your beds to loosen, aerate, and fertilize the soil. Start by turning the soil.
You don’t have to till it, but you want to loosen it up because it becomes incredibly compacted over the winter months. Work the soil at a depth of about a foot to get things breathing again.
You can then add any fertilizer you might need, such as compost or other natural amendments. The best way to figure out the nutrients in which your soil is lacking is to conduct a basic soil test. This will allow you to gauge the pH and nutrient content of your soil.
The best time to apply fertilizer or compost is on the day before a gentle rain. The rain will help break down the fertilizer and will allow it to disseminate more evenly through the soil.
The ideal fertilizer will be 10-10-10 or 10-15-10 in most cases. These numbers refer to nitrogen, phosphorus, and potassium, three nutrients that are essential for plant growth.
When you apply fertilizer, spread the mixture around the base of plants. Try not to get it on the leaves or stem, as this can burn the plant.
When in doubt, remember that compost is always a great addition to flower beds because it will improve the texture, nutrient density, and moisture-retention of the soil.
When you add compost, you should be putting about two to three inches over the top of your flower beds. Then, you can take it out and add your mulch on top of it. This will help to feed your garden as it grows and will also provide insulation over the winter months.
5. Build new garden beds
If you are planning on repairing or building new garden beds, now is the time to do so as the weather is cool and your gardening tasks are likely lighter than they will be in the summer.
You may also find that you ordered too many plants when you did your spring cataloguing, so building new garden boxes, window boxes, or other planters will give you space for all these new additions.
6. Divide perennials
Some – but certainly not all – perennials will need to be divided to make room for other plants. The best time to do this is in the early spring because they won’t have begun growing aggressively quite yet. To do this, simply dig around the perimeter of the root ball, making sure you leave plenty of space around the plant so you don’t have to worry about damaging it.
Next, dig beneath the root ball to extract it from the ground. You can disentangle the roots and then pull apart the separate tubers. You may need to use a knife to do this. Replant the divided clumps immediately.
7. Plant new additions
If you ordered new plants, now is the time to get them in the ground. Wait until after you have done any wedding, dividing, building, aerating, or fertilizing that need to be done, but then you can go ahead and get those new flowers planted. Make sure you pay attention to the planting instructions on the specific flower.
Most bulbs and perennials are easy to plant because all you need to od is a dig a hole drop in the bulb, and over it. However, you will want to double-check the depth at which the bulb should be planted, and add any soil amendments. The crown of bulbs should be level with the top o the soil.
8. Add mulch
The myriad benefits of mulch really cannot be overstated – it helps to retain moisture, keeps the soil cool, and also prevents weeds from forming. Plus, it provides additional aesthetic appeal to just about any garden. If you can mulch before weeds start to sprout, it will be much more effective at keeping them under control.
The best way to mulch is to work around plants that are already established, but if you want to make sure you suppress those pesky weed seeds before they emerge, you can always purchase established seedlings or dig out an area from the mulch when the time comes to plant.
You can use just about any kind of mulch in your flower beds. Consider using one that will help repel pests and look attractive at the same time, such as red cedar mulch.
You should avoid mulches that can be toxic to pets, like cocoa mulch, as well as those that may blow away easily, like straw. Otherwise, there are endless opportunities out there for mulching your garden, and you can mix and match them to match the color scheme of the rest of your landscaping or home.
9. Order summer flowering bulbs and seeds early
Ideally, you should order any summer flowering bulbs and seeds in the late winter or early spring. If anything needs to be started indoors, do so in February or March (although this will depend on your growing zone, of course). Consider investing in a mixture of bulbs, tubers, and seed that will provide flowers in the spring as well as the summer months.
Some suggestions? Tulips, crocus, and daffodils flower in the spring, while lilies and irises bloom during the summer.
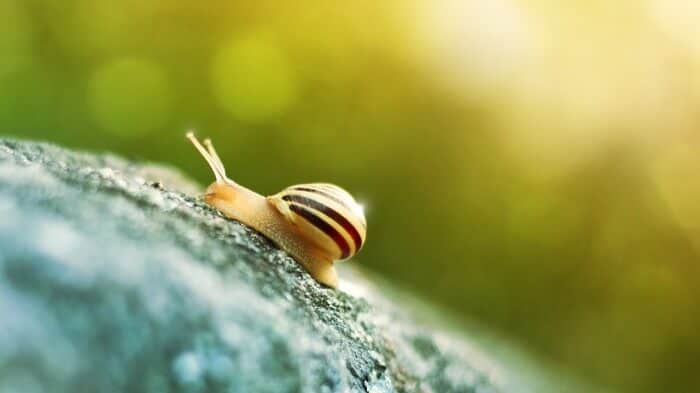
10. Remove garden pests
Let’s get rid of those garden pests before they even have the opportunity to emerge! Most pests hibernate over the winter, so getting rid of them now can save you some effort this summer. Take the time to closely examine the crowns of your perennials. Any slugs, snails, aphids, or beetles that have sheltered there over the winter should be removed.
The same theory applies to pots or containers that were left idle over the winter months. Creatures like white vine weevil larvae live in compost and feed on plant roots, so getting rid of these larvae now will allow you to stay on top of any pest problems moving forward.
11. Set up an irrigation system
While the rainy spring weather may have irrigation needs far from your mind, know that summer’s scorching, drying heat will be here soon. Figure out a method of collecting rainwater or irrigating your flowers so that you don’t have to worry about it when things heat up. Drip irrigation is a good starting point.
You might consider collecting rainwater via catchment systems under your eaves, or through a water butt. This should be positioned beneath a downpipe. Once you have it in position, you can rely on the power of the rain to water your crops – an important benefit if you live in a water-restricted area.
12. Design a compost system
Before you start clearing the debris out of your garden, consider how you are going to get rid of it. A compost bin will give you a place to put all of your organic matter. It will take some time to break down, but once it does, you will be rewarded with rich, nutrient-dense soil that your plants will absolutely love.
To create an effective compost system, you will need to have equal ratios of brown and green ingredients – consider adding plenty of variety via additions like paper, vegetable scraps, pruning scraps, and grass clippings. Don’t forget to turn the compost once a month to keep it aerated!
The very last step – and arguably the most important – is to set aside time in your busy schedule to actually sit back and enjoy your garden. You’ve put the hard work in – so now you should be able to reap the benefits.
With a little bit of extra work in the spring, you’ll be able to savor the gorgeous sight of your illustrious flower beds all summer long.

Rebekah is a full-time homesteader. On her 22 acres, she raises chickens, sheep, and bees, not to mention she grows a wide variety of veggies. She has a huge greenhouse and does lots of DIY projects with her husband in her ever-growing homesteading endeavor. Learn more about Rebekah here.