
Yellow plum jam – it’s sweet, it’s tangy, and tastes great on a warm slice of fresh sourdough bread (or straight out of the jar). And if you want to know how to make your own, you’ve come to the right place!
In this article, I’ll walk you through everything you need to know in order to make enough yellow plum jam to last your family an entire year (or maybe not… it’s so addictive they might eat it up right away!).
Yellow Plums are So Sweet! Literally…
Yellow plums, like all other plums, are stone fruits derived from the rose family. These small fruits are generally round or oval in shape and have skin that is yellow instead of the characteristic purple.
Despite the different color, yellow plums are just as sweet and dense as their darker counterparts. There are a variety of yellow plums that you can grow, many of which are native to different parts of the world.
Some common yellow plum varieties you might grow or buy include:
- Yellow Honey
- Yellow Ball
- Golden Large
- Morning
- Egg Yellow
- Mirabelle
Yellow plums are hardy in USDA growing zones 5-8. Mature plants can reach heights of 12 feet or more!
These trees require full sunlight and lots of space. The pH should be neutral, around 5.5 to 6.5. As long as you provide plenty of water and occasional fertilizer (calcium nitrate is especially important), your plum trees will be mostly self-sufficient.
And then, all that’s left will be figuring out what to do with your bountiful harvest of fresh yellow plums! Making yellow plum jam is a great option.
What Are Yellow Plums Good For?
Yellow plums are, obviously, good for eating! There’s no better snack on a hot summer day than a juicy yellow plum.
However, this is a snack that you can feel good about – it’s great for your health. Yellow plums offer a variety of health benefits. They’re rich in vitamin C, which is good for your eyes, and can also help your body build muscle, and heal.
How Do You Preserve Yellow Plums?
Yellow plums are some of the most popular fruits that can be eaten fresh and unprocessed – that’s because they’re delicious when they are plucked straight from the tree or off the supermarket shelf.
However, they can also be preserved.
Many people will choose to preserve their yellow plums in jellies and jams. Yellow plums can also be fermented into plum wine. They can be baked, salted, dried, grilled, or poached.
They can even be frozen. In fact, freezing plums is a great way to keep them fresh for off-season use in baking or even just in snacking.
Plum wine is a popular option that you can buy. It originated in Japan but is now found all over the world.
Some people dry their plums to make prunes. These are a healthy source of fiber and vitamin K. The options are endless!
Of course, making plum jam is my favorite option. It’s not something you’ll often find in the store but it offers a delicious way to add fiber to your diet and to add a zest of flavor and a tangy sweetness to toast, pancakes, cakes, and more. I love ice cream!
Plums are naturally high in pectin so you can make plum jam without needing to add this additive at all. All you have to do is let the jam simmer for a bit longer than you ordinarily would.
Do You Skin Plums Before Making Jam?
You should peel plums before you make jam. Not only can the skins be too tough and chewy in jam, but they could also make it harder for the heat to be evenly distributed around the fruit.
If you don’t want to go through the effort of peeling, consider running the fruit through a food processor first, or even a blender. You will still need to remove the pits, so don’t skip this step (they won’t mash up in your blender, and will make quite the racket if you try!).
Just avoid using any plums that have mushy spots (you can cut around these) or bruising. These won’t produce the best quality jam.
Water Bath Canner vs. Pressure Canner
A water bath canner is sufficient for making jam because jams have enough sweetness and acidity to prevent food spoilage. A pressure canner is necessary for low-acid foods like vegetables and meats.
You might be wondering whether you can use a pressure canner to process your yellow plum jam instead of a water bath canner because most pressure canners hold a larger number of jars than water bath canners might.
You can do this without impacting the safety of your canned food, but I definitely would not recommend it. That’s because the high temperatures produced inside the pressure canner will leave your plum jam tasting watery and devoid of flavor.
Stick to the water bath canner. If you don’t have one, you can even just use a stockpot filled with boiling water to get the job done. Or you can always eat all of your plum jam up fresh as soon as you make it!
Ready to get started? Here’s how to make yellow plum jam for your entire family to enjoy.
Yellow Plum Jam Recipe
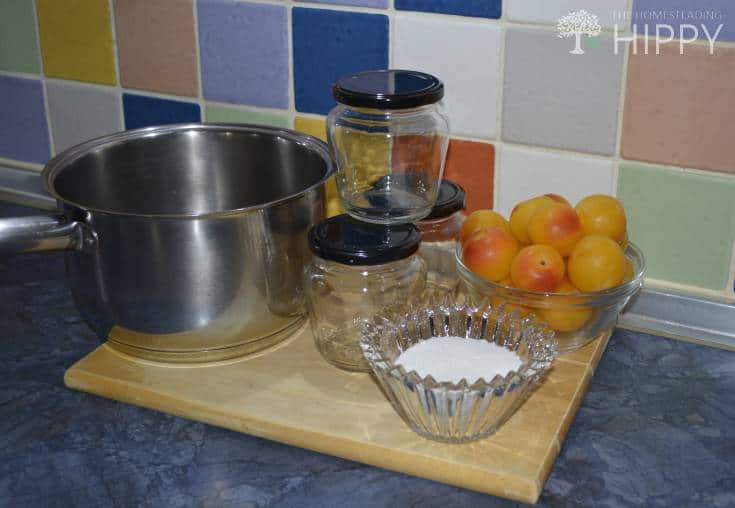
Equipment
- Water bath canner
- Four half-pint canning jars
- Canning lids and bands
- Jar lifter or a set of tongs
- Clean dish towel
- Two saucepans
Ingredients
- 3 lbs yellow plums about six cups
- 1 ½ cups granulated sugar
- juice of one lemon
Instructions
- Begin by preparing a small boiling water bath canner. Add enough water to the bottom of the canner to cover the jars (about 3 or 4 inches to start – you can add more after you’ve loaded the jars). Turn the burner on to medium heat.
- While the water is heating up, you can sterilize your canning jars and bands. Remember to always start with fresh lids and not to reuse old ones, though you can always reuse bands and jars. Sterilize the lids in a saucepan of water over the stove, allowing them to simmer while you sterilize your jars and bands.
- Chop or crush the plums, removing the pits until you have just the pulp left.
- Add the plums to a saucepot, adding your sugar as you do so. Stir.
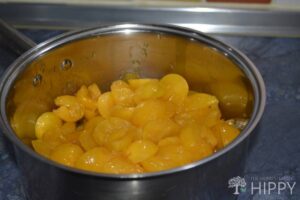
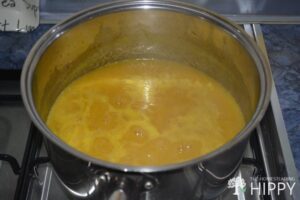
- Allow the sugar to dissolve, then set the pan on the stove over high heat and bring to a boil.
- Cook the mixture, stirring often for about 15 to 25 minutes. The fruit should thicken and reduce by about a third. Add more or less time as needed.
- Taste the mixture and add lemon juice if it is too sweet for your liking.
- Once the jam is thick and has a glossy appearance, you can remove it from the heat.
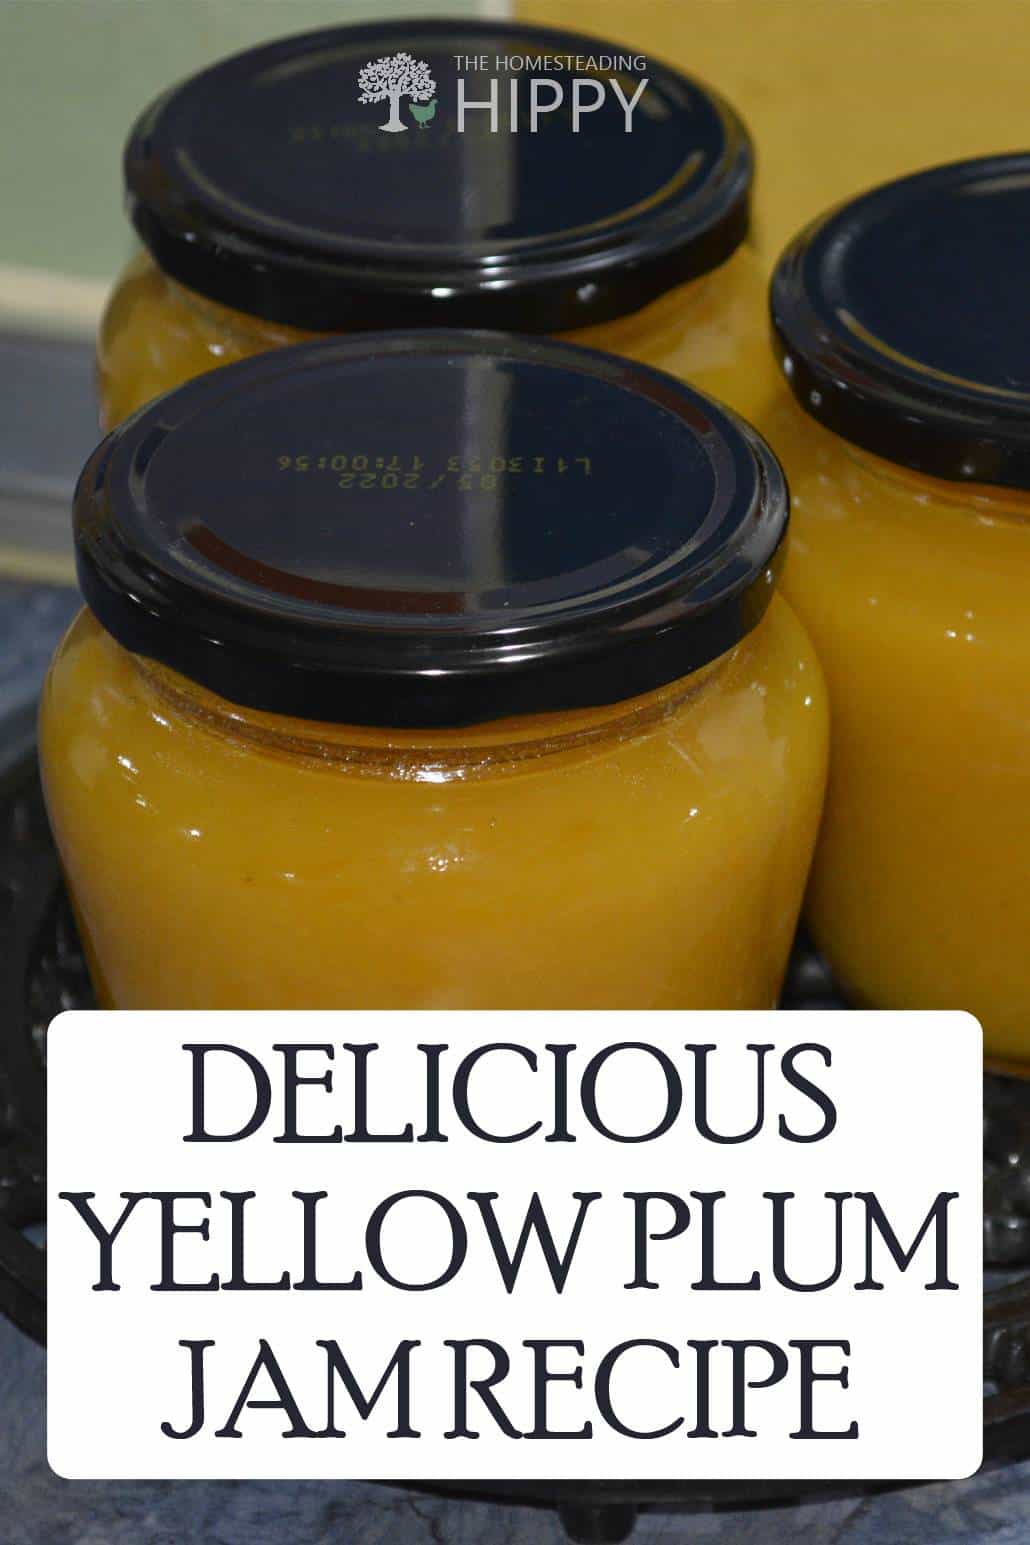
- Funnel the jam into the jars, leaving about an inch of headspace. Wipe the rims to remove any debris or food particles that may have spilled on there. Your jars should be hot when you load them. This will prevent them from cracking when they are placed in the hot water inside the water bath canner.

- Put the lids and bands on the jars, screwing them on until they are fingertip-tight.
- Load the jars into the canner. If the water does not cover the jars, add more until it does.
- Bring the water to a rolling boil. Once the water has started to boil, start timing. You will process the jars for 10 minutes.
- After ten minutes, use a pair of tongs or a set of jar lifters to remove the jars from the corner. Place them on a kitchen towel to cool. As they are cooling, keep them out of any drafts. This can cause the jars to crack.
- As the jars cool, you will hear them making popping noises. This is a sign that the jars are sealing. Regardless, after 12 to 24 hours of cooling, check each lid to make sure it has sealed onto the jar.
Put the jars into storage. As long as they have sealed properly, they are shelf-stable for at least one year. Store them in a cool, dark location out of direct sunlight and drafts.
Any jars that did not seal properly should be placed in the refrigerator and used as soon as possible (they can also be frozen if you left enough headspace in the jars to allow for expansion).
Keep in mind the canning part in the above recipe is mandatory. The jam can absolutely be eaten just the way it is!
How to Make Sure Your Jam Has Set
One of the most challenging aspects of making jam of any kind is figuring out whether it’s set.
If your jam never sets, it’s not the worst thing in the world – you can always scrap the jam idea and just call it sauce! However, there are a couple of other ways to make sure the jam has set.
The first one is to place a drop of jam onto a chilled saucer. This will cool down the jam rapidly and let you see if it sets. It will hold its shape and wrinkle slightly when you press it with your fingertip.
The more reliable way to test whether your jam has set is to use a candy thermometer. You’ll want to make sure it’s at 220 degrees Fahrenheit (105 Celsius), which is the gel point.
At this temperature, enough water will have evaporated from the mixture to allow the natural pectin to create a spreadable, glossy jam.
Recipe Variations and Notes
You can make this jam recipe by itself or add in some other fun ingredients for a spin on the classic take.
For example, you might add a bit of vanilla. You can use vanilla extract, but you’ll get a fresher, more intense flavor if you use one vanilla bean that has been split and scraped.
If you want to make a traditional plum jam with red or purple ones, that’s easy, too. Just use equal quantities of the plums.
You can even make brandied plum jam! To do this, stir two tablespoons of brandy into the finished jam before you ladle it into the jars (don’t do it before cooking, since the alcohol will all cook off).
One more option is to make a spiced plum jam, which is great for serving during the holidays or even as a holiday gift.
You’ll add one cinnamon stick, four cloves, half a slice of fresh ginger, and six green cardamom pods to the original recipe for a unique spin on the classic recipe.
Just note that if you add these spices, you may find yourself needing to add a bit more sugar (and perhaps some pectin) in order to balance things out.
There you go! Plenty of options to choose from. I can assure you that, no matter how you choose to experiment with your yellow plum jam, you’re sure to love the results.
Happy jam-making!

Rebekah is a full-time homesteader. On her 22 acres, she raises chickens, sheep, and bees, not to mention she grows a wide variety of veggies. She has a huge greenhouse and does lots of DIY projects with her husband in her ever-growing homesteading endeavor. Learn more about Rebekah here.
Thank you so much, Rebekah. This was possibly the most thorough instructions I’ve ever read in my 68 years. Great for those just learning. Got 5 lbs of plums at the farmers market this morning. Looking forward to making this for Christmas gifts. Oh,and some for us too.
Many blessings,
Joan