
Chicken chili. Chicken nachos. Chicken tacos. Chicken salad. What do all of these meals have in common?
Well, chicken, of course – but more specifically, shredded chicken.
Sure, you can cut up chicken breasts into individual chicken chunks and cook them on their own each time a recipe calls for it. But that’s an incredibly time-consuming way to do things.
Instead, you should process your chicken all at once – and then have it on hand whenever a recipe calls for it, ready to go for busy weeknights. Plus, it frees up freezer space!
Ready to learn all about processing chicken in a pressure canner? Here’s everything you need to know about canning chicken at home!
Pressure canning chicken isn’t hard, and once you get the hang of it, you may want to can ALL your chicken!
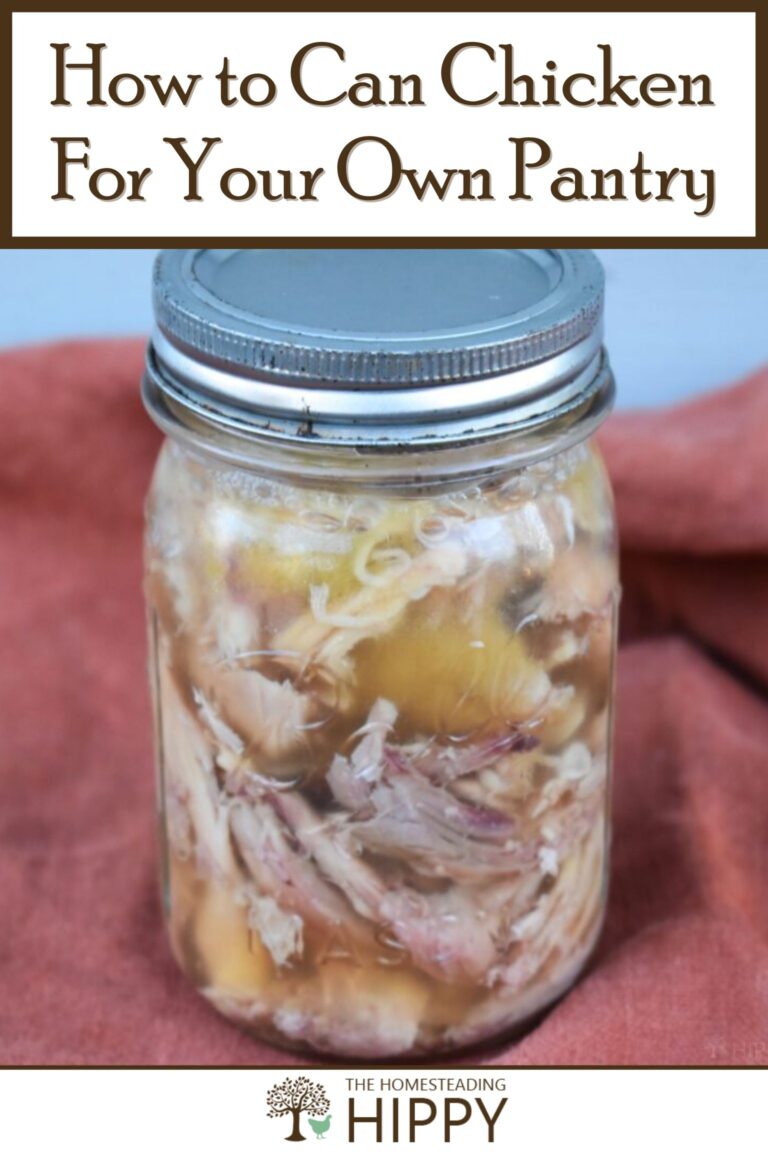
Pressure canning whole chickens with bones makes it easy to store on your pantry shelf and essentially make your own grocery store.
Of course, if you can’t raise your own chicken, you can still stock your pantry by canning chicken at home. Watch the sales at your store, and when the parts or whole chickens go on sale for a good price, this is a great way to stock up without overrunning your freezer!
Can You Use a Water Bath Canner for Canning Chicken?
The answer is no. You cannot use a water bath canner for canning chicken. Water bath canning is not recommended for low-acid foods like chicken.
The chicken would need to be pressure canned in order to be safely canned and shelf-stable. Pressure canning is the only method that is currently approved by the USDA for canning low-acid foods like meat, vegetables, and soup.
While water bath canners are much less expensive than pressure canners, they are not recommended for low-acid foods like chicken. If you want to safely can chicken, you will need to invest in a pressure canner. Sorry!
Can You Can Already Cooked Chicken?
Yes.
When canning just about any type of meat, you have two options – raw pack or hot pack. In a raw pack, you’re doing just what it sounds like – putting the raw chicken into jars and processing it.
In a hot pack, you cook the chicken ahead of time (not fully done, but almost so) before adding liquid.
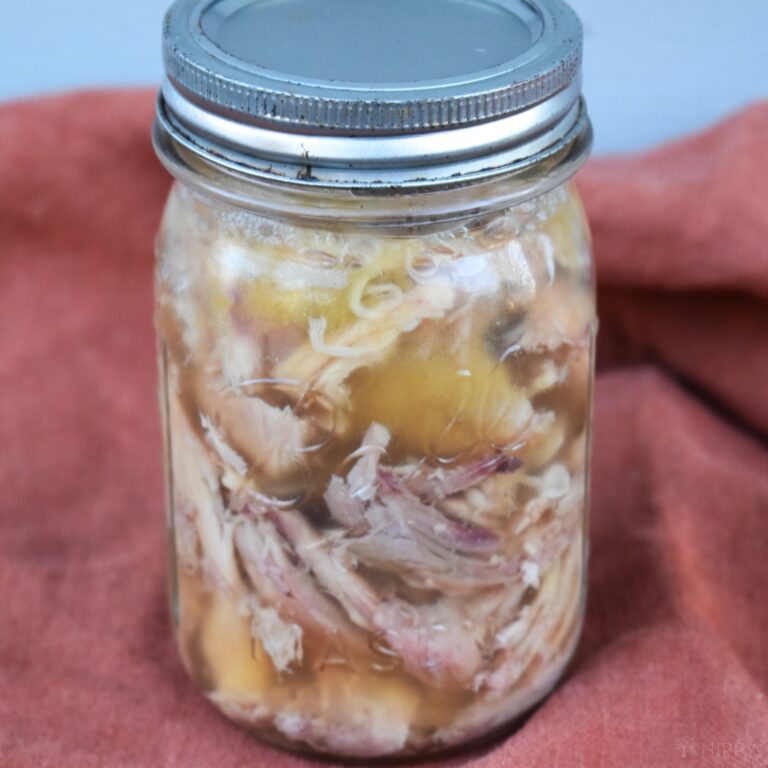
Both methods are totally fine and perfectly safe (there are USDA-approved methods for both), but I prefer the final results from hot pack chicken better. It tends to hold up a bit better in long term storage and just looks nicer in the jars!
That said, I’ll give you instructions for both methods below.
Should You Can Chicken With the Bones In or Out?
So what about the bones? That’s up to you. It depends on what works best for the type of meat you’re canning. You will just need to alter your processing time.
For example, if you’re processing chicken (either hot pack method or raw pack) with the bones in, it takes 65 minutes for pints and 75 minutes for quarts.
If you process bone-out, you’ll need to process pints for 75 minutes and quarts for 90. Otherwise, the recipe stays the same.
I prefer to take the bones out because you’re not going to eat them anyway – they’ll just take up space in the ajrs. They don’t add a lot in terms of flavor, in my opinion, but just waste space. But it’s totally up to you!
Should You Season Chicken When Canning It?
That is totally up to you!
Seasoning chicken before canning it will help to lock in flavor and keep the meat moist. When seasoning chicken for canning, be sure to use a light hand.
You don’t want the chicken to be too salty or too spicy. A simple mixture of salt, pepper, and herbs is usually sufficient.
As long as you’re only adding herbs and spices, adding seasonings won’t affect the processing time or safety of your canned goods.
Things like parsley, salt, pepper, and sage are all good options. Just use dried herbs so you don’t add additional moisture (which can affect canning safety) and again, use a light hand.
Do You Add Water When Canning Chicken?
Water is an important ingredient in canning chicken. It helps to keep the chicken moist and prevents it from drying out during the canning process.
However, too much water can make the chicken mushy and cause it to fall apart. For this reason, it’s important to add water carefully when canning chicken.
Only use it to fill the remainder of your jars – and if you can, use broth instead of plain water to make sure you get a more flavorful end result.
Can You Pressure Can Chicken With the Skin On?
The simple answer is that you can pressure the chicken with the skin on, but it is not recommended.
It’s not that it’s unsafe – it’s just that the skin will become rubbery and unpalatable after canning, so there’s no good reason to leave it on. Like bones, it’s just taking up precious space in your small jars!
Can Frozen Meat Be Pressure Canned?
Canning is a great way to preserve food for later, but you may be wondering if you can pressure frozen meat. The answer is yes!
However, it’s not ideal. The cycles of freezing and thawing can make the chicken tasteless and unpalatable.

Canned Chicken Recipe (Hot and Raw Pack)
Equipment
- Pressure canner
- Crockpot (for the hot pack method only)
- Clean, sterilized jars
- Lids and rings
- Jar lifter
- Paper towels
- Canning funnel
- Colander
- Cutting board
- A few sharp knives
- Rubber spatula to remove air bubbles
Ingredients
- 2 chickens whole
- salt to taste
- water
Instructions
Raw Pack Method
- Start with a clean bird. By that, I mean fully rinsed, all feathers removed, and all the insides taken out. I always, always, always have to double check this as my kids are known for forgetting to remove the lungs…but I digress.
- Simply cut your bird into pieces, along the fat lines and joints.
- Remove all the skin, even from the dark meat. The skin tends to make it greasy and can lead to sealing failures.
- I leave the bones in the legs and thighs, and remove all the bones from the breast meat.
- Make sure to save the carcass for making bone broth, and you can even store that to store for later use.
- Fill clean jars with the meat. I use the canning raw chicken, or raw pack method, from my canner’s instructions, but you can also cook the chicken to medium done first, if you prefer. For how to cook chicken, you will want to simmer the pieces in broth for 15-20 minutes until medium done. Proceed with the rest of the steps.
- For canning chicken leg quarters, I have found it’s best to cut them into separate thigh and leg pieces. For legs, I do 4 pointed down and 3 pointed up, every other one. For canning raw chicken thighs, I simply stack them on each other. Usually, I can get 6-7 thigh pieces in a wide mouth quart jar. For breasts, I stack them on top of each other.
- Then, fill the jars with hot water or broth, leaving one inch headspace.
- Use a rubber spatula to remove air bubbles by running it alongside the inner edge of the jar.
- Wipe off the tops of jars to remove residue.
- Add a new lid and clean band, screwed down finger tight.
- Pressure can be at 10 pounds pressure for 75 minutes, adjusting for your altitude.
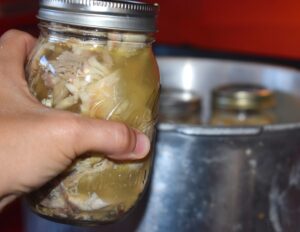
- Allow the canner to cool on its own accord, remove the jars and set in a cool, non drafty place for 24 hours.
- Check seals, wipe the jars and store in your pantry.
Hot Pack Method
- Begin with fresh, thawed chicken. Place it in the crockpot whole, then cover with water. Cook on low for 12 hours.
- Remove the chicken from the slow cooker. Strain the broth through a colander into a new stockpot. Let it remain warm on the stovetop. Remove the bones from the chicken pieces and discard. While you’re doing this, sanitize your jars.
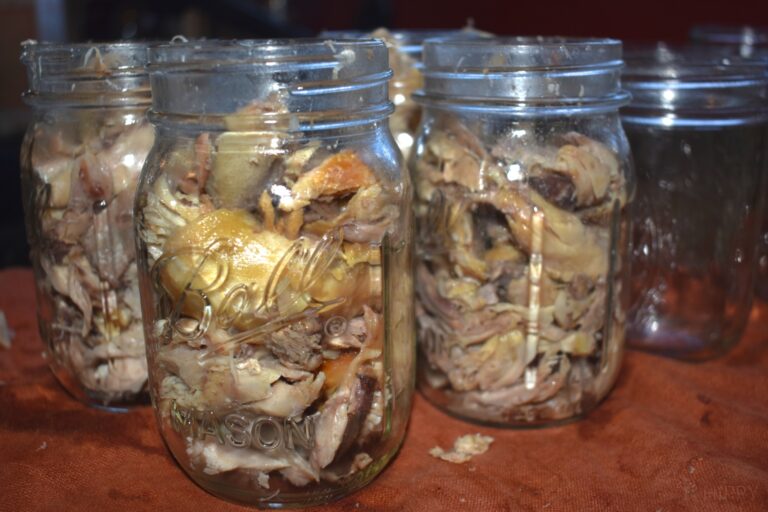
- Load chicken into jars. Add a teaspoon of salt to the jar if desired.
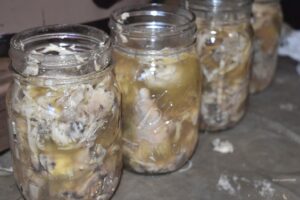
- Fill with hot broth, leaving 1 ¼” headspace. Wipe the rims of the jars with a paper towel and make sure there’s no food particles on the screw bands.
- Fill the pressure canner with water according to the manufacturer’s instructions.
- Load your canning jars, then lock the lid.
- Vent the canner, allowing it to release steam from the vent pipe for 10 minutes. Then, put your weight on and allow the canner to build pressure to 10 lbs. Start your timer.
- Process pints for 75 minutes (without bones) in the pressure canner. When the time has elapsed, turn the heat off, then allow the cancer to come back down to zero pressure before opening the lid.
- Check the seals, allow the jars to cool for 24 hours, then store in a cool, dry place.
How Long Do You Pressure Can Chicken?
Make sure to follow the manufacturer’s instructions for pressure and time. In general, you will need to process chicken for 65 to 90 minutes or so at 10 pounds of pressure. That’s according to the National Center for Home Food Preservation.
Once the time is up, allow the pressure to naturally release before opening the canner.
Once the chicken is done, remove it from the canner and let it cool before eating or storing.
How to Use Canned Chicken
My husband absolutely detests canned chicken from the grocery store, and I don’t blame him. His reasoning is that it smells (and tastes) like cat food.
He’s not wrong.
We were a little nervous the first time we canned our own chicken because we were worried we would be “wasting” all of our delicious, pasture-raised chicken to yield the same results.
Fortunately, that is not the case. Home canned chicken is far from the gritty, tasteless globs of food you get at the grocery store. Instead, it’s flavorful and nutritious, perfect for just about any recipe that comes to mind.
The best way to use home canned chicken is to shred it and use it in recipes that call for cooked chicken. For example, you can use it in soups, stews, casseroles, and pasta dishes. I love it in dishes like enchiladas or nachos! You can also add it to salads or rice dishes.
How Long Will Home Canned Chicken Last?
In general, unopened cans of chicken can be stored for up to two years. However, once the can is opened, the chicken should be eaten within three days. Canned chicken that has been stored for longer than this may be safe to eat, but it may not be as fresh or flavorful.
Just like you can process other types of meat, such as beef, venison, and pork in the pressure canner, you can process quart and pint jars of chicken, too. It’s a great home food preservation skill that all of us should be using!
And once you know how to pressure a chicken, you can expand your skills to other chicken products, like soup, too.
For easy directions for pressure canning chicken soup, read the post here.
Are you familiar with canning chicken at home? What’s your favorite ways to use canned chicken in recipes?

Heather’s homesteading journey started in 2006, with baby steps: first, she got a few raised beds, some chickens, and rabbits. Over the years, she amassed a wealth of homesteading knowledge, knowledge that you can find in the articles of this blog.
Learn more about Heather and the rest of the writers on this page.
Thanks for this post! I love the convenience of canned chicken but it’s so much more healthy and frugal to do it yourself.
I have canned some pickles and spiced peaches in water-bath before, but just got my pressure canner today. Thank you for a very simple step by step process for canning chicken. Any recommendations to spice the meat a bit, and is it ok to can it in commercial BBQ sauce?
Thanks for providing a great resource !
I would NOT can in the BBQ sauce, but add it to the sauce when serving. Just to be safe 🙂
Ok, I made canned chicken. Now I need ideas to use it other than soup. I’m already a soup queen!
Enchiladas, salad, casserole, stir frys, fritattas, chicken pastas 😉
I shredd it in casseroles, rice, pasta, chopped in stir-fry, chicken salad, etc. All kinds if stuff.
How long do I cook canned chicken in a canner not in a pressure cooker?
You CAN NOT can chicken in a canner, you HAVE to use a pressure cooker!
You can food in a pressure CANNER… NOT a pressure cooker.
Qts of meat are canned for 90 mins @ 11psi …adjusted for elevation. Contact your local extension office for details.
Get the details correct…its easy but you must get your info from a good source…the internet is full of miss information.
Steve,
I presume you didn’t mean this article about not being a reliable source, it clearly says canner, not cooker.
Dan