
For some families, canning is more than just a way to preserve food: it can be a family tradition and a way of life! I know so many people who have learned from their mother or grandmother, and in turn, they learned from their mom or grandma, that I’ve lost count.
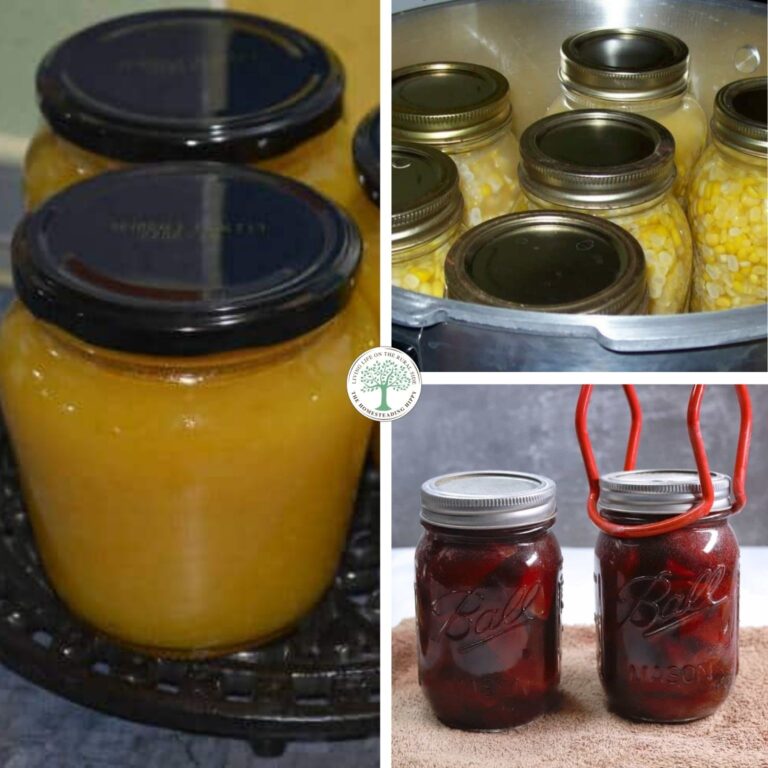
As homesteaders, reducing waste and maximizing the return of your hard work and your dollar is important, and canning is a great way to do that. But if you don’t know how or don’t have someone in your family to show you the ropes, it’s easy to feel lost and intimidated. Canning is an intricate process, and making simple mistakes can have serious health consequences.
But you don’t have to feel that way forever. With the right guidance and these tips you can get started canning today. Keep reading and I’ll tell you what you need to know.
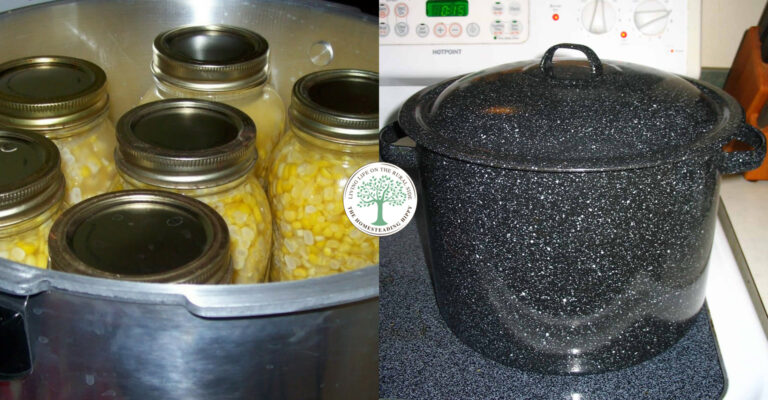
Learn the Difference Between Water-Bath and Pressure Canning
One of the first and most important things you should learn on your canning journey is the difference between water bath and pressure canning. You’ll see these terms pop up everywhere, and no, they are not interchangeable!
Water bath canning relies on little more than boiling water to safely process your canned food. Pressure canning, on the other hand, needs a pressure canner in order to achieve the required temperature.
So which one do you use? Is it preference or just a different process? As it turns out, the type of food you are canning determines which method should be used.
Here’s the bottom line, and what you must always remember: high-acid foods (tomatoes, most fruits, pickles) can be canned using a water bath canner, but all low-acid foods (peppers, carrots, corn, meat) must be canned using only pressure canning techniques. No exceptions!
Trying to can low-acid foods using water bath canning can result in dangerous bacteria surviving the process, and those bacteria in turn will spoil your food or potentially, lead to gravely serious illnesses like botulism.
If you want to be a well-rounded home canner, it’s a good idea to start familiarizing yourself with both methods. But, not to worry, there is considerable overlap in the techniques you will use for both.

Always Use Food That is at Peak Freshness
Another crucial tip, and one I would hope would be obvious: only can food that is at the peak of freshness. Not only will this improve its overall quality but it also ensures that it won’t spoil in storage once the process is done.
Although it’s tempting to try and save food that is getting a little old by canning it, this is usually going to end in disaster. Your food will probably spoil anyway, and even if it doesn’t, the taste and texture are going to be subpar.
If you grow your own food or slaughter your own meat, the best time to can it is right after picking, cleaning, or other preliminary processing. The sooner you get it into the jars and sealed the better it will taste and the better your chances of successful preservation.
Get a Good Canning Book or Take a Class
You can learn a whole lot about canning online, and you should, but nothing beats a good canning manual or a hands-on demonstration.
For that reason, I strongly recommend you get a comprehensive canning manual or even take a class. Let’s assume, of course, you don’t have a family member who can take you through the process step by step!
Ball’s book of canning and preserving, and yes that is by the maker of the iconic canning jars, is one of the best resources for beginners. It has tons of recipes, safety information, and lots more that has been tested thoroughly by one of the biggest and best names in the business.
If you’d like to take a class in your area, reach out to the nearest University extension office and inquire. They are more common than you think! If not available or convenient, talk to folks at your local farmer’s market and they should easily be able to direct you.
Do Practice Runs
I can’t tell you how excited I was to can my first batch of blueberry pie filling once I brought home my water bath canning setup. I busted out everything, got everything set up, heated the water, and then… I froze!
I didn’t know what to do, and my uncertainty got the best of me! Much of the time, the things we do when canning are time-sensitive. Things must follow a strict timetable or else steps need to be completed quickly and efficiently to increase the chances of successful preservation. It almost feels like a dance sometimes.
Because of this, you are wise to get everything set up and then go through the motions of actually canning without using any water or real food. Read your steps, practice them, get your tools laid out the right way, etc. If something is challenging for you or difficult when you are mimicking it under no pressure, it’s going to be even worse when the clock is ticking.
A practice session will help you eliminate these concerns ahead of time.
Follow Canning Recipes to the Letter!
If you learn nothing else from this list of tips, learn this and learn it well! Whatever you are canning, and whatever method you are using, follow the instructions of a vetted recipe to the letter and do not deviate.
Canning is not a practice where it’s okay to improvise. It’s not like you’re trying a new soup recipe on your stove top and you can just do a little bit of this or that on a whim.
Deviating from published guidelines on food safety, processing time, packing method, and more is only going to be a recipe for disaster. Doing so might introduce the possibility of spoilage or the ever-dreaded botulism.
Don’t be afraid to consult multiple authorities if you have concerns, either. Most of the good ones are in lockstep when it comes to procedures, but especially if you are working from a much older published text it’s worth looking to see if there have been any updates or amendments to best practices.

Prepare a Space to Cool Your Cans
Remember that blueberry pie filling I told you about? On my third go around I finally got it done properly and I even made it look good. I felt like I knew what I was doing, the whole process went smoothly and there were absolutely no issues. I felt accomplished!
I set my jars aside on a marble cutting board at the end of my counter, and I walked out of the kitchen virtually floating. Imagine my horror when I came back later to find three of my six jars split and leaking!
What happened? Simply, I lost myself and did not leave my jars to cool in the right place. A combination of drafts wafting in from the nearby open door and the temperature differential induced by the much cooler stone cutting board caused the hot jars to crack.
Lesson learned! Make sure you have a good, draft-free spot picked out for your jars when it is time to cool them, and ensure they will be undisturbed for at least a day or longer.
Always Use Jar Lifters
This is another canning pro tip that seems obvious, but it only becomes obvious once you try to do it another way. Jar lifters, those specialized tongs you see advertised alongside the canners themselves, are not just a plot from Big Can to squeeze more money out of you.
They are the only practical way to safely and efficiently lift jars under control without compromising your seal, getting burned, or dropping them.
Over the years I’ve seen people try to use kitchen or barbecue tongs, heat-resistant gloves, or just draining the water off of the counter to then lift the jars out with a towel or some other such nonsense.
I’ll skip to the end and say all of these methods are risky in more ways than one, and a screw-up means you’ll risk getting both burned and severely cut. It’s not worth it. Get jar tongs and use them.

Start with Beginner Recipes
The last bit of beginner canning advice that I’ll give you is to start with beginner-friendly recipes. Don’t get me wrong, once you know what you are doing and I’ve been through the process a few times, canning isn’t that hard.
But some canning recipes are a lot more involved than others. Others are a lot simpler! Some are perfect to get your feet wet with, like pickles, jams, jellies, preserves, and anything to do with tomatoes.
You’ll have plenty of room to pick out a recipe you like with any of those, but no matter which one you pick the process will be easy, quick, and virtually foolproof as long as you stick to the steps.

Tim is a farm boy with vast experience on homesteads, and with survival and prepping. He lives a self-reliant lifestyle along with his aging mother in a quiet and very conservative little town in Ohio. He teaches folks about security, prepping and self-sufficiency not just through his witty writing, but also in person.
Find out more about Tim and the rest of the crew here.