
For all those familiar with bees, we all know the value of smoking bees when we work with them. The smoke keeps the bees calm, which means less chances of you getting stung by them.
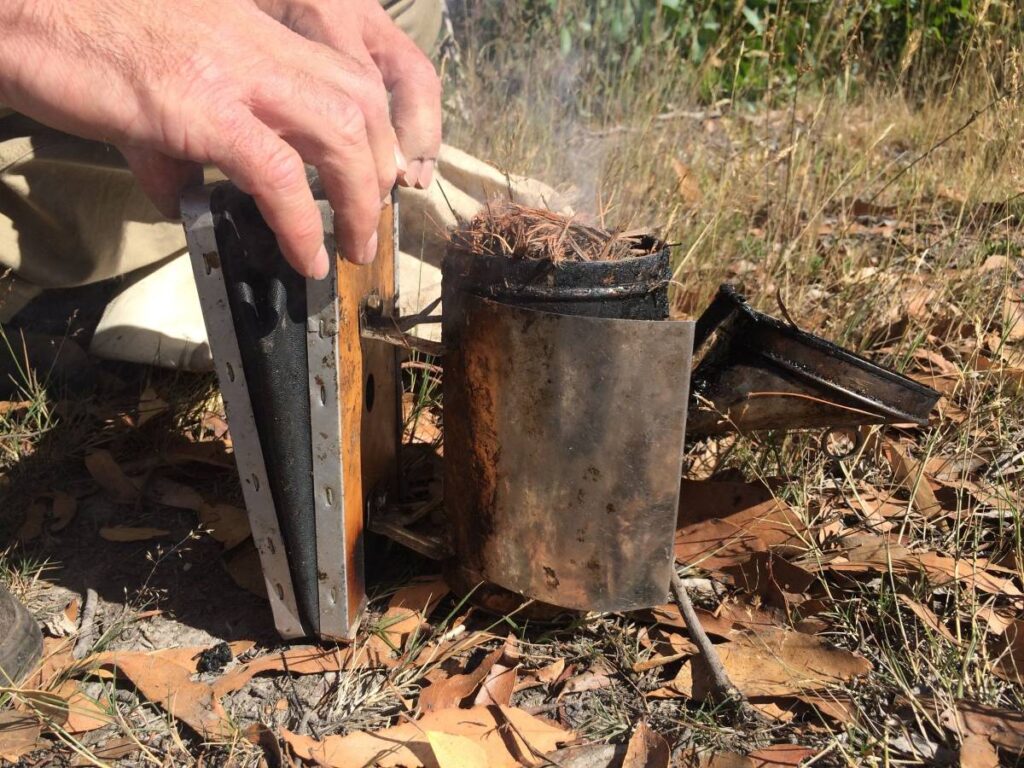
Table of Contents
What is a Bee Smoker?
A bee smoker is just a small container that you put fuel into to create smoke without a big fire. Think ‘smudging’. Your herbs are not burning with flames, but they are burning slowly, just enough to produce smoke.
You can go out and spend money to buy a smoker – for all kinds of ridiculous prices – or you can make one yourself.
Why Do We Use Bee Smokers?
Bee smokers are used to calm our bees when we are inspecting the hive or working with the bees.
It works basically as a slight-of-hand trick…
You see, when bees smell smoke, they think fire and go into prepper mode. They all rush to consume and gather enough honey as they can carry just in case the fire gets close to the hive and they have to evacuate.
That way they will not have to start from scratch on empty bellies. They will have enough to feed the queen and build up their new hive if the worst case – a bush fire – happens.
The smoke also masks the pheromones that guard bees would emit if there was a perceived threat – in other words, YOU. Because these pheromones are not detected, no-one cares about you, instead, the bees focus on the perceived threat posed by fire.
The smoke does not harm the bees, it just distracts them. While they are gathering honey, they are not thinking about security, just survival. This means you can get in, inspect, and get out without anyone paying much attention to you. The bees are too busy preparing for the possible move.
Their consumption of so much honey also leaves the bees lethargic and therefore less likely to attack.
NB: do not put too much smoke into the hive, or they will panic and leave.
Making You Own All-Natural Smoker Fuel
When most people think of creating smoke, they think of these three things:
- Wood pellets
- Burlap
- Wood shavings
All three burn well, and give off a good amount of smoke, they all smell horrible when you are burning them, and they can leave your honey tasting like barbecue in a very unpleasant way.
Choosing the right fuel ingredients can give your honey a delicious flavor, and give you a pleasant aroma while you work.
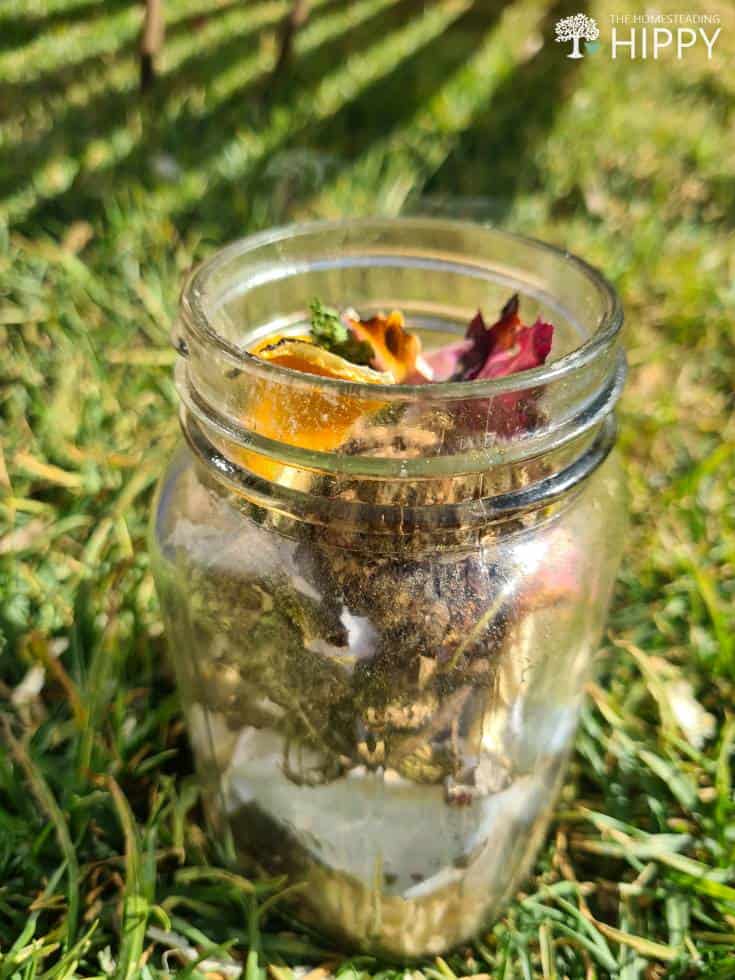
To start with, you will have to gather the right resources. A little planning goes a long way. Grow herbs in your garden that are good smoker fuel; do not throw away citrus peels; save deadheaded flowers; and flowers from flower arrangements.
Go through your garden, take walks in your neighborhood and ask your neighbors if they would mind giving you their deadheads, lavender, or other plant materials. Go for walks where there are a lot of pine trees and collect the pine needles that have fallen to the ground.
Always have your eyes open and collect everything you can. Dry everything you can in the sun or even in your dehydrator if you have one and store it in a sealed container until you have everything you need, and everything is dry.
Start by collecting together the raw materials needed to make your fuel.
Smoker Fuel Ingredients
You can buy smoker fuel, but it is generally costly and unnecessary as you can make your own fuel without laying out a cent, or for very little money.
Your base smoker fuel should consist of at least 1 or 2 items from this list:
- ☑ Dried material with high oil content
- ☑ Dry bark
- ☑ Pine needles
- ☑ Dried deciduous leaves
- ☑ Dry Grass
- ☑ Punky wood from tree stumps
- ☑ Dried citrus peel
- ☑ Unprocessed cotton fiber
- ☑ Old cotton fabric
- ☑ String
- ☑ Brown paper
Paper Makes Excellent Natural Fuel, It Smokes Well and Does Not Burn Very Hot – Do Not Use Glossy Paper or Chemically Treated Paper
- ☑ Sisal baling twine
- ☑ Paper egg cartons
- ☑ Dried horse manure
- ☑ Dried hay
- ☑ Tobacco leaves
- ☑ Rotting logs
- ☑ Wood
- ☑ Wood pellets

- Dry corn cobs
- Corrugated cardboard (egg trays)
- Peanut shells
- Dried herbs
- Straw
- Burlap
- Small twigs
- Natural Garden Cuttings
Material with a high oil content will slow down the speed at which the material burns. The smoke will be thicker, and will billow well.
Dried, natural ingredients will burn for longer. If you are going to work in multiple hives, you do not want to have to reload your smoker between hives.
Materials like the brown paper, cotton, and straw light quickly. They are great for getting your smoker started.
Many people (myself included) believe in the power of nature for health, calmness, and even focus. Many others cook with items fresh out the yard that most others will see only as a flower.
These herbs, flowers, and grasses can leach their taste into the honey via the smoke as it comes into contact with the sticky frames of honey. They also can have antibacterial, antibiotic, and antimicrobial properties that will keep your bees healthy.
The smoker fuel you use can help your bees stay healthy, and keep nasty parasites away. Preliminary USDA research is showing that the smoke from certain organic materials like grapefruit leaves and creosote bush reduce the occurrence of varroa mites.
You can add any of these to your smokers for a little extra spike, on their own or as blends:
- Grapefruit leaves
- Creosote bush
- Citrus
- Peppermint
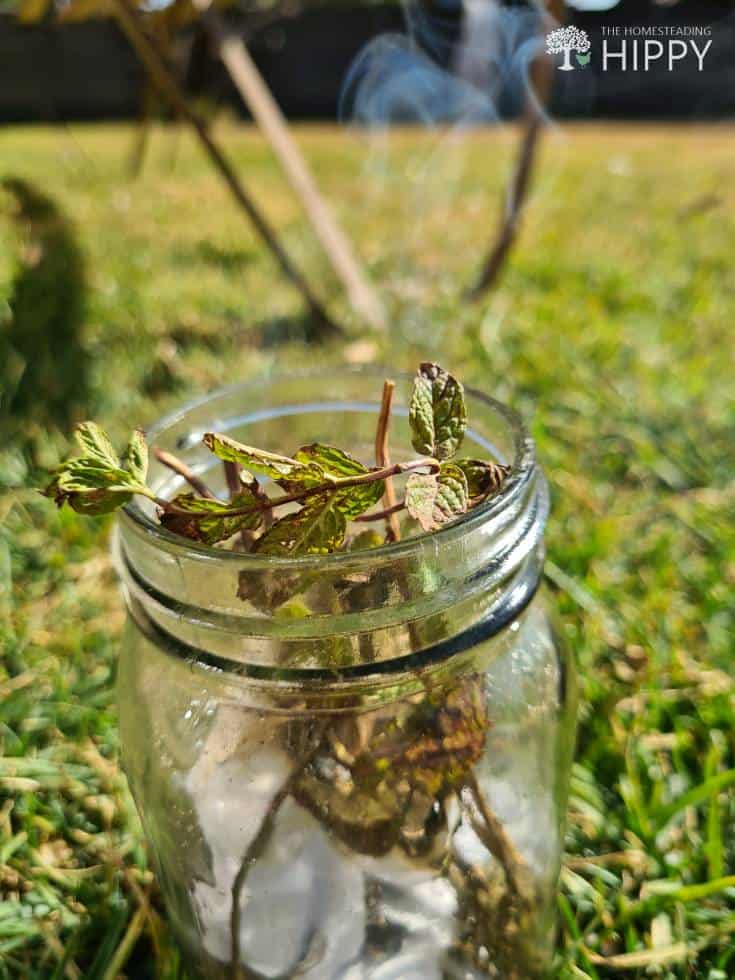
- Mint
- Sage
- Rosemary
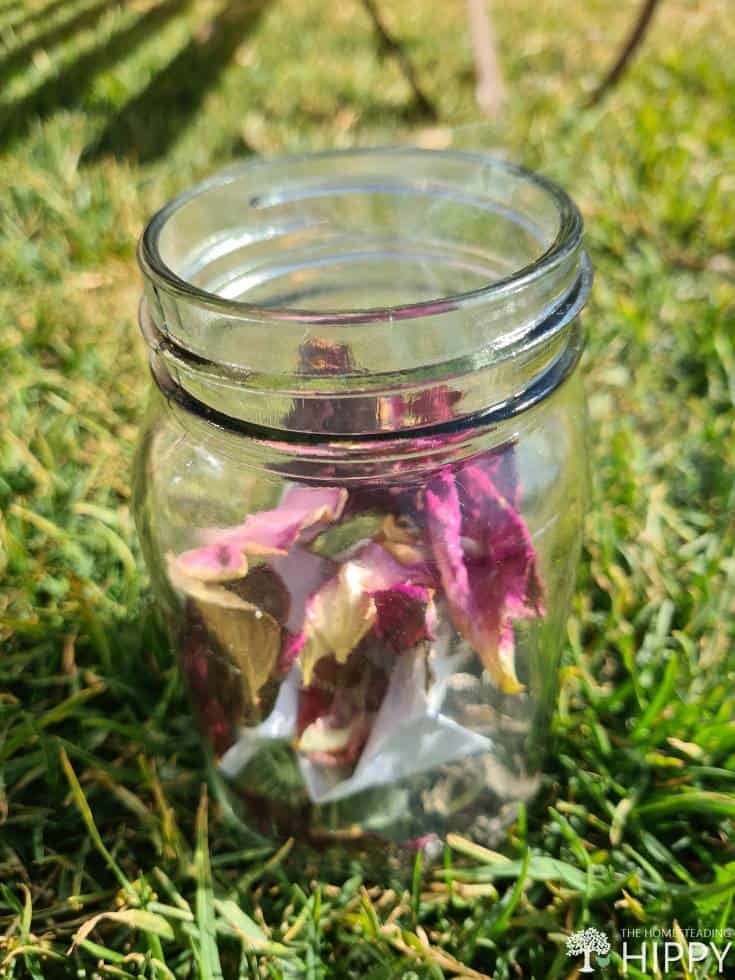
- Rose
- Pine needles
- Thyme
- Basil
- Eucalyptus
- Deadheaded flowers
- Sunflowers
- Oregano
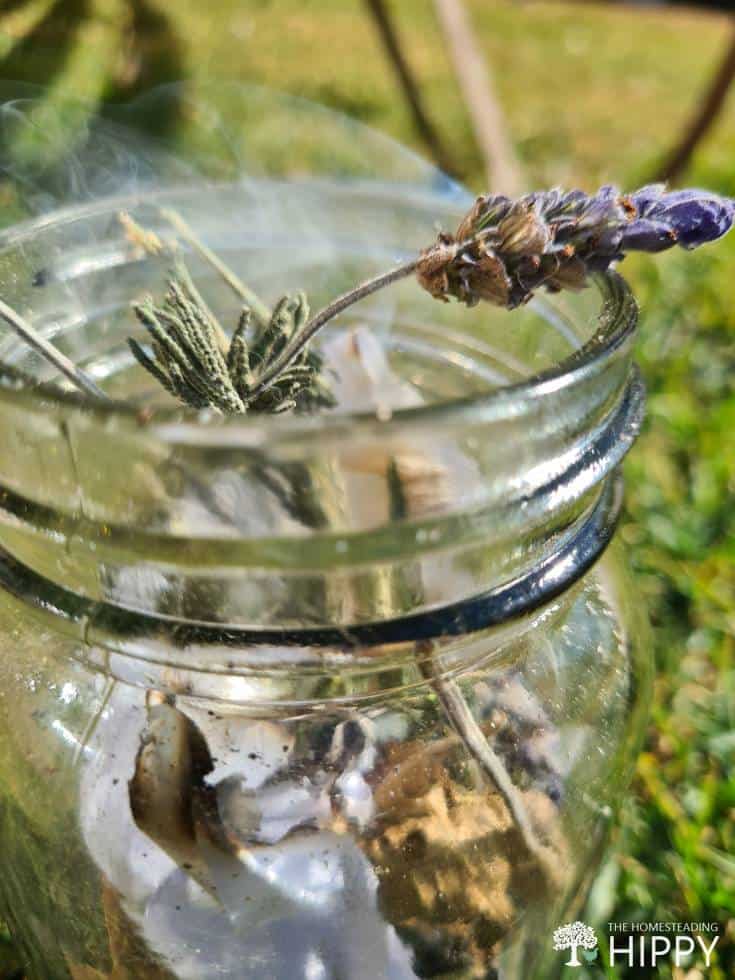
- Lavender
- Daisies
- Zinnias

- Fennel – flowers and stems
- Cilantro stems
- Coriander stems
- Parsley
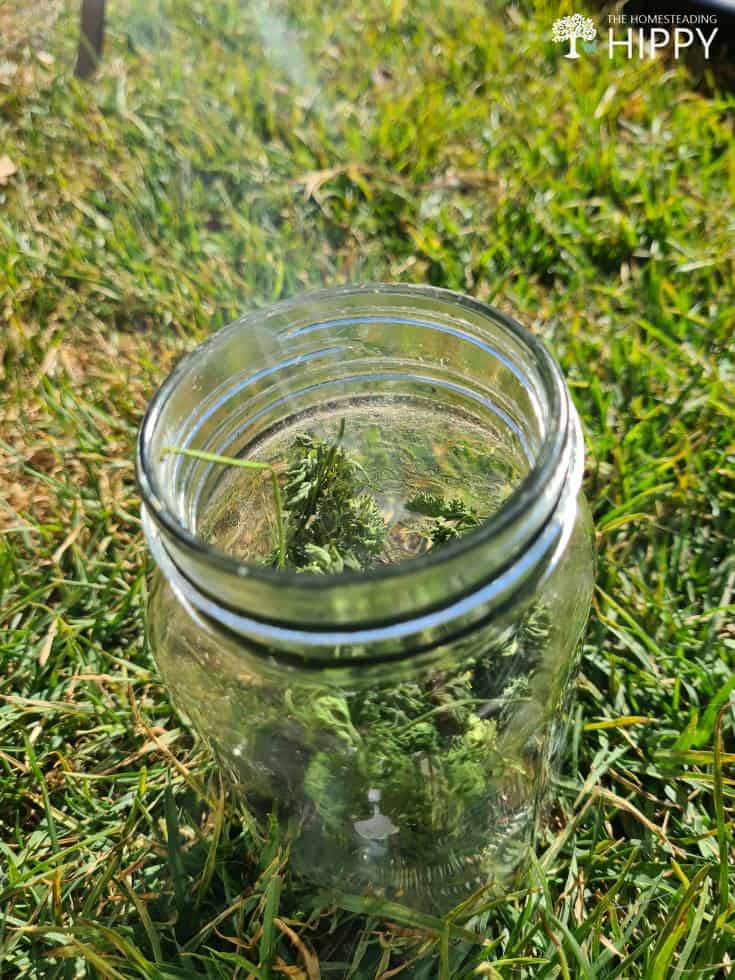
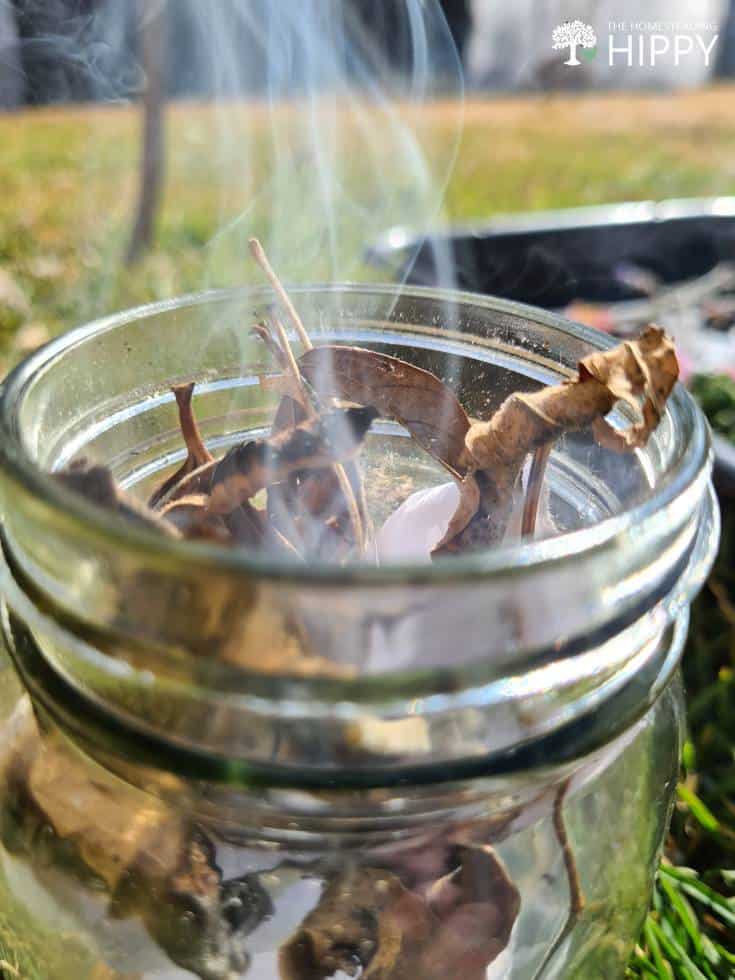
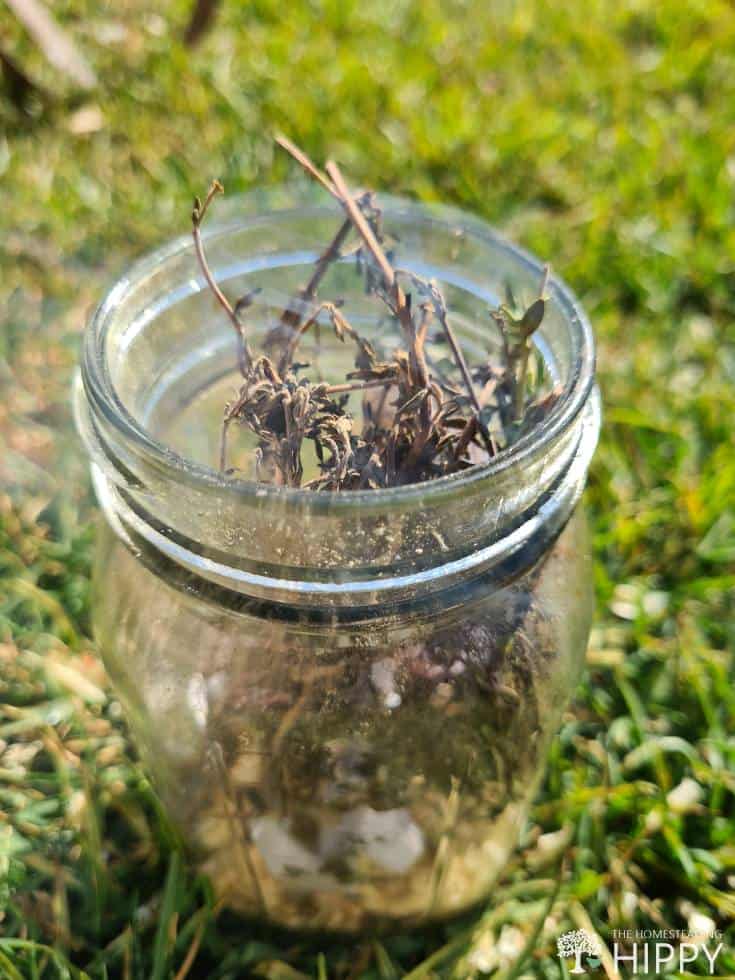
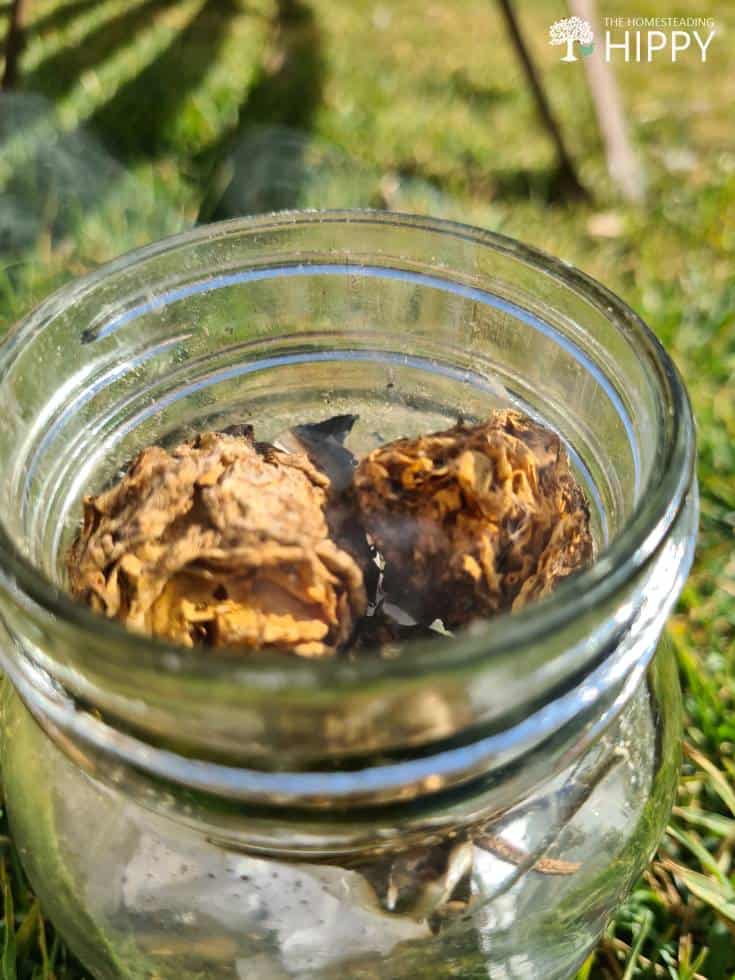
Drying Your Plants
Dry, dry, dry!
All your plant materials must be properly dried out or they will not burn.
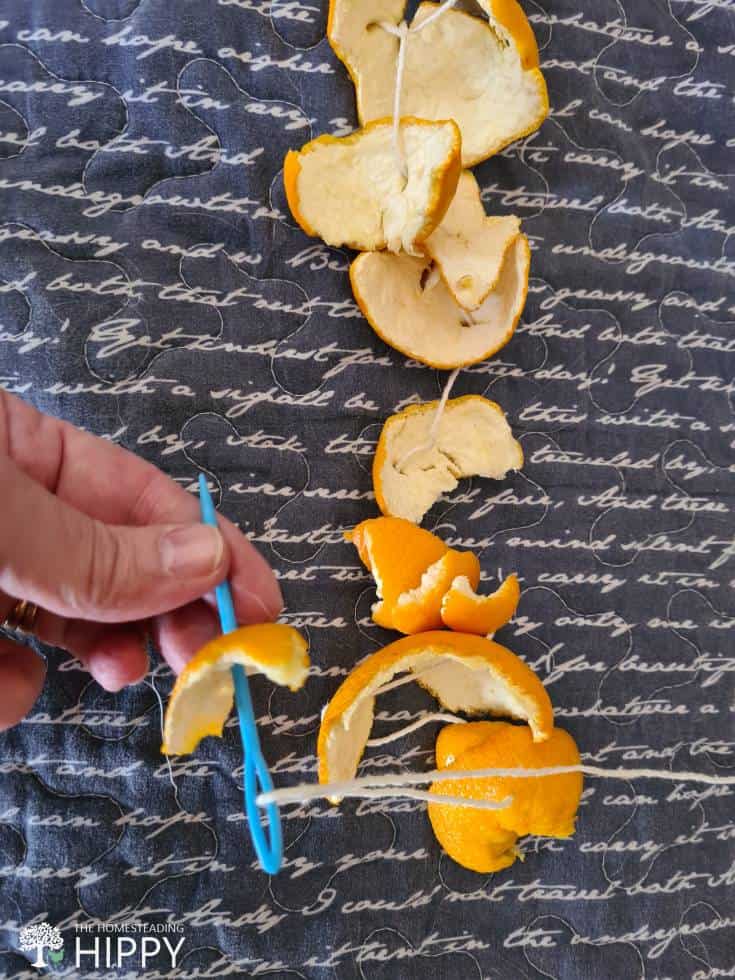
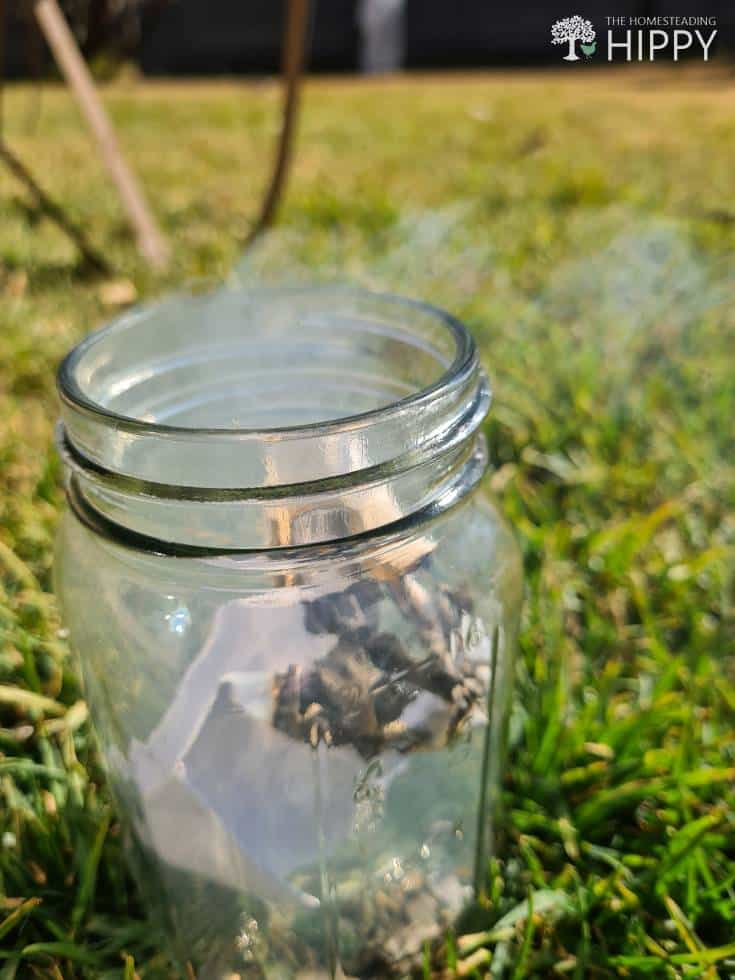
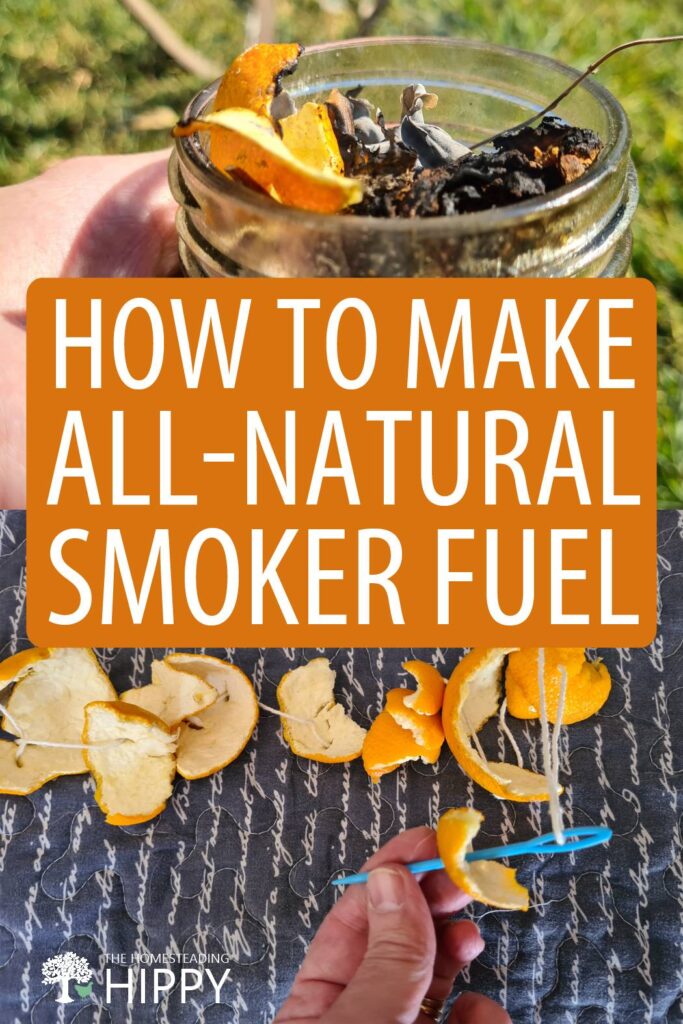
To dry out peels, string them onto twine and hang them out to dry. Just make holes in the peel and thread the twine through or use a needle to sew the peels with twine. It takes 2 to 3 weeks to dry citrus peels properly.

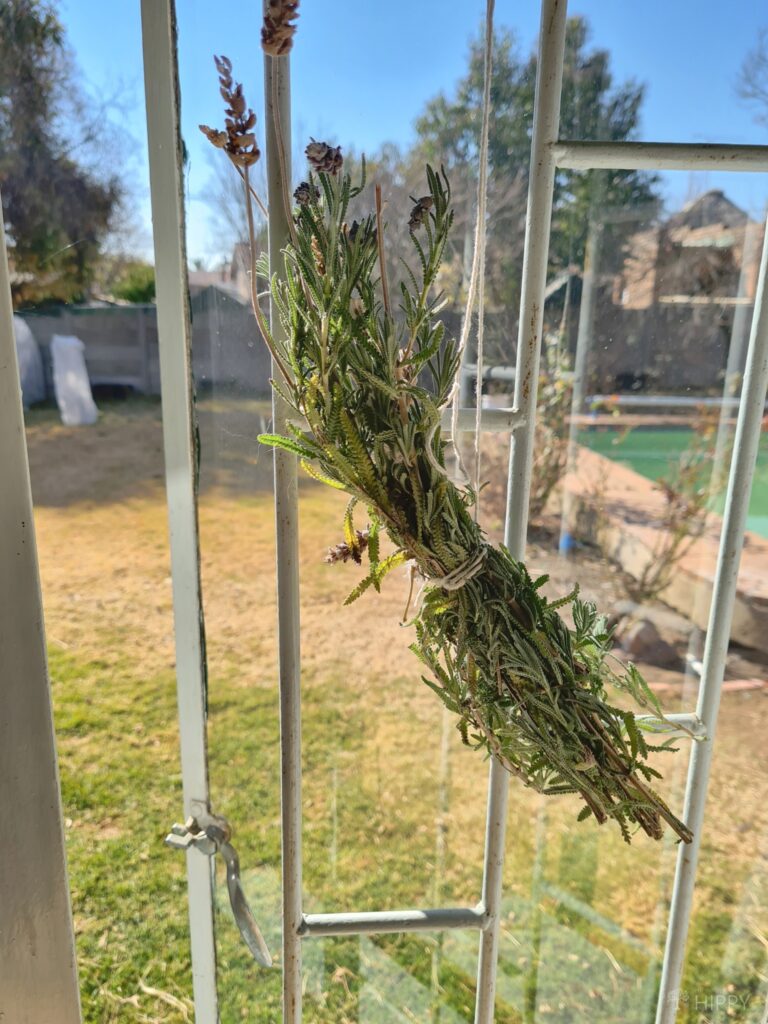
You can dry your herbs or flowers indoors or outdoors. I prefer drying everything outdoors in the sun whenever possible; however, some plants can make your house smell incredible as they dry, and they can keep insects out.
You can gather these plants into bundles and hang them up to dry. It can take a week or more to dry your herbs and flowers. It can take 1 to 2 weeks for the herbs to dry properly. Be patient! You need everything to be? DRY, DRY, DRY!
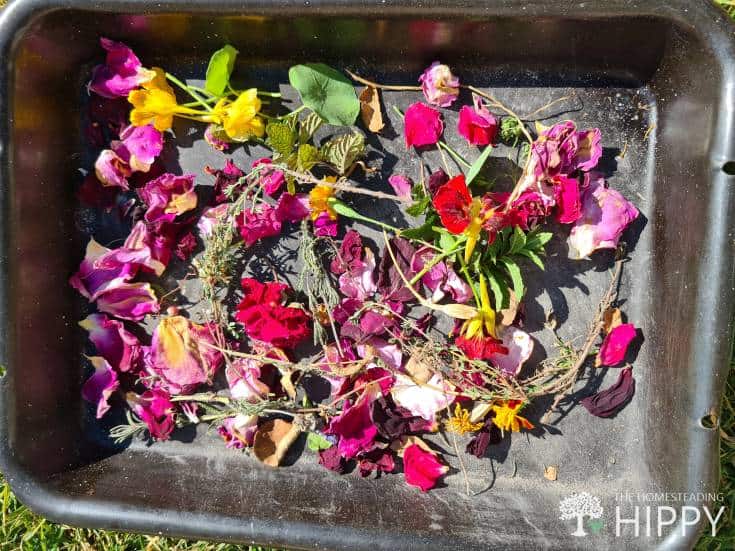
To dry out pine needles, leaves, or petals, spread them on a baking tray and bake them slowly over a course of a few days on the ovens lowest heat, turning the oven onto the lowest setting for 10 to 15 minutes twice daily.
The goal is to let the moisture dry out slowly. Wait by your oven while it is on or set a timer to alert you that the 15 minutes is over.
When Gardening, Do Not Throw Petals or Flowers Away, Dried Out They Make Great Smoker Fuel
Separating Your Ingredients
Now that you have collected your ingredients, separate them into the following categories:
- Fast burning tinder
- Oily or resinous plants – Orange Peels Are Excellent
- Herbs and sweet-smelling materials
- Other
The goal is to create a well-balanced package that will burn easily, create a lot of smoke, and burn for a long time.
| Fast Burning (Good for ignition) | Oily / Resinous Plants (Burn for longer) | Herbs / Sweet-Smelling Flowers (Add flavor and a pleasant smell) | Other |
|---|---|---|---|
| Dried Deciduous leaves | Pine Needles | Dried herbs | Straw |
| Unprocessed cotton fiber | Dried citrus peel | Mint | Burlap |
| Wood pellets | Wood | Sage | Deadheaded flowers |
| Brown paper | Grapefruit leaves | Peppermint | Sunflowers |
| Small twigs | Creosote bush | Oregano | Dill flowers and stems |
| Sisal baling twine | Citrus | Rose | Fennel flowers and stems |
| Corrugated cardboard | Eucalyptus | Basil | Cilantro stems |
| Old cotton fabric | Rosemary | Lavender | Coriander stems |
| String | Punky wood from tree stumps | Daisies | Hay |
| Paper egg cartons | Rotting logs | Zinnias | |
| Peanut shells | Dry bark | ||
| Dry corn cobs | |||
| Dried horse manure | |||
| Tobacco leaves |
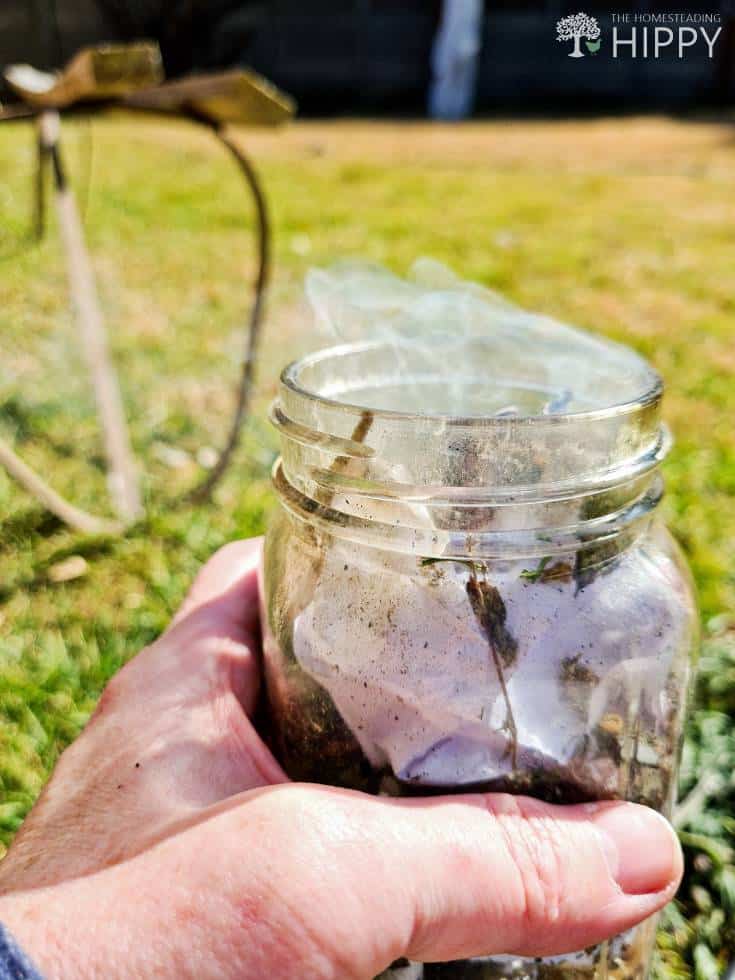
Now that you have everything and it is all dry, you are ready to make your fuel bundles.
Making Your Bundles
This is where the fun starts. You can get creative here blending together items that will ignite quickly with items that burn for longer and items that will smell great burning and leave a delicious flavor on the honey.
First separate all your plant material, paper, strings, etc. into piles according to whether they burn quickly, burn slowly, and have great smells or tastes.
Smell everything you have, and blend together the items into equal bundles with the dried-out material. If you are looking for a consistent taste, I recommend you play around until you get a taste you like and then stick to that. That way your honey will have a consistent taste that you can make hive specific by making different blends specific to each hive.
Before you go to smoke your bees, ignite a bundle in your smoker and see how long it will burn for (you will only need to test one bundle). You do not want any surprises when you use your smoker.
Time this test to see how long your blend will burn for. I cannot stress enough how important it is that you know how long your fuel will burn. You need it to burn long enough to smoke the bees a little at a time until you are finished doing whatever you need to do.
An inspection, treatment of the bees, splitting a hive, or moving a hive all require different lengths of time to complete. You need fair warning that your bees are going to start noticing you. If you know how long a bundle will burn for, you have some indication of how long you have to complete the job.
Packaging Your Bundles
We have a great shop nearby that sell everything you can think of for homesteaders: canning jars, vacuum sealing bags, and most important to us beekeepers, small, brown paper bags.
If your pharmacy uses paper bags you can reuse these too. You do not need very large bags like the ones used in grocery stores; however, these can be great for igniting your fuel. You can package the fuel and just fold the paper bag a few times giving more paper on one side – the side that will sit under the fuel to ignite it.
Packing paper works just as well. Place your bundle in the middle of the paper and fold it into a sturdy envelope.
Lunch bags are also the perfect size for your fuel bundles.
If you fold the bags closed properly you will not need to tie them closed. If you find they do need to be tied, tie your bundles closed with non-toxic twine or string.
Do not use glue or tape on your packages.
Each bundle should be roughly enough to fill a 250ml mug. Depending on what you are going to do in your hive you will need 1 to 2 bundles per job.
Starting Your Smoker
Choosing the right materials to start your smoker is important because an irritated beekeeper leads to irritated bees.
You want to get your smoker to start up quickly to ignite your fuel.
You will need:
- Your smoker
- A lighter or matches
- Newspaper
- Other non-toxic flammable materials like corn husks or – for Survivor fans – coconut husks
Add a little starter material to your smoker.
Before starting your fire, make sure you have immediate access to your smoker fuel for when your smoker is lit.
Light the starter material and once it is burning, add your fuel onto the fire a small quantity at a time, using your smokers’ bellows to give the fire the oxygen it needs to burn the fuel.
Once lit, you can add the whole package on top of the flame. Use the bellows (2 or 3 puffs normally does the job) to ignite the package.
If you see big flames, the smoke is going to be too hot for the bees. Let the flames die down completely before you smoke your bees.
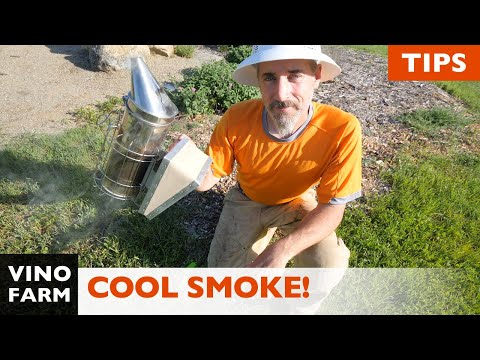
Always give a puff or two onto your inner arm to feel if the smoke is hot. If it is warm (if there is any heat) rather let the smoker cool down for a few minutes so that you do not harm your bees.
Start off by giving a puff of smoke at the entrance to the hive before you open the hive. That way guards do not have time to warn any of the other bees.
Do not over smoke your bees. You do not want to panic them into leaving the hive. 2 to 3 puffs are usually sufficient to make the bees think a bush fire is happening somewhere in the area. If you find the bees are starting to pay attention to you, them you can give them an extra puff or 2.
Remember to give the bees 10 minutes to start packing in all the honey after you have smoked them. The honey will slow them down making it safer for you to be in the hive.
What to do When You Are Finished Smoking
When you are done smoking your bees, you may find that you have not used up all your fuel. If you still have fuel in the smoker, do not dump it out of pour water or sand in to stop the burn.
Take a handful of fresh grass and just stuff it into the spout of your smoker to block the passage. With the lid on and the spout blocked, the fire will not have oxygen and will go out on its own preserving the leftover fuel for the next time you need it.
What Not to Use When Smoking Bees
When smoking bees, it is essential that you bear in mind the health of your bees and the environment.
Do not ever use:
- Lighter fluid
- Kerosene
- Gasoline
- Diesel
- Synthetic material
- Plants that may harm insects
- Products that have chemicals on them (especially bug spray)
- Paint
- Dyes of any kind
- Rubber
- Preservatives
- Plastic
Bee Smoker FAQ
Yes, it will. Any fibrous manure will work, provided it is properly dried out and you trust the source to be healthy.
Moose and deer pellets are an excellent fuel source, again, make sure your dry them out properly.
Bee behavior is all managed by the release of pheromones. If you have smoked your bees and they are still behaving aggressively, they are probably worked up about something else that is going on in their environment.
Do not use more than 5 puffs of smoke, this will make them leave. Rather come back on another day and try again.
No, while some beekeepers do use these, it is not recommended. They produce too much heat, burn fast, and can lace your homemade fuel with toxins.
How do you cool off the smoke so that it is not burning too hot?
Once your fuel is burning, you can add a little bit of green grass around – not on top of – your fuel. This will cool your fuel making it safe for the bees.
Conclusion
To ensure you have enough dry material for on-the-spot inspections, plan ahead. Collect materials to burn often to create a stockpile. Make sure you are storing them in a very dry place. If you are a little OCD – like me – then dry out your herbs and plant matter and vacuum seal them to keep the moisture out.
I fold my bundles into brown paper bags (making sure everything is DRY) and then vacuum seal them. I can make enough for a year even and they do not take up a lot of space. Vacuum sealing them serves three functions:
- It keeps moisture out
- It keeps the smells and flavors in
- It keeps bugs and contaminants out
My personal favorite fuel for flavor is lavender. If you have read anything I have ever written, you will know I am a little bit of a lavender nut. But it gives the honey a sweet taste that calms me down.
Have fun experimenting.
Di-Anne Devenish Seebregts was raised in an environment where daily life consisted of hiking, environmental conservation, growing fruit and vegetables, and raising poultry for meat and eggs.
She combined her passion for the writing word with her love of the pride that comes with not relying on others. She raised three children (who are now adults) to value the environment, and understand the value of being self-sufficient.
Find out more about Di-Anne on our About Us page.