
Strawberries normally come into season in late spring through early summer. The bright, red jewels are a thing of beauty, to be sure!
When those beautiful berries are ready, I save several quarts from going bad by canning strawberry jam.
My family can enjoy the fruit in this form all year long. As an added bonus, I have control over the ingredients. I do not have to worry that high fructose corn syrup or artificial flavors are being ingested along with our jam.
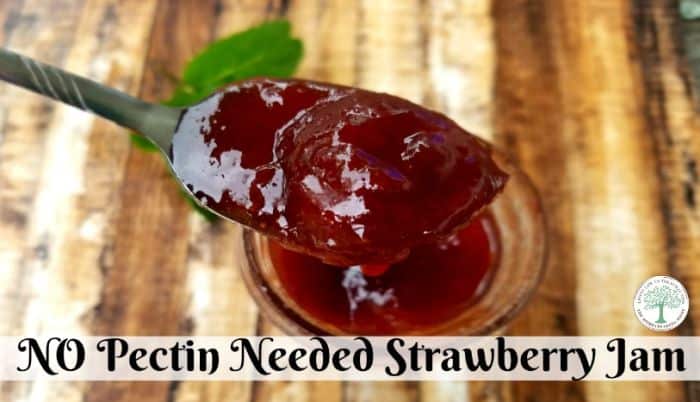
The best part? This is a strawberry jam recipe without pectin! This canning recipe is great for a beginner, as it is easy to follow and will help you learn to can with confidence.
You Will Need
- 2 quarts strawberries (about 2 pounds)
- 3 cups of sugar
- ¼ cup bottled lemon juice
Instructions
- Cut and remove the stems from the berries, then cut each berry in half.
- Place the cuts berries in a bowl, just covering the bottom.
- Layer 1 cup of sugar over the berries.
- Repeat layers with berries and sugar until you run out of both.
- Stir gently, and allow the berries to release their juice. They will look bright and sparkly as they are juicing. This usually takes about 15-20 minutes to complete. The sugar will begin to dissolve as well during this time.
- Place the berries, juice, and sugar into a pot with a heavy bottom. I like my cast iron dutch oven for this, but any large pot with a lid will do. You will want to be sure that the pot is at least 5 inches above the berries.
Cooking the Strawberry Jam
- Cook on medium high heat until the whole mixture becomes a rolling boil of sugary goodness and stir constantly. This can take about 20 minutes.
- If you stop stirring the whole thing can (and often will) boil over and make a horrid mess on the stove, so keep stirring gently.
- You can add 1 teaspoon of butter (not margarine-use real butter for this) to the boiling berries to help lessen the chance of them spilling over the sides of your pot.
The jam is ready to can when you notice a tendency for the liquid to set.
To learn more about how to know if your jam is ready to can, read here.
Canning Your Strawberry Jam
- Once the jam has reached its proper consistency, remove from heat. Next, stir in the lemon juice.
- Ladle the jam into clean and HOT ½ pint jars, leaving ¼ inch head-space. If you look at a canning jar and see the threads on it, you will fill it to line up with the top most thread.
- Carefully wipe the top of the jar with a damp towel to remove any mess. Then, add your lid and band.
- Screw the band on finger tight.
- Place in a water bath canner with boiling water and process for 10 minutes.
- Remove from the water and allow to cool in a non drafty area. You should hear “ping, ping, ping” as the jars are sealing.
- After 24 hours, check seals by pressing down on the top of the lid. If it doesn’t pop back, it is sealed.
- Carefully remove the bands, wipe of the jars with hot, soapy water, and store on your pantry shelf. This can be used for up to a year.
- If it DOES pop back, place that jar in the fridge and use within 3 weeks.
We love to eat this strawberry jam on fresh homemade bread, fluffy biscuits, or stirred into our favorite homemade yogurt! What is your favorite way to eat jam? Do you make your own? Be sure to pin this for later!

Heather’s homesteading journey started in 2006, with baby steps: first, she got a few raised beds, some chickens, and rabbits. Over the years, she amassed a wealth of homesteading knowledge, knowledge that you can find in the articles of this blog.
Learn more about Heather and the rest of the writers on this page.
I LOVE strawberry jam! I am new to canning, but have been making jam for years. I have never tried water bathing jam, but I am pinning this to use next time!
I would love to hear how you like it!!
Can this recipe be used for other fruit jams as well??
How much of the lemon juice?
Thank you ?
1/4 cup. sorry about that error. I updated the post, thanks for pointing it out to me 😉
I so you don’t mash the strawberries? Just cut into small pieces.
Love it but I cut back on the sugar and only used 2 cups and it was plenty sweet.
Can I use dried stevia from my garden?
About how many canning jars will I need?