
The benefits of compost cannot be overstated. There are so many reasons to compost, including eliminating the need to purchase and use chemical fertilizers as well as the ability to retain soil moisture.
You can save money and resources while improving your soil and environmental impact. Compost improves soil structure and drainage, and reduces the fees you have to pay for trash collection.
If you produce kitchen waste, you can create a compost. All you need it a little bit of organic matter to get your pile started. A healthy compost pile can be maintained all year – even during the cold days of winter.
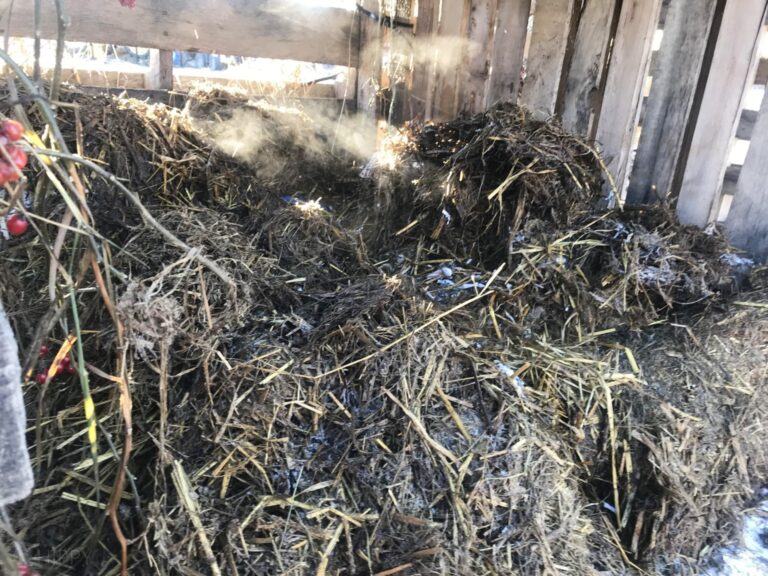
Although decomposition does slow as temperatures drop, bacteria and the other organisms necessary for the composting process remain alive. They need energy to do their jobs effectively, so it’s important that you continue to add organic matter to your compost bin even in the dead of winter.
While winter composting is necessary if you want to have a healthy garden come spring, there are some guidelines and advice you should follow when maintaining your composting system during the colder months.
In this article, we’ll show you how easy winter composting really is!
1. Harvest all of your compost before the snow sets in
Try to remove all unused compost from your bins before winter sets in. Use the compost to topdress your garden or raised beds. You can even transfer it to another container if you want to use it in the spring. This will free up unnecessary space in your compost bin throughout the winter.
2. Make sure your bin is warm
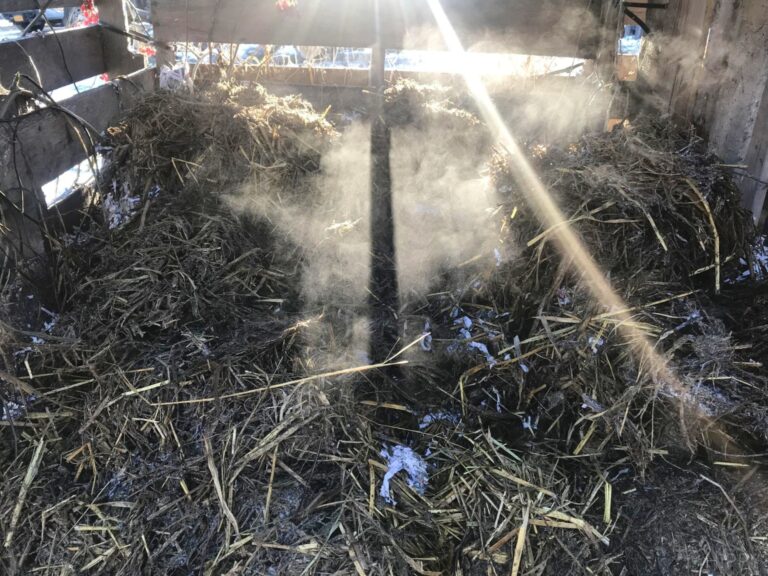
To prevent your bin from freezing during the winter, place straw bales around your bin. This will help keep drafts out of the bin and make sure all of the bacteria in your compost stay alive and warm enough to have an effect on decomposition during the winter.
Just like you, your compost needs to be kept warm and insulated throughout the winter. It is easy to insulate your compost, either by adding the aforementioned straw bales or inventing a more creative method of keeping thing toasty.
Many people make cardboard insulation systems by lining the sides of their bins with cardboard or even store-bought home insulation. You can even pack piles of snow around your compost bin to keep things warm and enclosed.
3. Continue to layer
Even though the weather has gotten colder, you still need to make sure you are composting effectively throughout the winter months.
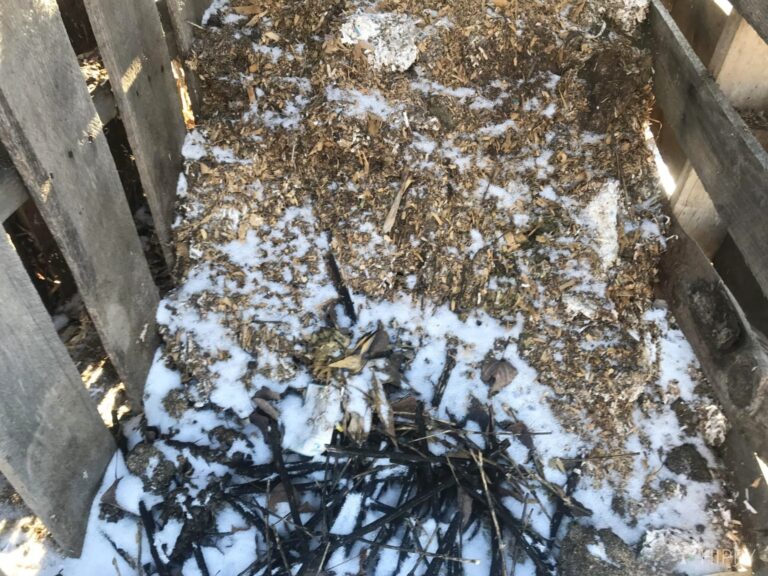
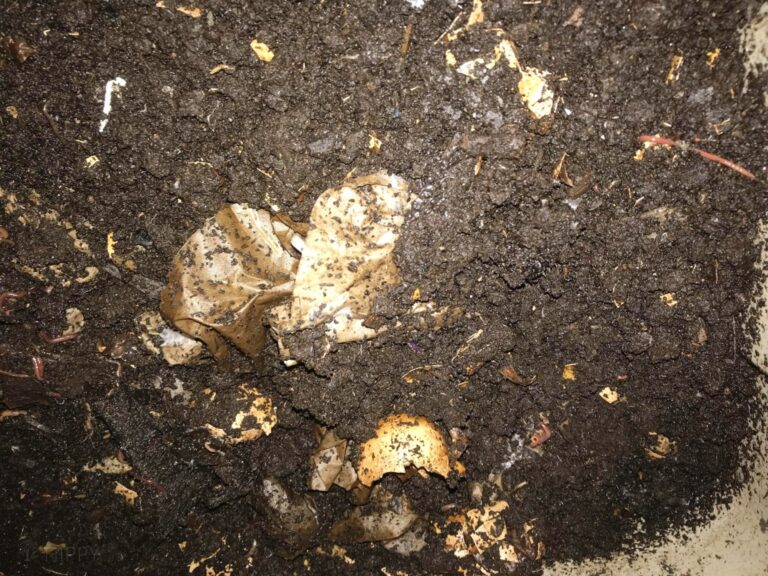
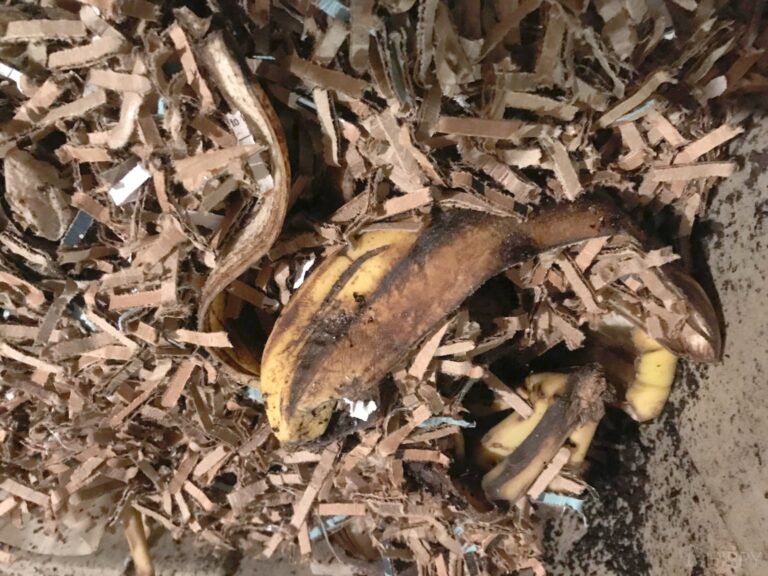
While you can turn the pile less frequently (and actually should avoid turning it too often, as this can cause heat to escape), you should still layer green and brown ingredients. Add green kitchen scraps to your bin and follow them with a layer of brown ingredients like newspaper, for example.
4. Add smaller ingredients
You don’t have to reduce the amount of ingredients you add to your compost bin, but you should reduce their size. Consider shredding or chopping up scraps before placing them in the bin, since they will take longer to break down.
5. Maintain moisture
Even if your pile has frozen and thawed throughout the winter, you will still need to make an effort to keep it damp throughout the winter. You want it to be moist, yet not soggy. If you find that your pile has become too sodden as a result of winter precipitation or freeze and thaw cycles, consider adding more brown ingredients to absorb the excess water.
6. Keep a bucket inside
Bringing small portions of kitchen scraps out to the compost bin one at a time can be a real drag, particularly when the weather is cold and you need to layer on coats and boots before heading outside.
Keeping a bucket inside your kitchen will allow you to reduce the number of times you have to trek to the compost bin. If you invest in a good, tightly-sealing bucket, there will be minimal odor and the bucket’s contents should already start decomposing before you even bring them outside.
If you aren’t ready to invest in a compost-only kitchen bin, consider repurposing one of the items you already have lying around your house.
A sturdy, dense coffee can will work wonders in preventing odors while allowing you to store a week’s worth of compostable ingredients at a time. These containers are often airtight, preventing liquid or unpleasant smells from escaping.
7. Consider vermicomposting
The word may sound foreign and complicated, but the process is simple. Vermicomposting is simply the process of composting with worms. Worms live in temperatures around fifty degrees Fahrenheit, so you can easily keep a worm bin in your basement.
Worms break down your food waste and other compostable items a bit more slowly than do bacteria in an outdoor bin under optimal conditions. That being said, they are a good alternative – or even a supplement! – to outdoor compost systems once the weather turns.
To start vermicomposting, all you need to do is find a plastic storage container. Fill it about halfway with shredded paper, and run a couple of perforated PVC pipes through it to make sure the worms receive adequate oxygen. Place small amounts of food in the container, starting gradually by adding waste to one corner and working your way around to the other corners as they get filled up.
Keep in mind that regular garden-variety worms won’t be successful in a vermicomposting bin, and that you instead need to use Red Wiggler.
These worms can be purchased at bait shops or ordered online. They can produce thousands of worms in a matter of a few months to a year, providing you with worms to feed to fish or chickens, as well as compost that can be used on your garden.
Worms in a vermicomposting system can eat just about anything, including fruits and vegetables, bread, tea bags, coffee grounds, and other non-greasy foods. You can’t feed them foods like meat or fat, of course, but anything else is fair game.
8. Keep the variety going
This tip is true, of course, for summer composting too, but in the winter you need to make sure you are providing your compost with plenty of variety in terms of what you are adding to it for intreidents. Brown waste, or matter such as leaves, cardboard, and newspaper, should be supplemented with green waste, like kitchen scraps and coffee grounds.
9. Remember that your compost needs to breathe
Again, this is also true in the summer months, but particularly important to pay attention to during the winter. Your compost needs to be able to breathe, so make sure you are providing it the space necessary for it to do so. Oxygen is a core element of the decomposition process. Your compost bin should have gaps or holes in it to provide oxygen to the bacteria and other microorganisms that do its work.
If you have a tightly sealed compost bin (many commercial bins are set up in this way, as it prevents odors and pest problems), you will need to get more creative. Aeration can be conducted by turning the compost with a pitchfork every few days, but this is an annoying chore to have to do during the colder months. In addition, turning your compost too often can cause the pile to lose heat.
Instead, consider adding a large PVC pipe to your pile. After you drill holes in it and insert it into the center of your compost (the pipe should be at least two inches in diameter), it will allow air to pass through and provide necessary oxygen to the invisible organisms within – without cooling down the decomposition process.
10. Protect your compost from unwanted critters
While a well-aerated compost is important, so is protecting your pile from unwanted critters. From an animal’s perspective, a compost pile is a great place to hang out. It offers warmth, food, and protection from the elements.
Unfortunately, animals like rodents can spell disaster for your compost, as they can make a mess and contaminate your pile. Furthermore, you need to be careful about setting traps around your compost, as they can also trap you as you try to add scraps to your bin.
Making sure the gaps in your compost bin are just small enough for air to pass through – but not animals – can help prevent this problem. If you are still having trouble getting rid of pests, consider saving your waste until the spring – just keep in mind that you won’t have any compost being made during the winter months.
11. Invest in the proper compost bin
Know that one size definitely does not fit all when it comes to winter composting. There are multiple options and styles of compost bins, meaning you have plenty of options in how you choose to work.
When you visit a link in this article that takes you to a different website where you can purchase something, I may earn a commission. Read my full disclosure for more details.
A compost tumbler is a popular option in rainier states. These composters are usually sealed, so that any rain that soaks into the ground is not absorbed by the compost. These can still get too wet at times, but are a more suitable option in the winter months than are open-bin systems.
Another popular closed-bin system is the compost digester. This standing compost bin is an open-bottom system that sits directly on the ground. You add materials from the top and remove compost from the bottom. You can’t turn this compost, so it takes longer to produce, but it is a good option for continuous composting.
Open bin systems, or compost piles, are the simplest composting system. For this, all you do is leave organic material on the ground. You can cover these piles with a tarp or enclose them with pallets or in some other sort of shelter.
While these piles are easy to maintain and can be a bit messier, they make it easier to access your compost when you are ready to use it.
12. Be wise about what you compost
Remember that you can’t add everything and the kitchen sink to your compost bin – and that’s the case throughout the entire year, not just during the summer. You can add materials like kitchen scraps (which would include fruit peels, vegetable rinds, and cores), but you can’t add artificial materials or meat. Dairy, too, is a questionable addition to most composts.
You can also add paper products, tea bags, and coffee filters, but be careful about added dyes. Remember that the quality of your finished compost will only be as good as what you put into it.
13. Add your leftover lawn clippings
If winter hasn’t quite set in and you are thinking about how you will jumpstart your compost for the cold months ahead, consider mowing and tidying up your lawn one last time.
Compost needs an adequate balance of green and brown ingredients. Most kitchen-scraps will be nitrogen rich, so it’s not a bad idea to add “brown” yard waste like dried grass, dried leaves, straw, or plant debris (which includes branches and wood chips). Make sure you avoid any plant that has been treated with a weed killer or other herbicide or pesticide.
14. Avoid adding too much wood
As an addendum to the previous tip, if you plan on adding woody matter to your compost bin, just remember that things will take longer to break down when the temperatures dip.
Plants lose about fifty percent of their volume in winter compost, but woody twigs and branches that are larger than a quarter of an inch in diameter should be first shredded or chipped. They will have a hard time breaking down under the harsher conditions.
15. Track your compost’s temperature
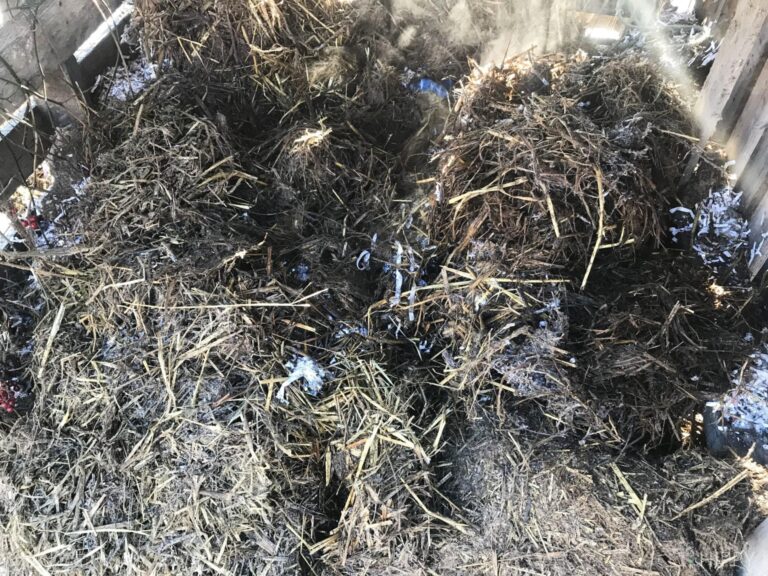
Temperature is crucial when it comes to winter composting, just as it is throughout the year. If you’re curious about the temperature of your compost, stick a thermometer in it. Decomposition will be slower during the winter, but will rise quickly in the spring.
Your compost should ideally be between ninety and one-hundred and forty degrees Fahrenheit for optimal decomposition, but breakdown can happen at lower temperatures, too – just more slowly.
If you’re concerned that decomposition is not occurring in your compost bin, or that your temperature has dropped too much, you can increase microbial activity by adding nitrogen rich materials and turning the pile. Just try to do this on a warm day to avoid further heat loss!
While compost is a gift from Mother Nature, it can be difficult to create during the colder winter months. However, just because the rest of your garden hasn’t gone dormant, it doesn’t mean that your compost has to, too.
By paying attention, and of course being prepared to nurture and troubleshoot any problems within your bin throughout the winter, you will be rewarded with rich, nutrient-dense compost come spring.


Rebekah is a full-time homesteader. On her 22 acres, she raises chickens, sheep, and bees, not to mention she grows a wide variety of veggies. She has a huge greenhouse and does lots of DIY projects with her husband in her ever-growing homesteading endeavor. Learn more about Rebekah here.