
Mulch is one of those innocuous things that you don’t pay much attention to until you start gardening. Sure, it can make your landscaping look pretty, but it can do a lot more than that.
It can help you control weeds, keep moisture in the soil, and even keep various germs and plant-eating pests at bay. That’s a win as far as I’m concerned!
But the problem is that wood mulch constantly breaks down, and in today’s market, the stuff is stupidly expensive for what you get. Luckily, with a little bit of DIY spirit, you don’t have to be held captive by any of the mulch market forces.
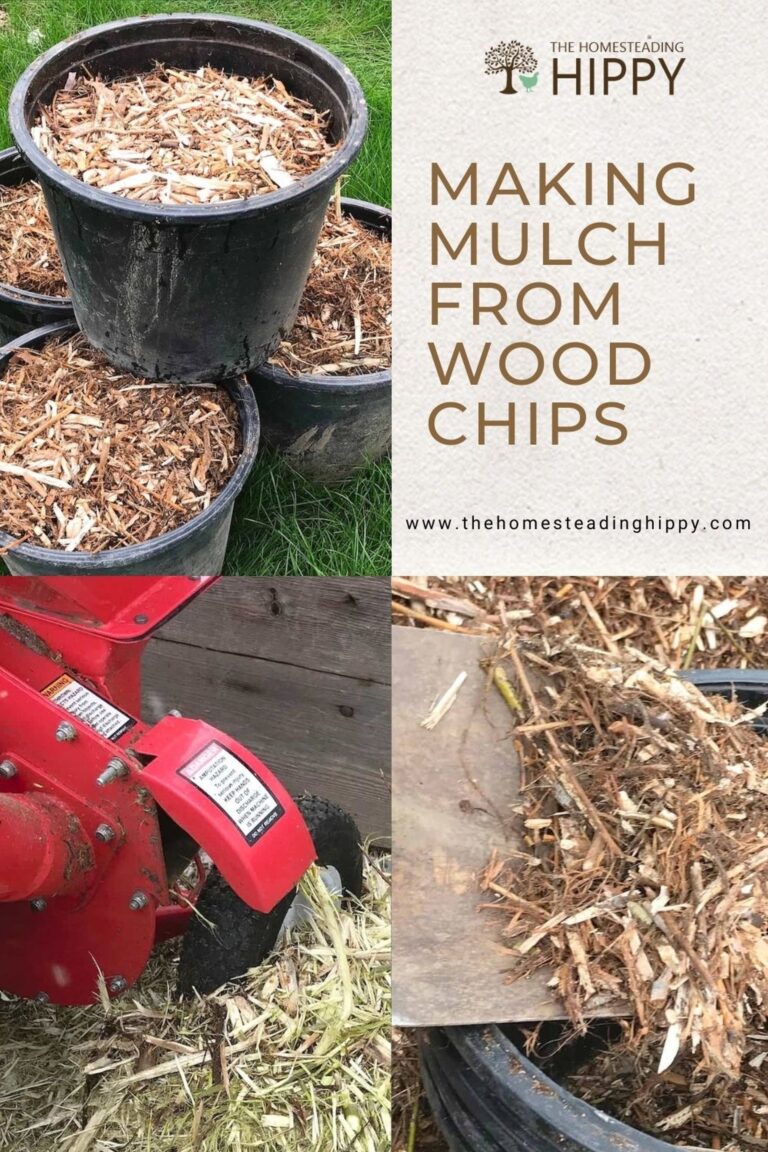
If you have a chipper or shredder you can easily make your own wood mulch at home using branches that you prune off or trees that you cut down.
Keep reading, and I’ll tell you everything you need to know and give you step by step instructions…
Why Go to the Trouble of Making Your Own Wood Mulch?
Considering that wood mulch is sold at pretty much every single hardware store, garden center, nursery, and home improvement center, why go to all the trouble of making it yourself?
Well, because if you’re like me and a veteran homesteader, you want to be more self-sufficient and are always looking for ways to save money and increase efficiency. Making your own wood mulch can help you do both. Consider the following reasons:
Cost Savings
Making your own wood mulch can save you a bundle, especially if you have lots of trees on your property, or neighbors willing to part with any of the branches or trees that they cut down.
Considering that wood mulch today goes for anywhere between $15 and $70 per cubic yard, it doesn’t take a genius to see that you can save a fortune by processing your own.
Reuse of Waste
If you aren’t going to turn it into firewood or mulch, the branches you prune off of your trees, or the trees that get cut down or fall down on your property are just waste.
They’re something you’ll need to deal with and get rid of, or pay someone to do for you. I don’t know about you, but that just doesn’t sit right with me.
Turning that wood into something useful is the ultimate in economy and good stewardship of natural resources. Plus it just isn’t that hard!
Happier Plants
Your plans might be doing fine without any mulch, but I promise they’ll do a whole lot better with it. Mulch has lots of advantages, and I outlined a few of them up above.
Your plants will benefit from better moisture retention, additional, healthy organic matter, weed and parasite suppression, and even disease resistance.
Plus, mulch tends to attract beneficial insects that can help the plants or the soil directly. You can even give your plants some insulation against the chill of winter.
What Kind of Wood Should You Use for Mulching?
You can use pretty much any kind of wood to make mulch, but there are a few of things to keep in mind:
Best Types of Wood for Mulch
Different types of wood have different pros and cons. The following list represents some of the most common types of wood/trees that you can turn into useful mulch.
- ✅ Oak: Oak is a great hardwood for mulch. It decomposes faster than most other hardwoods.
- ✅ Pine: Pine is widely available, has soil conditioning properties, and smells great. It has some insect-repelling properties but breaks down quite quickly, especially if shredded fine or into small chips.
- ✅ Cedar: Cedar is another insect-repelling wood, and one that’s long-lasting and highly resistant to moisture, meaning it lasts quite a while. But something to keep in mind is that it repels all insects, including beneficial ones!
Properly Sized
Any wood that you’re going to use for mulch must be properly sized, though this is more of a practical restriction than a real rule of thumb.
This is because different machines have different capabilities, and your smaller chippers or shredders might only be able to handle smaller diameter branches. The biggest machines can handle entire tree trunks!
Of course, the capability of the machine has its own financial and logistical concerns, and chances are, any one that you rent will only be able to handle branches that are about the size of your wrist or forearm. If your wood is larger than that, you’ll need to reduce it ahead of time…
Chemical Free
You only ever want to use natural, chemical-free wood for your mulch. This is because chemicals will easily leach out of it and into the soil and subsequently affect your plants, or potentially even local water supplies.
Never use pressure-treated lumber, or wood from any trees that have been exposed to chemical spills or treated with other harsh chemicals. This includes things like fence posts, dimensional lumber, telephone poles, and furniture framing.
Avoid Walnut and Allelopathic Wood
Not all harmful things are added by man. Some trees, and the chemicals that the wood and bark contains, are naturally hostile and harmful towards other plants. Walnut is one such example, along with other allelopathic types of wood.
These compounds actively suppress the growth of other plants, particularly young, delicate, or otherwise vulnerable plants, and if these compounds get into the soil you’ll basically have a little patch of badlands on your own property.
Take the time to positively identify the trees you are going to turn into mulch before you begin.
Not too difficult. If you’ve got all that in hand, it’s time to get to work and start cranking out that mulch.
What You’ll Need
You’ll need a few tools if you want to make your own mulch at home.
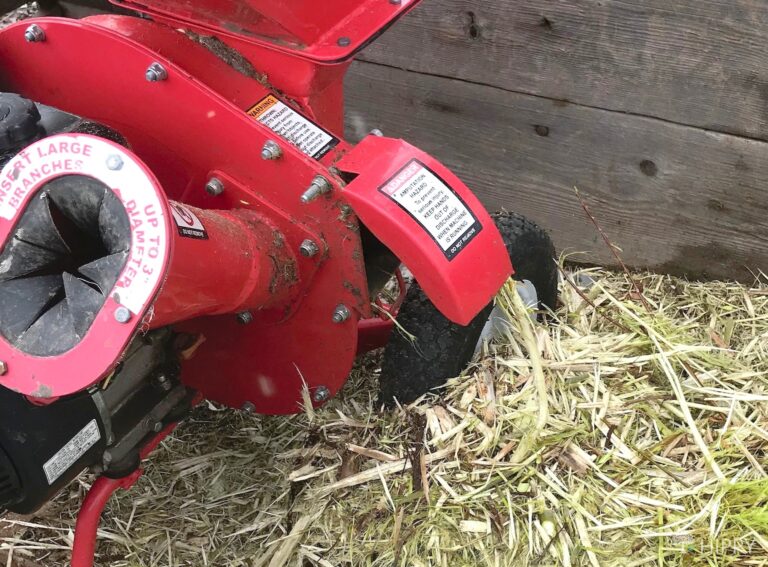
Chipper or Shredder: a must-have if you want to make a worthwhile amount of wood mulch before you die of old age. There are many models out there on the market.
Chippers produce larger chips, while shredders produce loose, fibrous fill. Both have pros and cons.
Consider buying one if you have a large property with lots of trees, but otherwise, you can rent one, usually for around $100 a day. You can make tons of mulch in a single day, so it’s definitely worthwhile!
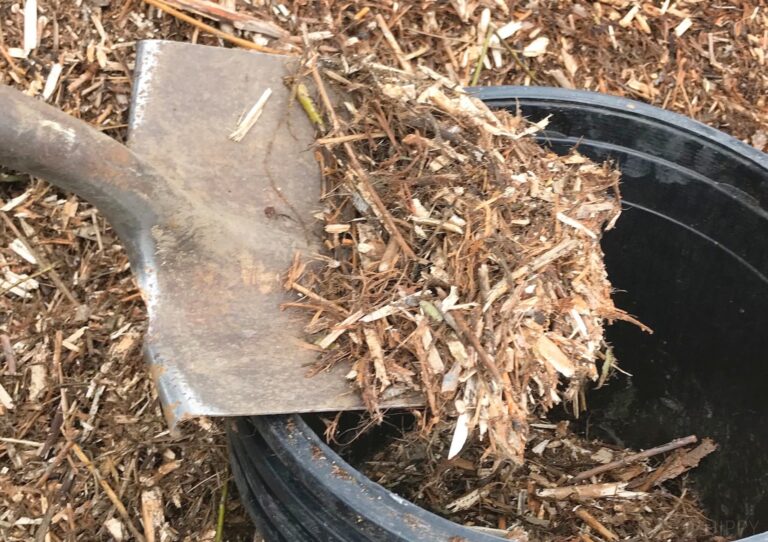
Transfer Shovel: a transfer shovel will help you load and unload mulch from a wheelbarrow or trailer. Make sure you get a transfer shovel and not a digging shovel for best results, though the latter will work in a pinch.
Wheelbarrow: a wheelbarrow will help you cart your mulch to its final destination assuming you aren’t using the next item on our list.
Trailer (optional): if you have a trailer that you can hook up behind a vehicle, or even an ATV or side by side, you can catch and then move a ton of mulch and save yourself quite a bit of labor.
Tarp: you want to keep your mulch from getting wet because this will often start at molding and breaking down in unpredictable and undesirable ways. Once you have your mulch in place and mound it up, covering it with a tarp will help keep it fresh and usable.
Pickaroon: a pickaroon is basically a sharp pick designed to help you handle wood. Often used for moving firewood around, it’s really handy if you’re dealing with larger branches because it will save you from bending down to grab them. Again, not strictly necessary but very helpful for this task.
Gloves: you’ll definitely want to wear gloves while handling all this wood.
And that’s all you need. Now, let’s find out what we need to do.
Warning: Shredders and Chippers are Dangerous!
Before going on, I must point out that shredders and chippers are both highly dangerous.
Although statistically they’re far less likely to hurt you compared to something like a table saw or a chainsaw, when something goes wrong with a chipper or shredder it is going to go really wrong. I mean spectacularly, “horror movie” wrong!
But, as you might have predicted already, virtually every bad outcome can be easily avoided by doing two things:
- make sure that the machine is set securely in place and anchored before you begin,
- and remember that you must never, ever under any circumstances whatsoever reach into the machine from either end.
So long as you do that, you’ll have a good time. Be safe, and keep your wits about you!
Making Your Own Wood Mulch, Step by Step
Step 1: Learn to run chipper/shredder. Unless you’re a seasoned pro at operating these, take the time to learn the ins and outs of the precise model of chipper or shredder that you have.
Learn how to connect it to a PTO (power take-off), if required, or how to fuel it and start it up. Also, learn about the emergency stop and shut down procedures, and how long it can operate continuously. Once you know this, move on.
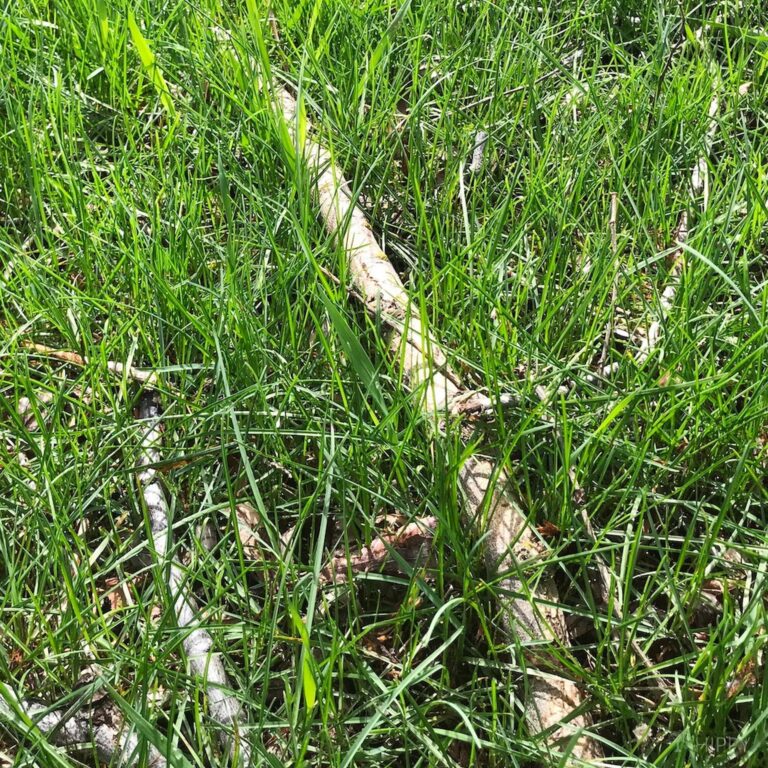
Step 2: Process wood. You’ll need to process your wood prior to feeding it into the chipper.
Assuming that you are only working with branches, if they are of the appropriate size you should strip off the smaller sticks and twigs along with the foliage. Larger branches or trunk sections must be processed down to a suitable size prior to.
Step 3: Position chipper / shredder and trailer, if using. If you are able, you can save yourself a ton of time and grief by prepositioning the chipper or shredder so that the discharge drops the mulch where you want to store it.
If you can’t, you’ll need to move the mulch to its final destination using a wheelbarrow or trailer. Get either in position before you begin.
Step 4: Feed branches into chipper/shredder. Time to start chipping! Power up the chipper and carefully feed your wood into the intake. Make sure you stand and grip well back from the end of the wood that is moving in. Always stay behind the marked danger area placards.
Step 5: Stop and haul mulch when needed. After a little while, you’ll probably have a good pile of mulch that you’ll need to deal with.
Stop your chipper, and then start carding or hauling the mulch away to its final destination. Once you’ve cleared more space, resume.
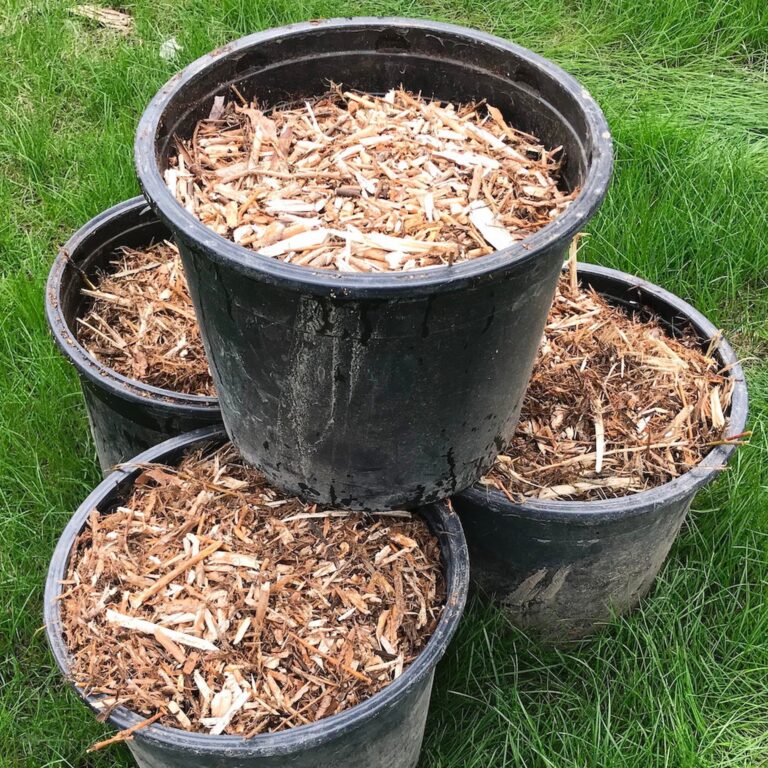
Step 6: Deposit mulch on dry, raised area. You should store your mulch on a raised area that is not prone to flooding, and one that has very good drainage.
If at all possible, placing it on a platform or other object will allow air to get under it will help it stay dry and slow decay.
Step 7: Pile mulch high. If able, you want to pile your mulch high, not wide. This will help prevent it from rotting and also help it dry out because of the action of microorganisms living in the pile.
The heat generated from these creatures can actually help the pile dry out from its natural moisture!
Step 8: Shut down and disconnect chipper/shredder when not in use. Assuming you’re going to take a long break or your mulching project will take several days, always fully shut down and disconnect the chipper or shredder when you aren’t using it.
Restart the process from the beginning when you’re ready to do more, and consult the user guide for a warm engine start if applicable.
Step 9: Cover mulch. Use your tarp and cover your mulch. You might need multiple tarps or a larger tarp if you wound up with more mulch than you were anticipating. Remember, you want to keep it dry, and rain will definitely ruin that.
Step 10: Finished! And you’re all set. You should try and turn your mulch pile to keep it from overheating, much in the same way that you would a compost pile, but if you can protect it from water you’ll be good to go.
Prepping Your Mulch for Use
Before you use your mulch on your plants or landscaping, make sure it is dry and cool. Gather a quantity from the pile, and then spread it out somewhere else, preferably in the shade, so that it can cool down. You don’t want it to scorch your plants!
Also, keep an eye out for signs of serious rot or fungal infestation in the mulch. Note that this can crop up after mulching or be present already in the wood that goes through the chipper.
A few light-colored strands or “blooms” are not a problem, but if you notice dark blooms or slime and actual outgrowth, you don’t want to put it near your plants.
And, just remember, more mulch is usually better for your plants. You’ll want to lay it at least three to four inches deep, and preferably a little bit deeper for maximum weed control.

Doesn’t Wood Mulch Attract Bugs?
Yes and no. Wood mulch gets a bad rap, usually by manufacturers of other kinds of mulch, because it supposedly attracts harmful insects and particularly termites.
For starters, wood mulch doesn’t really play host to termites very often unless the mulch itself is very old and rotten.
Even then, it isn’t a problem assuming you aren’t using the mulch right next to your house. And if you are, you can keep termites from getting an easily just by pulling it away from your foundation about a foot or so.
The rest of the insects that will be attracted to the mulch are typically going to be beneficial for your soil and plants!
Tom has built and remodeled homes, generated his own electricity, grown his own food and more, all in quest of remaining as independent of society as possible. Now he shares his experiences and hard-earned lessons with readers around the country.
Find out more about the team here.