
When you are first learning how to can, it can seem like a daunting task. You need to coordinate the cooking, the filling, and the processing without burning yourself or making a mistake that might cause your family to get sick.
While there are risks to canning, there are also benefits. Following canning safety rules will help you build a safe, delicious canning tradition of your own.
Studies have shown that old-time canning recipes don’t get hot enough to kill micro-organisms, especially the ones that cause botulism. Botulism is a rare but severe food born pathogen that can thrive in foods that have not been canned safely.
Botulism can cause illness, paralysis, and even death. To prevent serious illness, make sure to do correct research, follow modern recipes, and pay attention to these canning rules.
Rule 1. Only use modern recipes
Scientists have tested some of the old-fashioned canning recipes and discovered that some of Grandma’s favorite recipes just didn’t get hot enough to kill microorganisms in the food. Instead, choose modern recipes that have been tested for safety.
This will ensure that your process – and your finished product – are edible, tasty, and safe for you and your family.
Rule 2. Don’t adjust recipes unless the recipe calls for you to do so.
It can be tempting to change the amount of sugar, lemon juice, or pectin in your recipe to suit your personal tastes. However, these recipes have been written and tested to create the proper pH that kills pathogens.
If you don’t follow the recipe correctly, your food may not be acidic enough or hot enough to be safe to eat. Follow the recipe as written.
Rule 3. Don’t use jars that are larger than 1 quart.
Jars larger than quart jars just aren’t meant for home canning.
This is because home canning methods cannot evenly heat jars any larger in size, and the temperatures in the middle of the jar may not be hot enough to kill microorganisms, while temperatures in the outer portion of the jar may scald or burn.
Instead, stick to 1 quart jars or smaller to ensure your jars are being evenly heated.
Rule 4. Know when you need to pressure can and when it’s OK to water bath can.
We love water bath canning for its simplicity and ease of use. However, water bath canning is a lower temperature process, and it can only be used for highly acidic foods and for recipes with added acidity, such as lemon juice or vinegar.
Water bath canning is usually used for foods such as jelly and jam, pickles, pie fillings, relishes, vinegars, and fruit or fruit juices. You cannot water bath can foods such as meat or poultry.
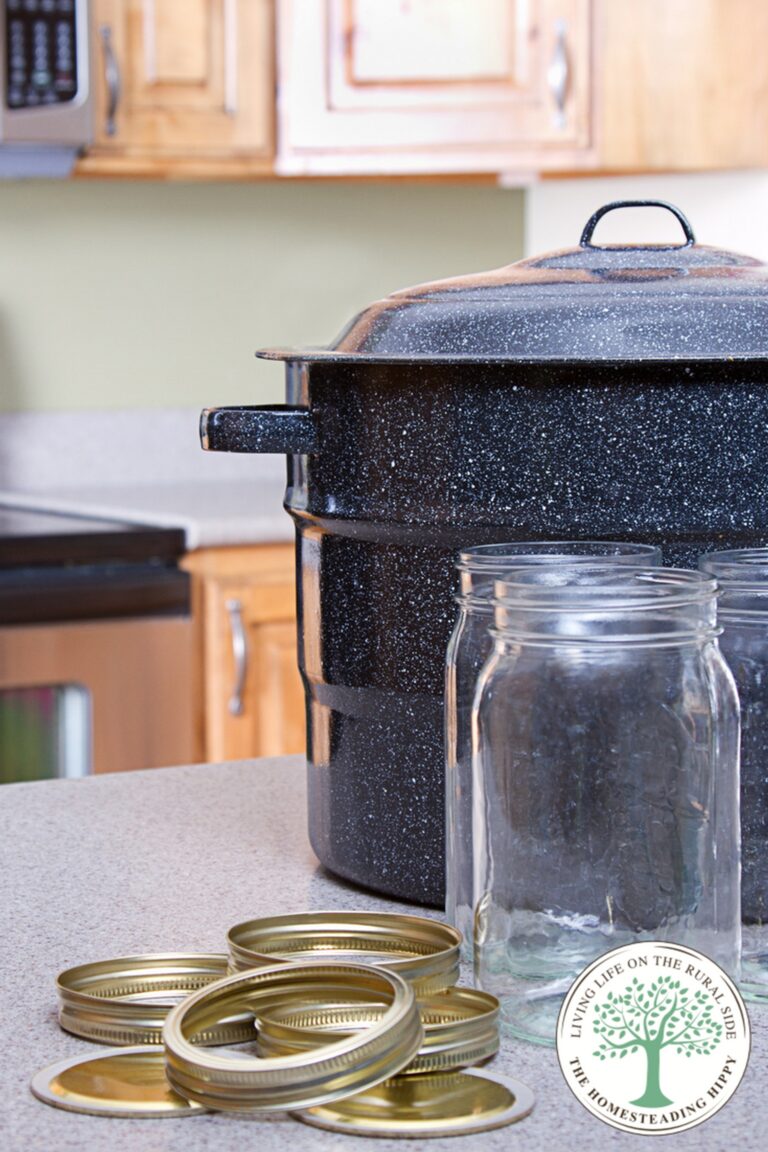
Pressure canning, on the other hand, reaches a higher temperature that is necessary to preserve low acid foods safely. Foods that need to be pressure canned include meat, poultry, vegetables, and sea food.
Rule 5. Keep your boil at a consistent rolling boil when processing with a water bath.
If you don’t keep your canner at a full rolling boil, the temperature will not stay high enough for a long enough period of time to kill pathogens and seal the jars.
If at any time in the process the water stops boiling, allow it to come to a full boil and start your timer again. Make sure to keep the rolling boil going for as long as your recipe states is needed.
Rule 6. Don’t reuse jar lids unless they are specifically made to be reused.
Most canning jar lids are only meant to be used a single time. They will not reseal correctly if used again, allowing pathogens and air to enter the jars and spoil the food.
A proper seal is critical to the safety and longevity of your food. Regular canning lids can only be used once.
If you feel the need to use reusable lids, try something like Tattler E-Z Seal Reusable Lids. They will cost more upfront than average canning lids and rings, but you will be able to use them more than once making them a worthwhile investment.
Rule 7. Don’t use jars with cracks or chips.
Any cracks or chips in your jars could allow air or pathogens to thrive or prevent the lids from sealing correctly. When reusing jars, run your finger along the top of the rim to feel for tiny cracks. If there are any cracks or chips, don’t use the jar for canning.
Repurpose it for something else – refrigerator pickles (you can reuse your used canning lids for this purpose, too), a vase, or some other craft project.
Rule 8. Always remove air bubbles.
Small air bubbles can become trapped in your jams or other foods and will cause spoilage or too much head space in your canning jar.
Use a plastic knife or air bubble tool to remove excess air before placing the lid on top. Metal tools might damage the jars, so be sure you stick with plastic.
Rule 9. Allow for the correct amount of headspace.
Headspace is the amount of space needed between the top of the food you are preserving and the top of the jar.
Leaving too much or too little headspace means the jar won’t seal properly. If you have a good recipe, it will tell you how much headspace you will need for your food so follow it carefully.
Rule 10. Don’t overtighten rings.
After you place a lid on the jar, you will loosely tighten a ring on the top to hold the lid in place. Overtightening the ring will hold the lid on too firmly.
This will prevent air from escaping and possibly causing warping or distortion of your lid, meaning your jars will not form a correct seal. Avoid overtightening when applying rings.
Rule 11. Always wipe your jar lids clean.
After you fill your hot jar with food, and before you place the lid on the jar, make sure you wipe the rim clean with a soft cloth. A messy rim could keep the lid from sealing correctly, making your food unsafe.
Rule 12. Only use real canning jars.
Using jars other than canning jars could be catastrophic. Only authentic canning jars are able to safely withstand the heat and pressure of canning.
Don’t use knockoffs, cracked jars, or jars that were leftover from grocery store foods such as salsa or pickles.
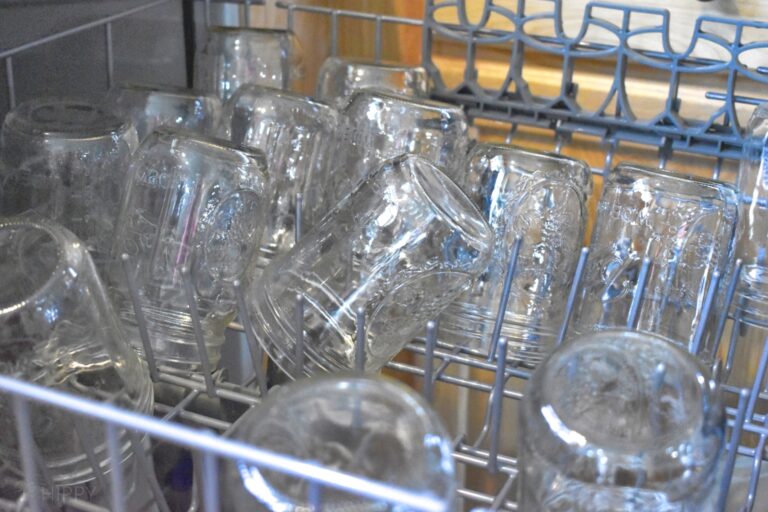
They just aren’t made for the home canning process and will leave you with unsafe results or may crack under pressure.
Stick with tried and true mason or Ball canning jars that are specially made for the high temperatures and pressure of canning.
Rule 13. Use good canning tools.
Splashing or spilling boiling water or hot preserves can be dangerous, so use good quality canning tools to improve safety.
Jar lifters are made to move hot jars in and out of boiling water without having to get your fingers too close to the boiling action.
Funnels keep spillage to a minimum when pouring your hot pack foods into hot jars. Simple magnetic jar lifters will allow you to pick up lids from hot water without actually touching them.
The right tools are an investment that will help keep the process safe, especially for your fingers.
Rule 14. Keep it all hot.
Placing hot food in a cold jar or placing a hot jar in cool water could cause cracking and breakage. Keep your jars hot and fill the hot jars with hot foods before processing in order to keep your food and jars safe.
Rule 15. Know your altitude.
Your altitude changes the amount of time and pressure your food needs to be processed in the jars to kill bacteria or other pathogens.
Make sure you know your altitude and use your recipe’s directions to adjust accordingly.
Rule 16. When in doubt, throw it out.
This old adage may sound like a cliché, but it makes a great point because there is never a good time to risk botulism. If you have any concerns about the safety or taste of your preserved food, throw it out immediately.
If the jar seal is loose, if the button on the lid has popped, if the food has an off-taste or smell, or something just doesn’t seem right, throw the food away. Don’t take chances on becoming ill. It simply isn’t worth it.
Rule 17. Store jars correctly.
Keep jars in a cool dark place – between 55 and 70 degrees Fahrenheit is ideal. This will help to slow the growth of any pathogens that might remain in your food.
Rule 18. Date your jars.
Shelf life is important! According to the Utah State University Extension, home canned foods have a shelf stable life of one year and should be consumed within two years.
The older the food is, the more likely the seal will break down or harmful bacteria could multiply inside the jar.
After processing is complete and the jars have settled, gently write the date on the lid so that you know when the food is safe to eat and when you should consider it as expired.
Rule 19. Keep your jars underwater.
When processing your jars in a water bath canner, make sure they are covered by at least an inch or two of water. Otherwise, the contents of the jars will not heat evenly and may not kill the bacteria.
Rule 20. Use quality produce and ingredients.
Your final product will only be as good as the ingredients you put in it. If you want crunchy pickles, you’re going to need good crunchy cucumbers.
If you want delicious strawberry jelly, you’re going to need to use fresh ripe strawberries. Don’t expect the canning process to work a miracle with inferior produce.
If you are ready to give canning a try, always follow the correct procedures. It is a simple process but one that must be followed well. Remember to do your research and always stick to tested recipes for the best and safest results.
Frequently Asked Questions
Things to watch out for when canning are temperature (how hot the food gets inside the jars), seal (did the jar seal correctly), recipe (is this a modern tested recipe?) and acidity (can I water bath can this product or does it need to be pressure canned?).
Closely following the directions of your recipe and canning book will make sure that your food is safe to eat.
Canning is not a difficult process. You can easily learn to can if you follow good directions and have the right equipment.
Why can’t I make up my own recipe? It may be tempting to concoct your own recipes for canning, however, only scientifically tested recipes are actually safe to use.
If you make up your own recipe, you risk not having the correct pH or processing temperature, which puts you and your family at risk for food poisoning. Stick to tried and true recipes that have been scientifically tested for safety, especially recipes created by professional canning companies.
The answer is, not necessarily. If you grow your own produce and already have all of the necessary equipment, canning will only cost you your time.
However, there is an investment to be made in the correct tools, recipes, and ingredients need for safe food preservation. All things considered, your biggest investment may be the time you spend processing your recipes.
Yes! And no. Canning is safe when you use the proper equipment, the right method, and follow tested recipes.
If your processes and equipment are not safe, then you will not end up with a safe and edible preserved food. Simply put, follow the directions created by the experts in home canning safety.
Canning Resources
When you visit a link in this article that takes you to a different website where you can purchase something, I may earn a commission. Read my full disclosure for more details.
- The All New Ball Book of Canning and Preserving
- The Complete Guide to Pressure Canning
- Simply Canning: Survival Guide to Safe Home Canning
- At Home Canning For Beginners and Beyond
Websites:
If you can follow simple instructions, you can successfully can your own food.
All it takes is the right equipment, the right knowledge, and quality ingredients, and safe processes and recipes and you will be well on your way to preserving your own food.
Canning is a great family tradition and a delicious means of preserving your own food.

Amanda is a homesteader and a Jesus-loving, mother of 6 toddlers. She’s raising lots of fancy chickens and goats on her small homestead (among other things). Find out more about the team here.
nothing has been said about Dry canning. Is it safe? If so under what circumstances?
I personally don’t do it but my daughter is planning to do it. Where can I send her to explain not to if it is not safe. We need some guidelines that are clear and easy to find . Thank You,
Yahnina Hackney