
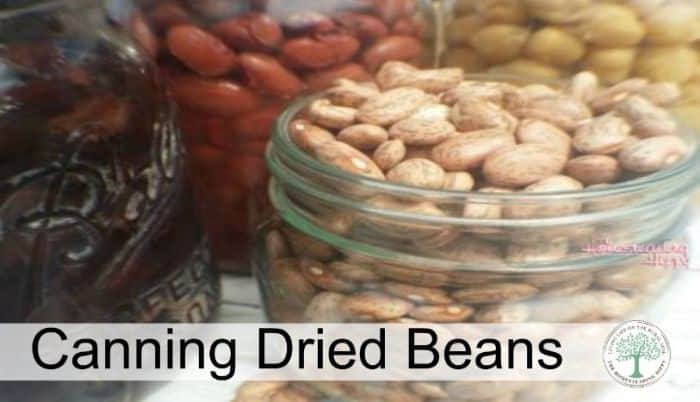
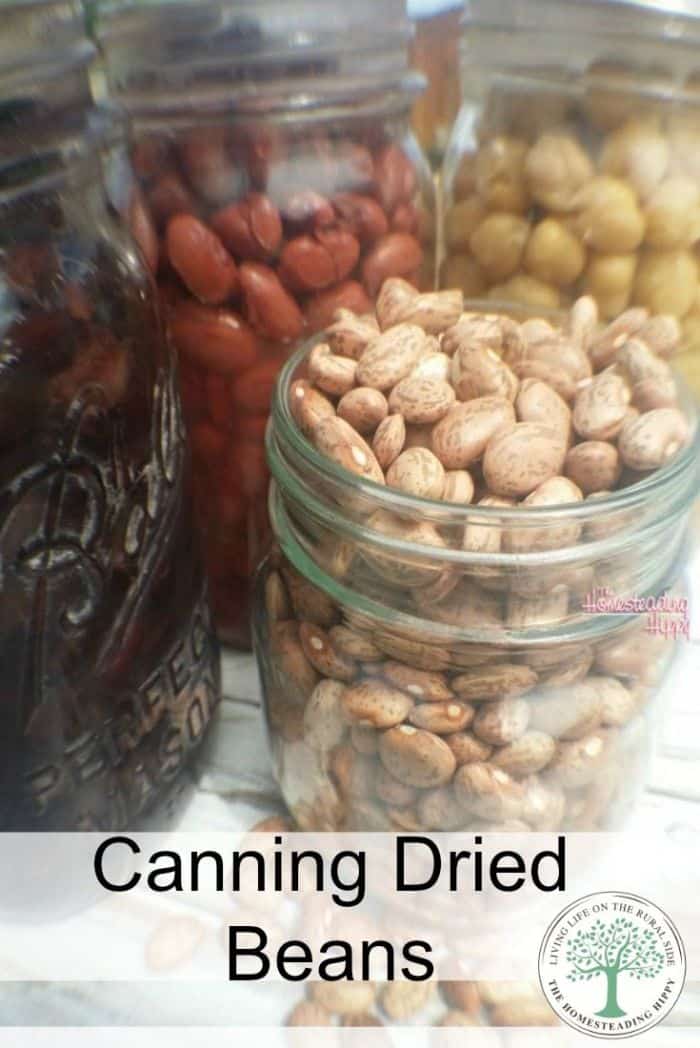
You many wonder why someone would bother canning dried beans.
After all, they are already in a perfect storage condition, right? Well, not always. Dried beans still need water and time to cook, and if you are in a situation where time water, or heat to cook are at a premium, then dried beans are not easy to use.
Having to spend time soaking, then draining and cooking beans also can take up to 6 hours. Opening a can of already cooked beans and heating is so much simpler, really.
Canning dried beans means they can be used in a variety of different ways.
You can just heat and eat, make brownies, burgers, hummus, or other dishes with them. It only takes a few minutes to heat, add some seasonings and you are set with a great protein source.
Canned beans travel well, and you can easily take them camping, or even a couple in a bug out bag. Canning your own also gives you the option of reducing BPA in the lining of the commercially canned beans as well. It’s easy to do, and once you get the hang of it, you may just find that you are canning all sorts of beans, as this method will work for all types of dried beans.
When getting ready for canning dried beans, you’ll need:
When you visit a link in this article that takes you to a different website where you can purchase something, I may earn a commission. Read my full disclosure for more details.
- A clean surface to work on
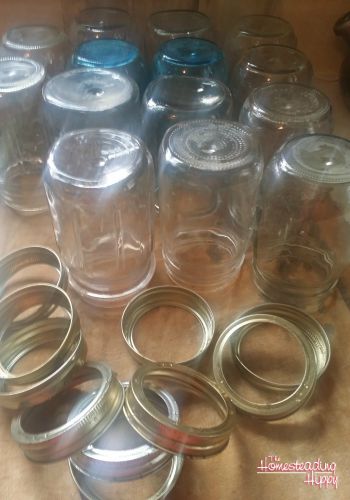
- Pressure canner
- clean jars and bands
- new lids (use new lids EACH time)
- rubber spatula to remove air bubbles
First, I start by rinsing and sorting the dried beans.
- They sometimes have little pebbles in them, or broken beans you don’t want.
- Then, place in a large stock pot and cover with water and soak overnight.
- Or, you can do the “quick soak” method of bringing that water to a full rolling boil for 3 minutes, then turning off the heat and covering for an hour.
- Rinse and add new cooking water to cover by at least 4 inches.
- Bring to a boil and allow to boil for 30 minutes.
Clean and sanitize pint jars. This means that you will want to run them in the dishwasher and keep them hot until you are ready to use. OR, you can place them in boiling water for at least 10 minutes, keeping them hot until ready to use. You could also use quart jars, but for ease 1 pint=1 can.
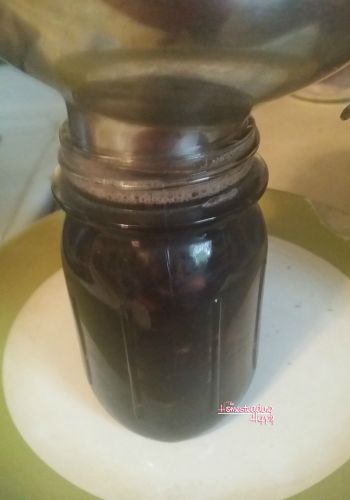
- Carefully fill the pint jars with the cooked beans and cover with the cooking water.
- You can add salt if you wish, but I have never done that myself. I prefer to season the beans while cooking. If you choose to add salt, add 1/2 teaspoon per pint before adding the cooking water.
- Fill the jars to 1/2″ headspace.
- Wipe the lid with a damp towel to remove reside.
- Add a new lid and clean band, screwing on finger tight.
- You will need to process these in a pressure canner, not a water bath canner, as you need the heat and higher temps to ward off bacteria.
- Process for 45 minutes for pints, 55 minutes for quarts at 10 PSI, beginning timing once the rocker begins to move, or the gauge reads 10 PSI.
- Allow the canner to cool on it’s own, and remove the jars and cool in a non drafty area for 24 hours.
- Wipe jars clean, remove the bands and store for up to a year.
- Any jars that haven’t been sealed at this time should be placed in the fridge and consumed within a week.
Have you tried canning dried beans before? Will you try and stock your own pantry? Make sure to pin this post to your favorite board to get the recipe another time!

Heather’s homesteading journey started in 2006, with baby steps: first, she got a few raised beds, some chickens, and rabbits. Over the years, she amassed a wealth of homesteading knowledge, knowledge that you can find in the articles of this blog.
Learn more about Heather and the rest of the writers on this page.
Hey Thanks♥ I’m sharing this on Friday on http://www.facebook.com/littlequiverblog
thanks so much!
This is interesting. I never thought to can beans. Learned something new.
I can beans as well! Love having them ready for a meal when I need them and that I saved some $ making them myself. I usually use a slightly different method but this is another great option! Thanks for the post. I will be pinning this and sharing it on my fb page Day to Day Adventures. Blessings!
Thanks for this easy tutorial! I just did some pinto beans and since I already had jars and got lids for free, the 7 pints I got out of 2# come out to 27c a “can” – way cheaper than Aldi or even those Amish dented can stores. Wasn’t hard at all.
Ummmmmm love your recipes and have tried quite a few. Just wanted top say..processing time for dried beans in [pint size jars is 75 minutes not 45. Just wanted to let you know just in case you just said 45 by accident.
Thanks for your comment, but according to my canner’s directions it’s 45. 🙂
The newer guidelines say 75 for pints and 90 for quarts. Maybe the older guidelines (aka, at the time canner was sold) were 45. I would browse the sites to find recipes to try, but always process to the guidelines that you feel comfortable with.
I also process for 75 minutes at 10 lbs pressure.
So are they cooked when you open the cans up?
yes, they are fully cooked. Heat and eat.